Quick Start Guide
Hardware
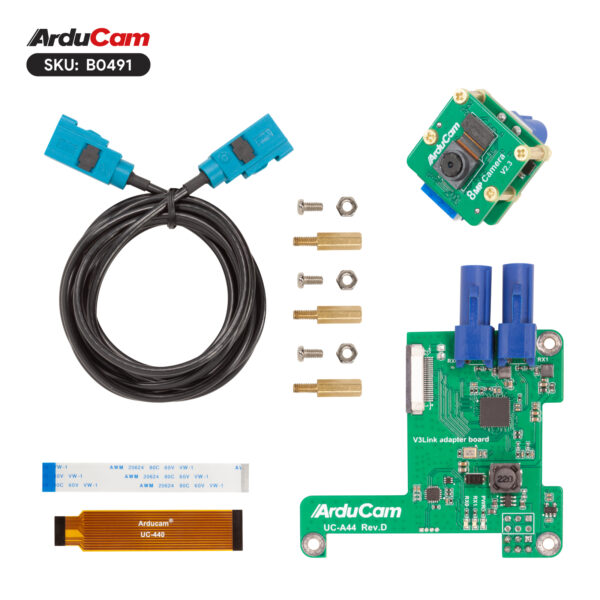
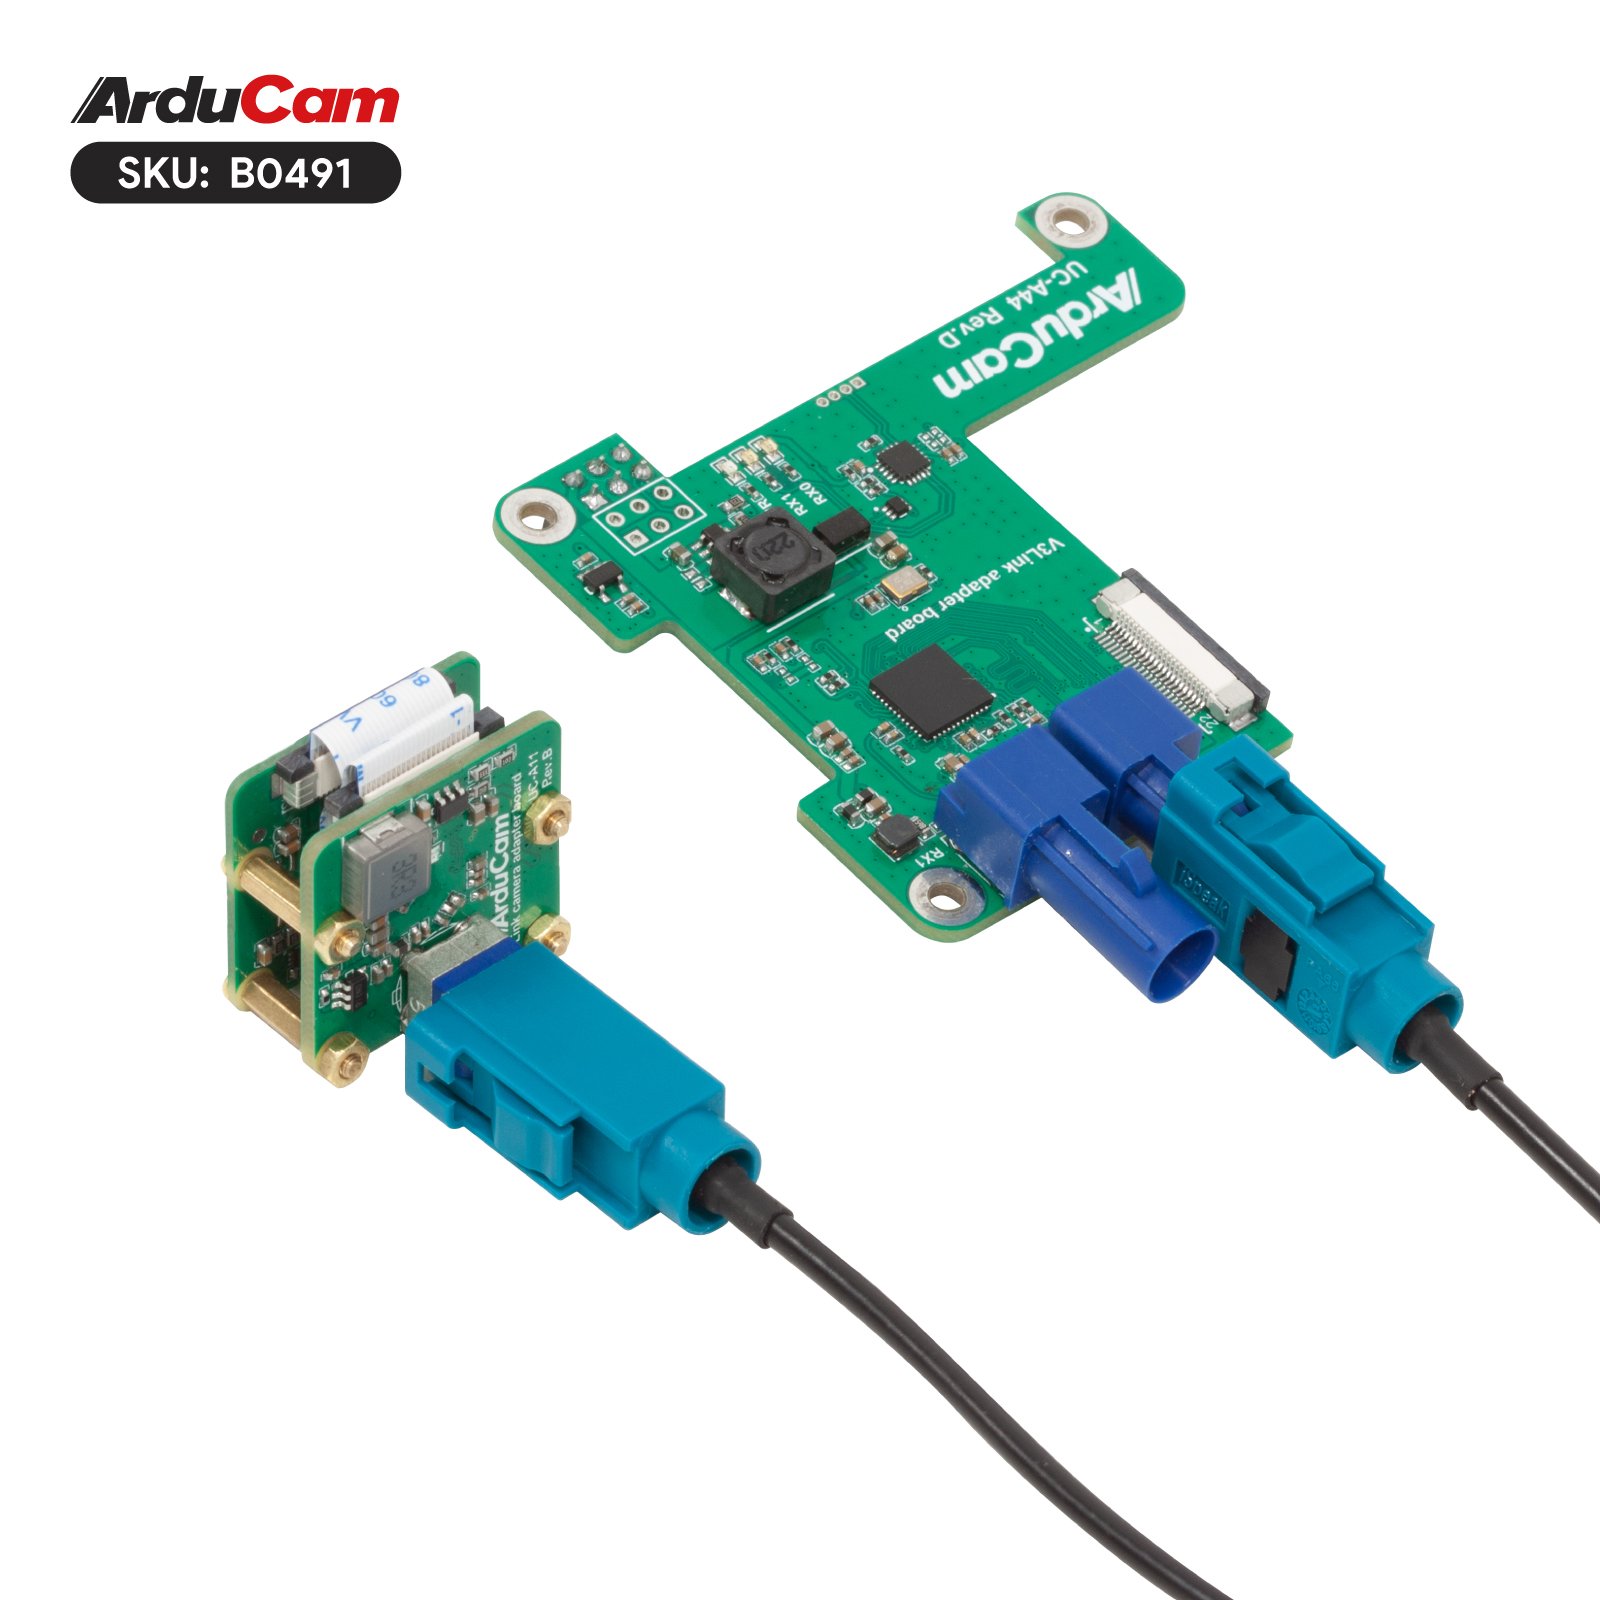
Package List
 |
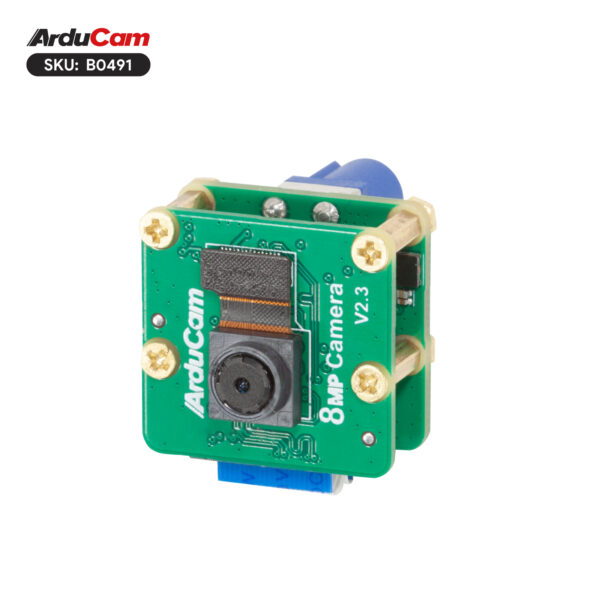
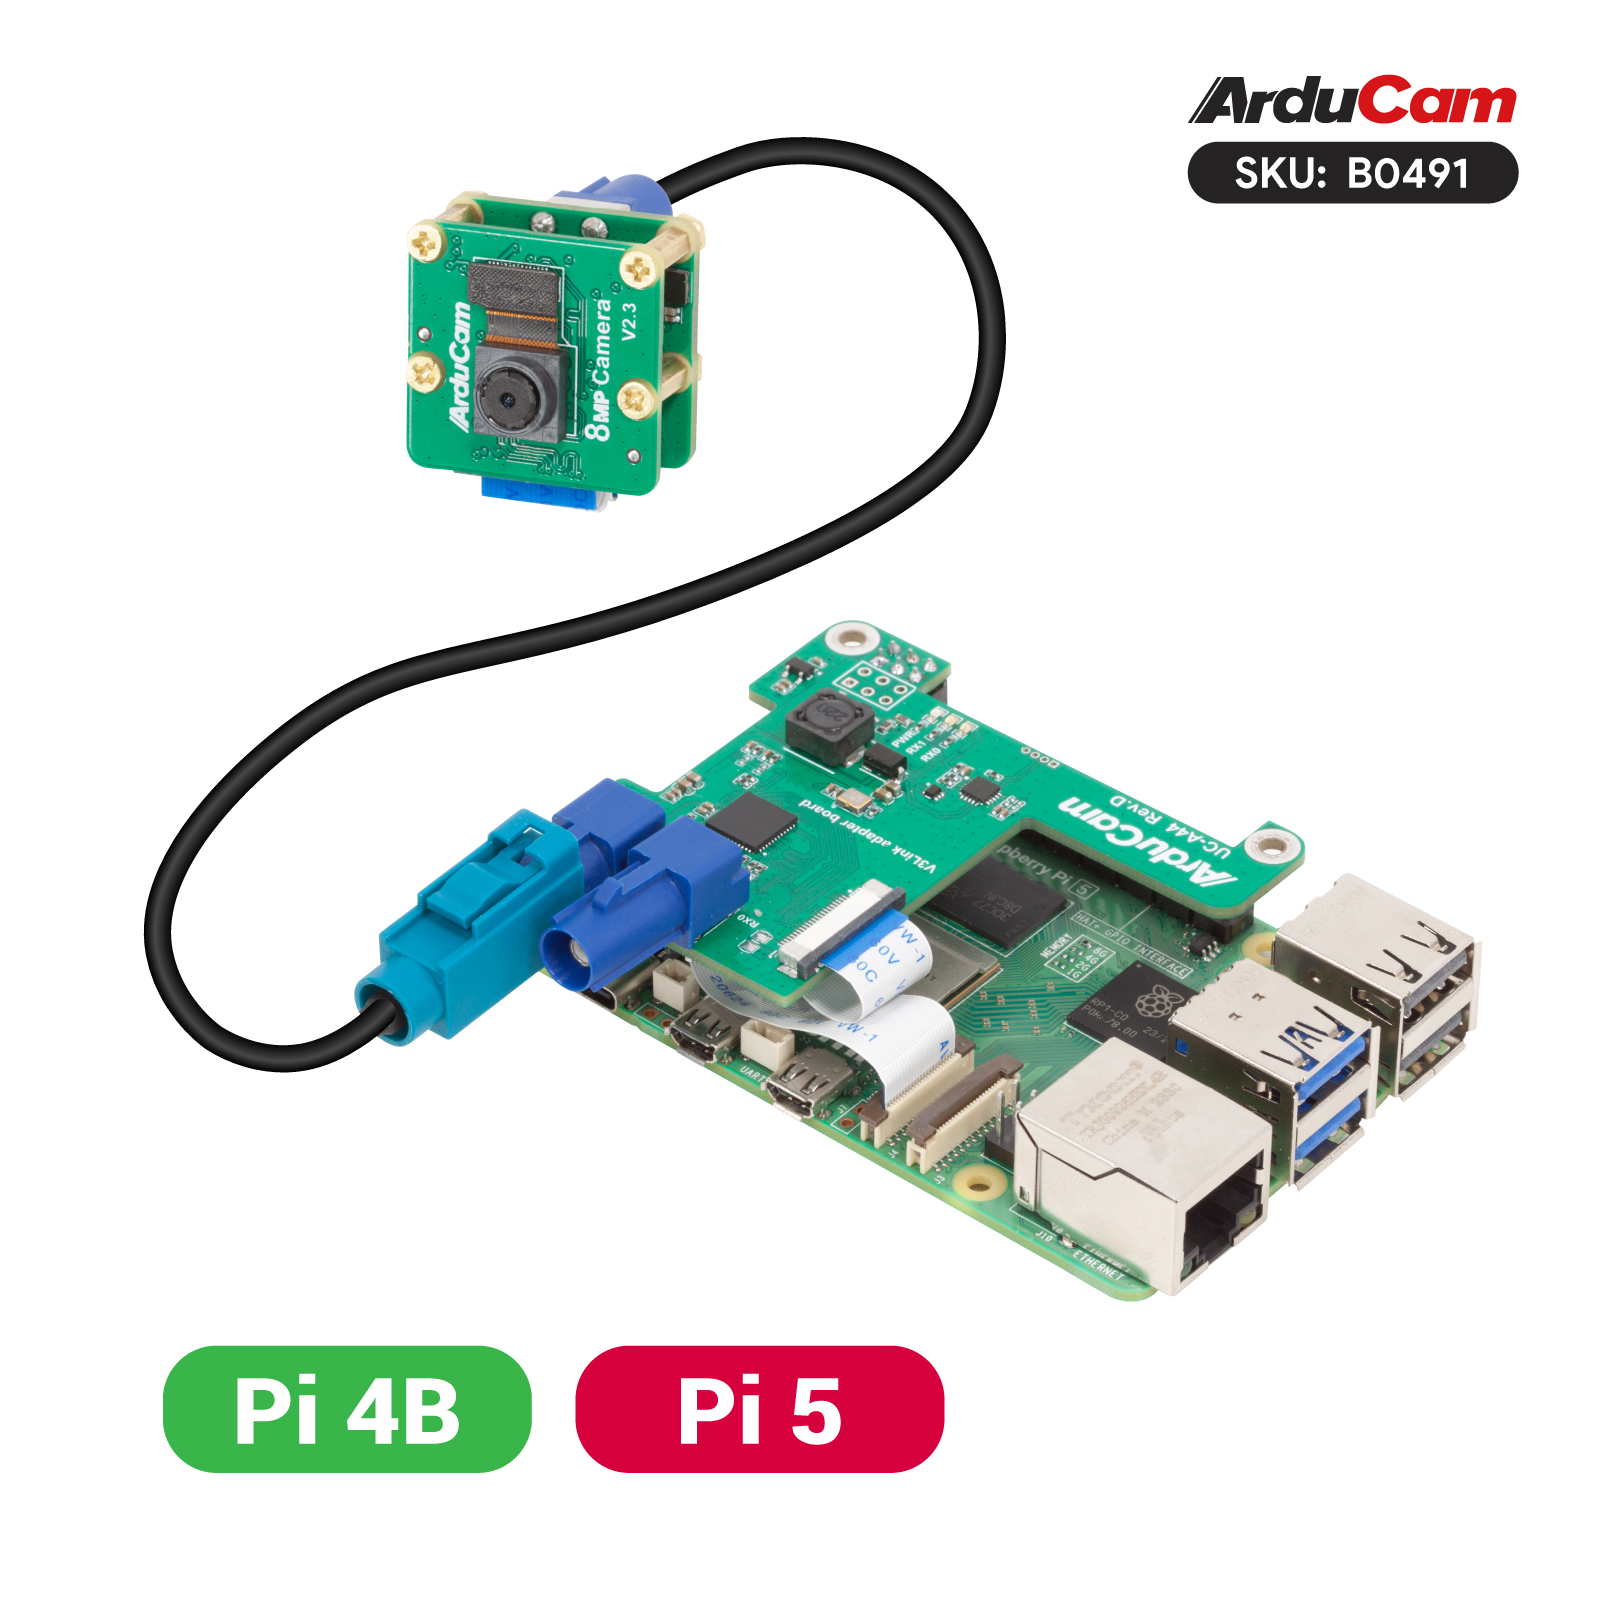
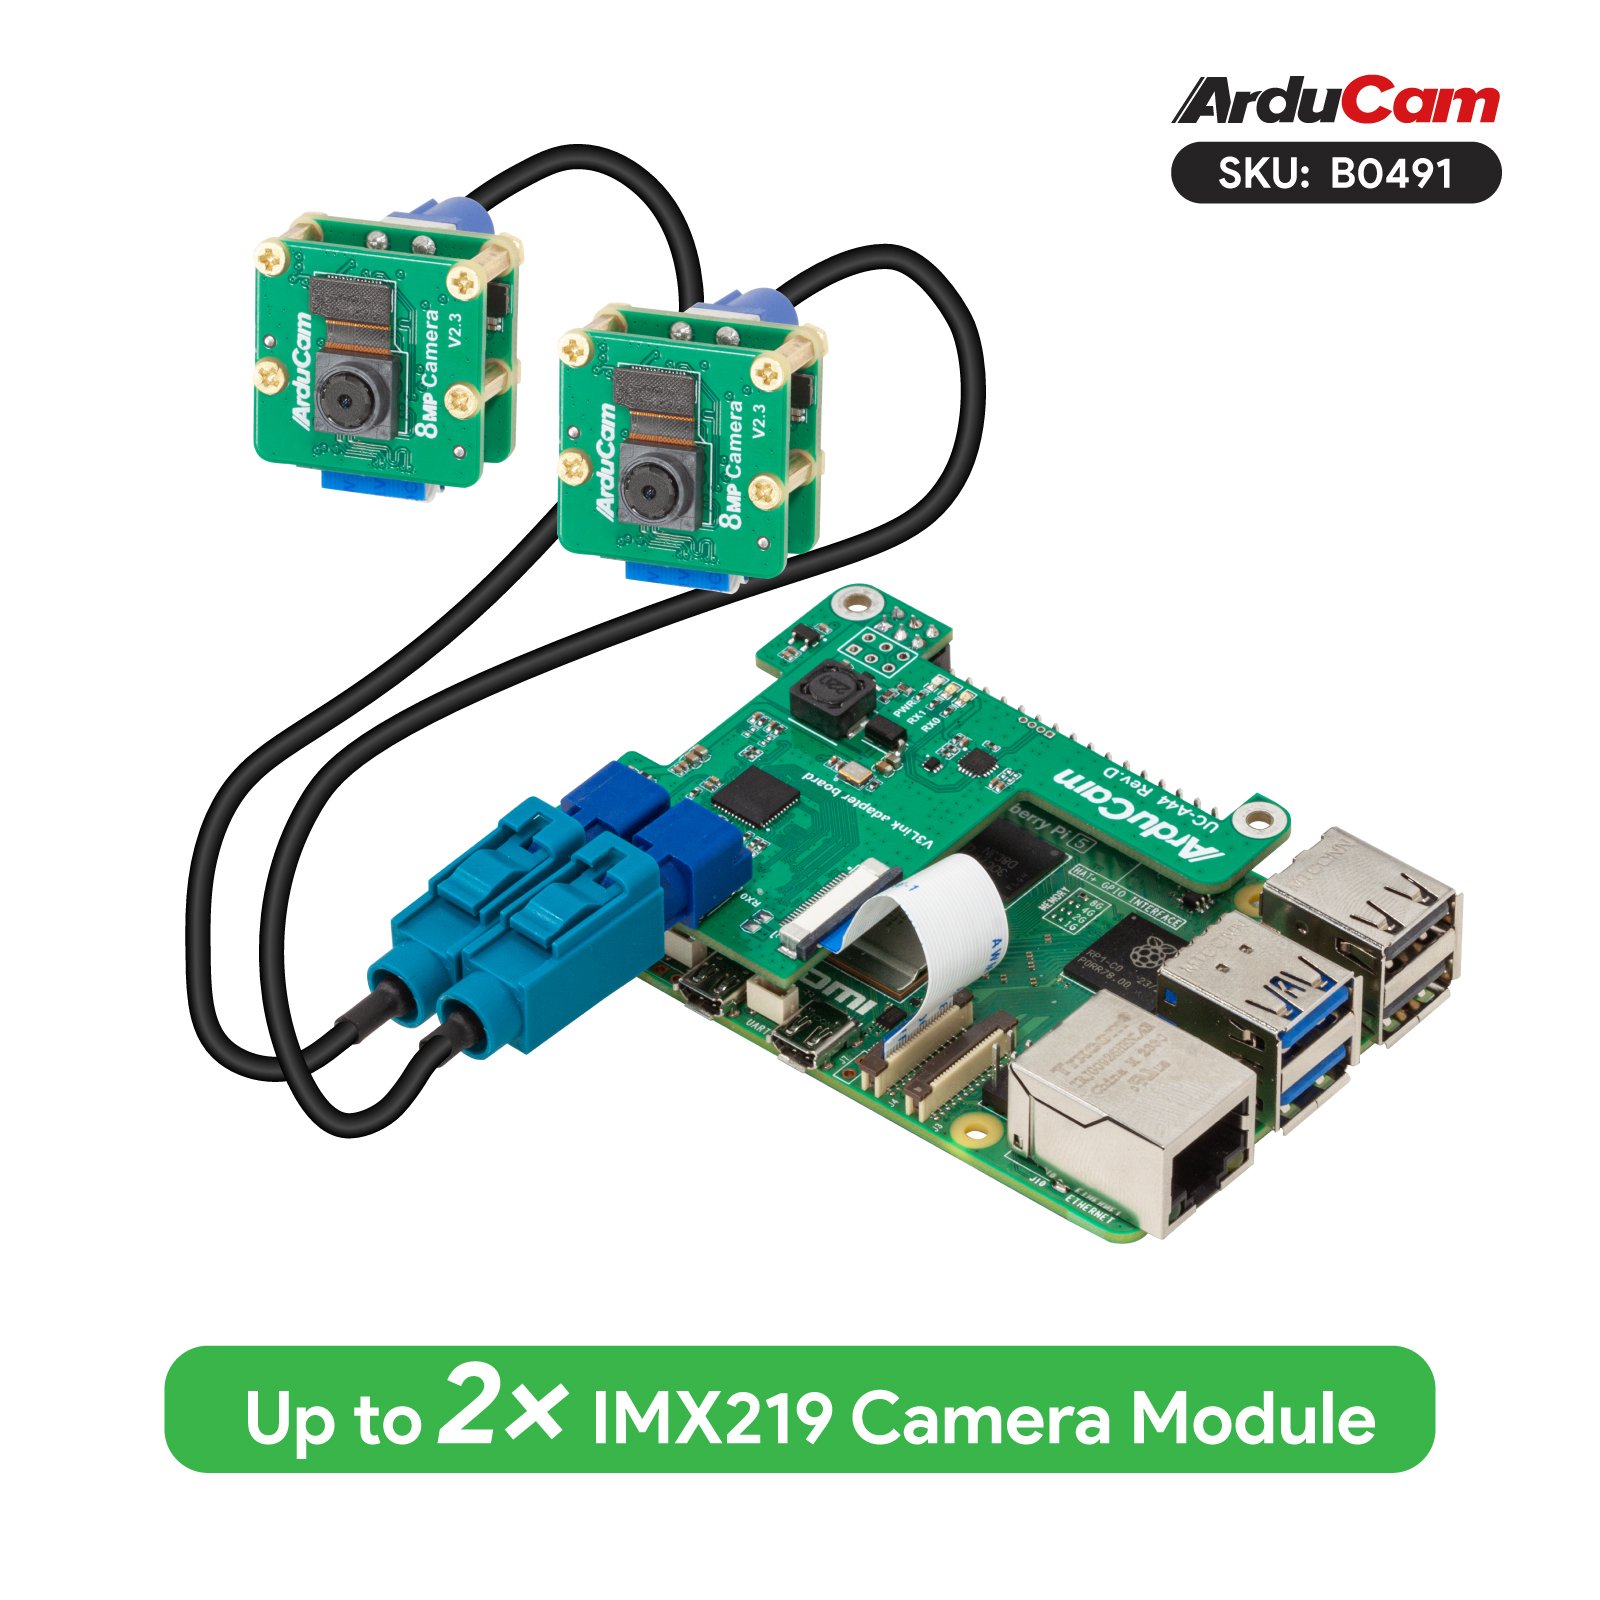
Connection of Camera Module
 |
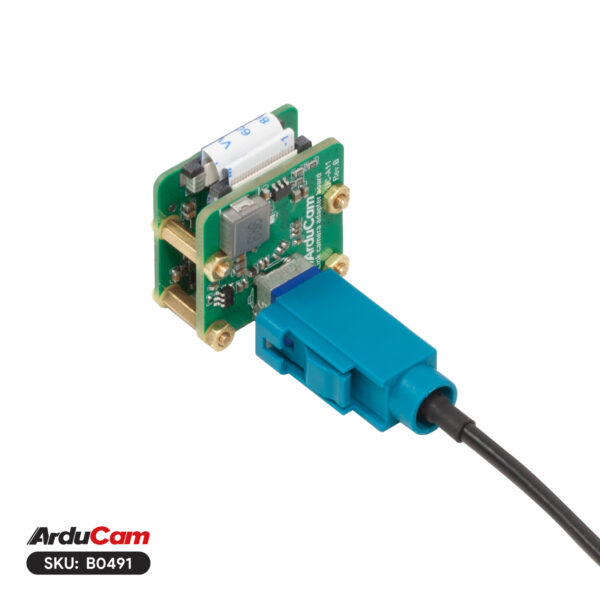 |
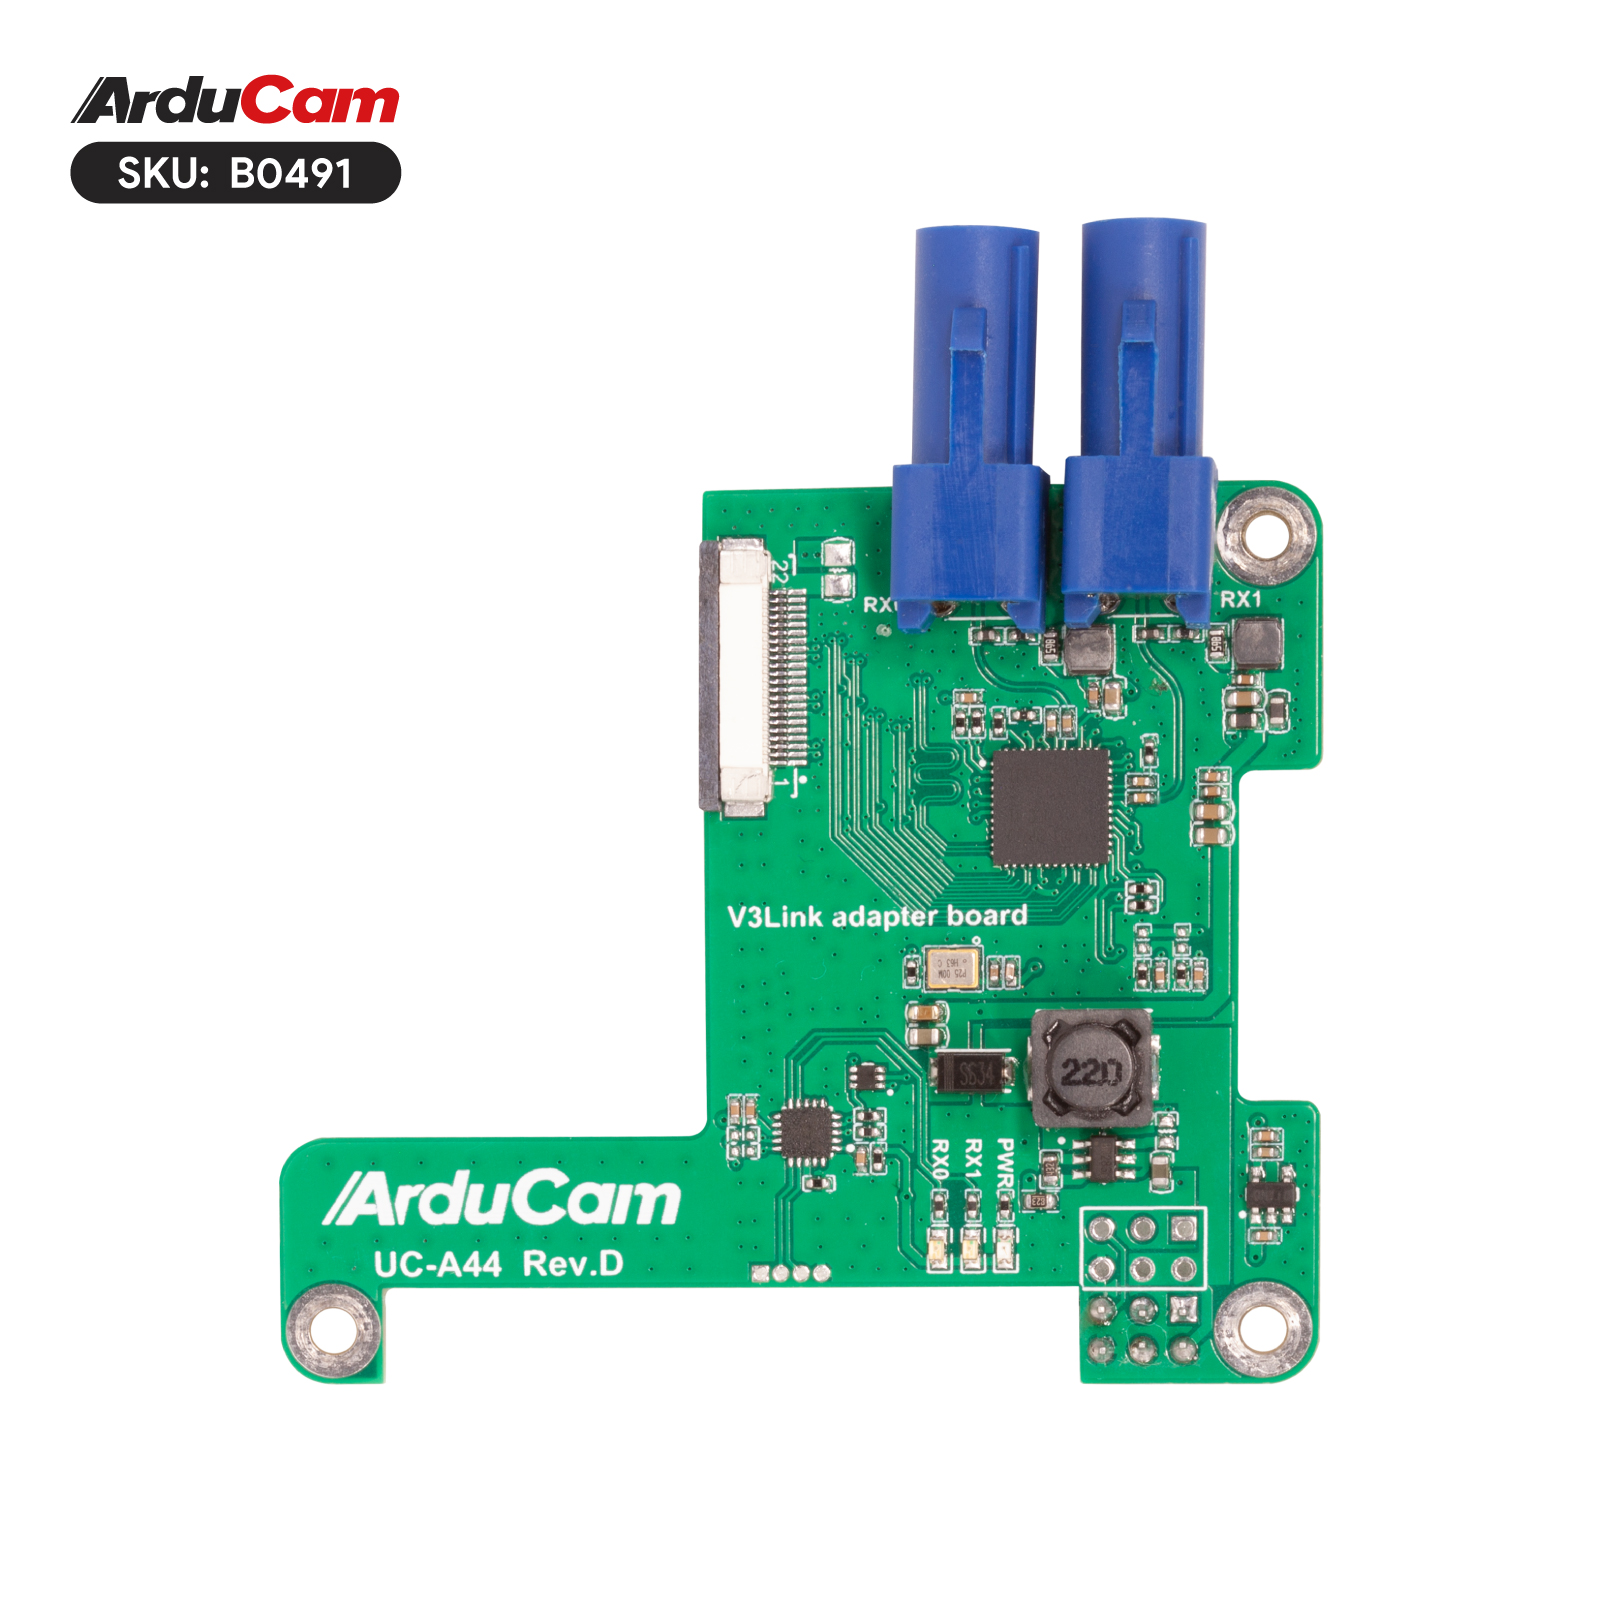
Connection of camera and adapter board
 |
 |
Final Steps
 |
 |
Software
Preparation
Firstly, you should confirm the sensor of your camera module and execute the corresponding steps to access it.
You can check your cameras and find the corresponding instructions below to use the Camera Extension Kit:
Raspberry Pi Native Camera
| Sensor | Optical Size | Resolution |
|---|---|---|
| OV5647 | 1/4'' | 5MP |
| IMX219 | 1/4'' | 8MP |
| IMX477 | 1/2.3'' | 12MP |
| IMX708 | 1/2.43'' | 12MP |
| IMX519 | 1/2.53'' | 16MP |
| 64MP Hawkeye Camera | 1/1.7'' | 64MP |
| 64MP OwlSight Camera | 1/1.32'' | 64MP |
Software Configuration
Please refer to the following link to execute the relative driver/config steps:
Software Configuration for Raspberry Pi Native Camera
Demos on Raspberry Pi 4
Arducam V3Link camera extension kit supports switching channels manually, if you need to switch camera channel when you're connecting multiple cameras, you can refer to the following content to operate:
- Channel 1
sudo i2ctransfer -f -y 10 w3@0x0c 0xff 0x55 0x01
- Channel 2
sudo i2ctransfer -f -y 10 w3@0x0c 0xff 0x55 0x02

- Check out the version
sudo i2ctransfer -f -y 10 w3@0x0c 0xff 0x55 0x01 r1

Demos on Raspberry Pi 5
CSI 0 prot
- Channel 1
sudo i2ctransfer -f -y 6 w3@0x0c 0xff 0x55 0x01
- Channel 2
sudo i2ctransfer -f -y 6 w3@0x0c 0xff 0x55 0x02
CSI 1 prot
- Channel 1
sudo i2ctransfer -f -y 4 w3@0x0c 0xff 0x55 0x01
- Channel 2
sudo i2ctransfer -f -y 4 w3@0x0c 0xff 0x55 0x02
- Check out the version
CSI 0 PORT
sudo i2ctransfer -f -y 6 w2@0x0c 0x01 0x01 r1
CSI 1 PORT
sudo i2ctransfer -f -y 4 w2@0x0c 0x01 0x01 r1
