High Resolution Camera
General Introduction
High-resolution cameras output denser image quality with more pixels per inch (PPI), so as to create high-quality crisp images. In practice, the resolution of images produced by high-resolution cameras should be above 8 megapixels.
It is not news to see high-resolution images on your smartphone or from DSLR photos. But when it comes to the Raspberry Pi camera, the story is more impressive. Especially when Arducam sped up on its way of breaking the resolution limits, bringing higher and higher resolution items while keeping the same form factor, same software (libcamera) and same camera control to make things easy.
Starting from a recognized alternative, the 12MP IMX477 HQ camera module, Arducam has contributed a series of high-resolution camera modules to the field. The later milestone was a 16MP auto-focus camera, which takes what Raspberry Pi V1, V2 and HQ have to offer and excels in every single aspect.
With a resolution of 16 megapixels, an auto-focus lens, a V2-like form factor and boatloads of improvements, the camera provides a better choice for a whole world of industrial/consumer/etc. applications. It is compatible with any existing Pi model, works with the latest software from the foundation, and leverages the same tuning algorithms used in the official camera modules.
The debut of 'Hawk-eye', the Arducam 64MP ultra high-resolution camera, evidenced how we put the platform years ahead of its game. Now the resolution reached a breathtaking level: 9152 x 6944. And that's surely not the only highlight. It is up to 10x digital zoom. Think about it, you open a preview window on a Raspberry Pi, zoom in for a super close-up view, move up/down/left/right (ePTZ) to pick anything, set/adjust the focus, and then take a photo. In other words, it is something that's knocking at the door of the future.
Last, and not least, all these past and yet-to-come high-resolution cameras will be brought in front of you at an affordable cost. Let's quote the original intention of why Raspberry Pi was made: to eliminate barriers and to make technology affordable for all.
Selection Guide
| Product Image | SKU | Sensor | Resolution | Pin/Connect Type | Features | Lens Type | Field of View(H x V) | Focus Type | IR Sensitivity |
|---|---|---|---|---|---|---|---|---|---|
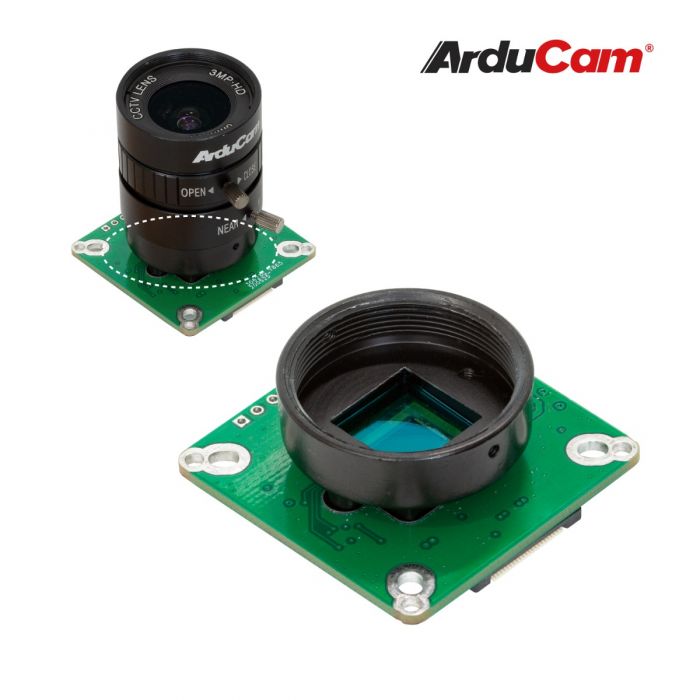 |
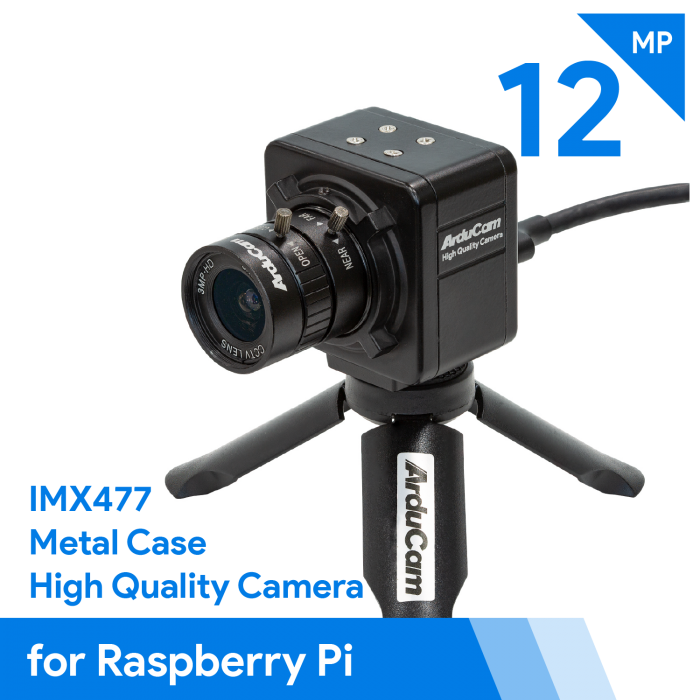
B0240 | IMX477 | 12MP | 22/Top | CS Mount | CS Lens | 65° (H) x 51° (V) | Manual Focus | 650nm IR-cut filter |
| B024001 | / | / | / | ||||||
 |
B0270 | Day and Night Vision | 65° (H) x 49° (V) | Manual Focus | Motorized IR-cut filter | ||||
 |
B0241 | HDMI Extension Kit | 650nm IR-cut filter | ||||||
 |
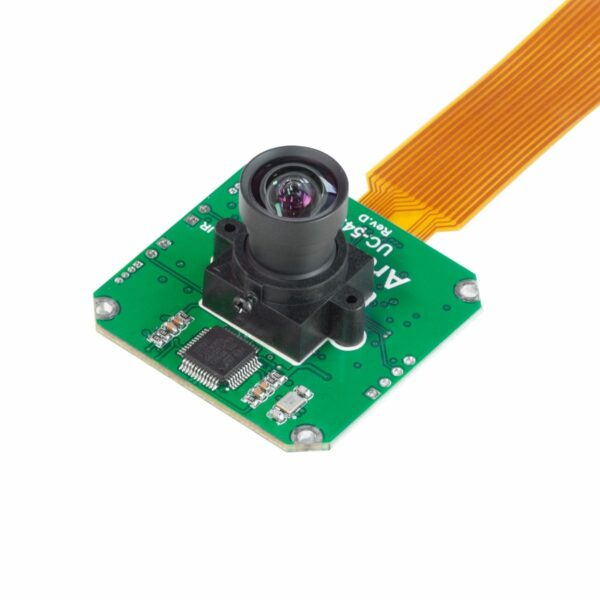
B0272 | Motorized Focus | M12 Lens | 75° (H) x 56° (V) | Motorized Focus | 650nm IR-cut filter | |||
 |
B0262 | 22/Top | Mini Size | M12 Lens | 75° (H) x 56° (V) | Manual Focus | 650nm IR-cut filter | ||
| B0271 | 22/NA | ||||||||
 |
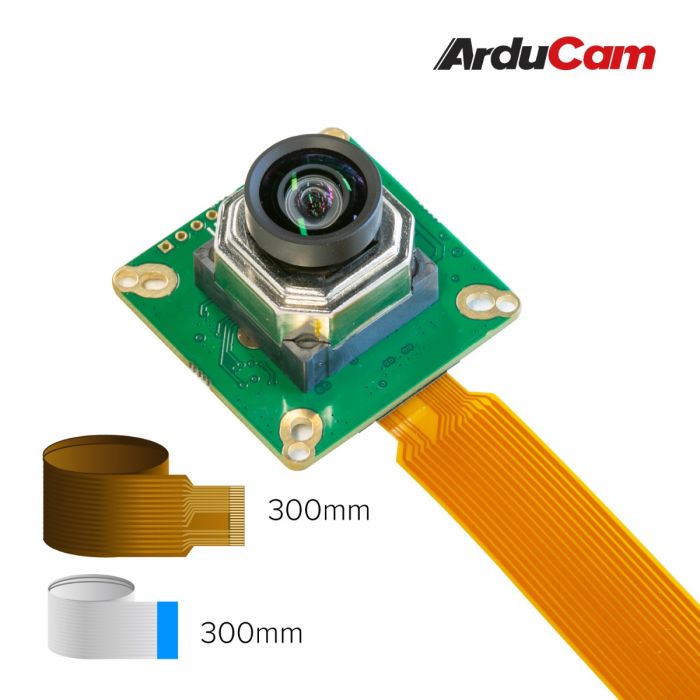
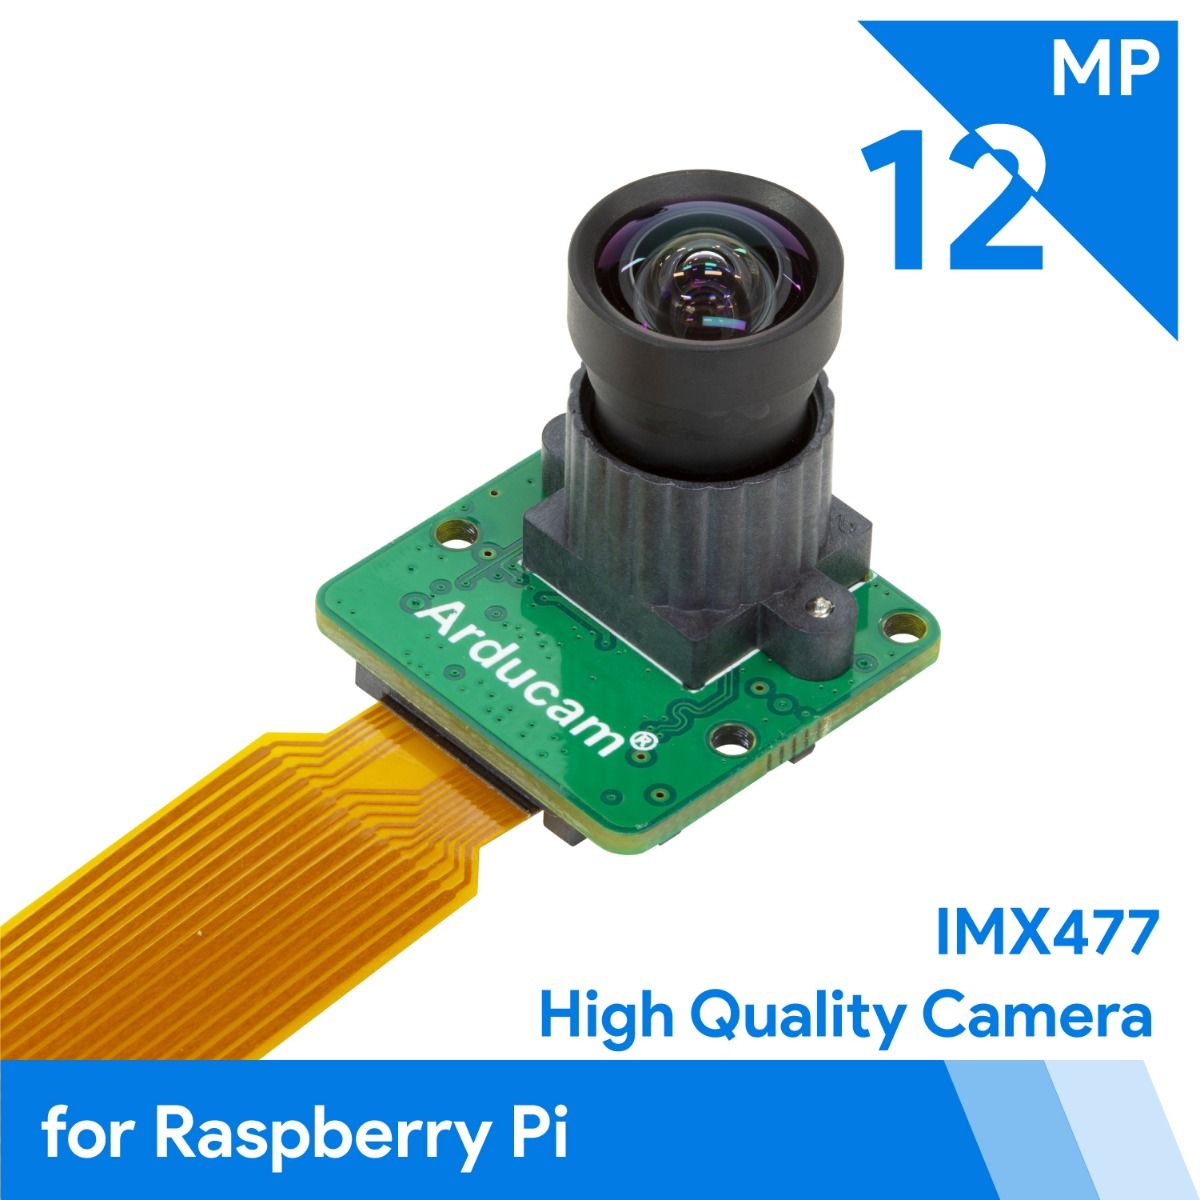
B0303R | 22/Top | Wide Angle | Stock Lens | 95° (H) x 72° (V) | Fixed Focus | |||
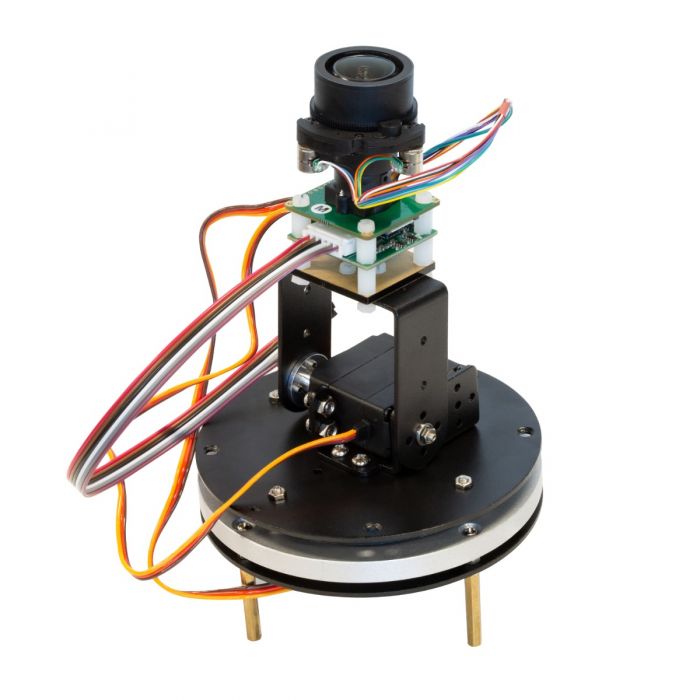 |
B0167B12 | 15pin/22pin | Pan-Tilt-Zoom Kit | Zoom Lens | (96~33)°(H) x (72~24)°(V) | Motorized Focus | Motorized IR-cut filter | ||
| B016712MP | |||||||||
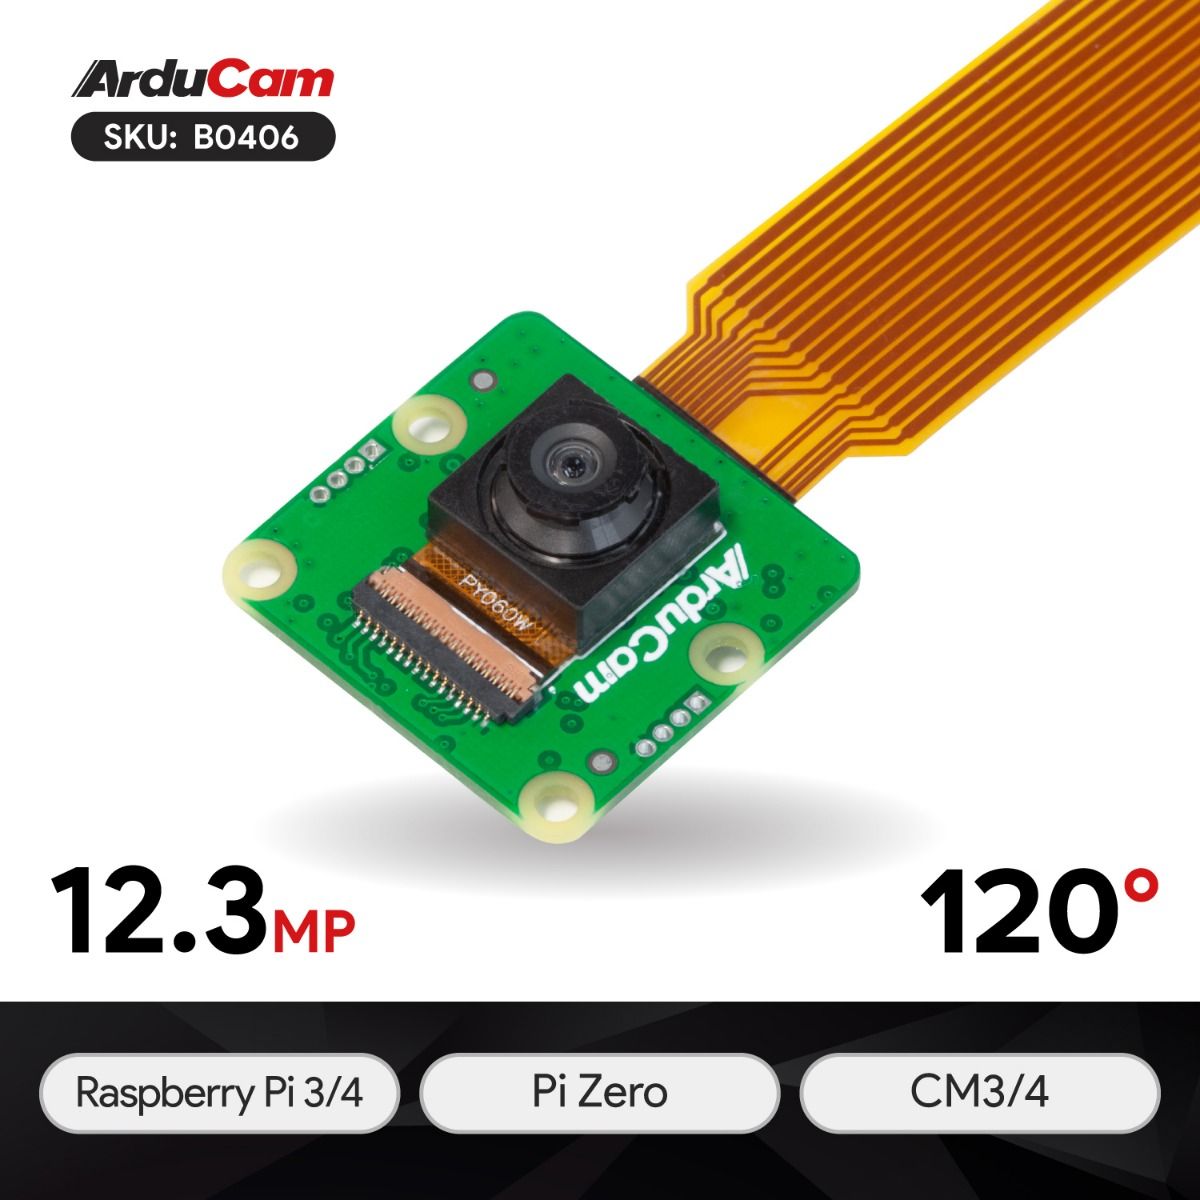 |
B0406 | IMX378 | 12MP | 22/Top | Wide Angle | Stock Lens | 95°(H) x 72°(V) | Fixed Focus | 650nm IR-cut filter |
| B0412 | High Resolution | 65°(H) x 49°(V) | |||||||
 |
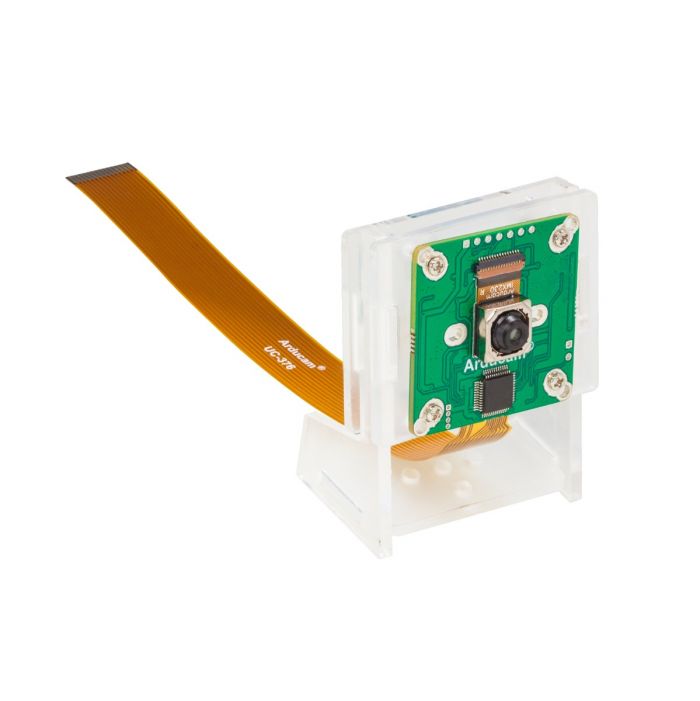
B0386 | IMX519 | 16MP | 15/Top | MIni Size | Stock Lens | 66°(H) x 49.5°(V) | Fixed Focus | without IR-cut filter |
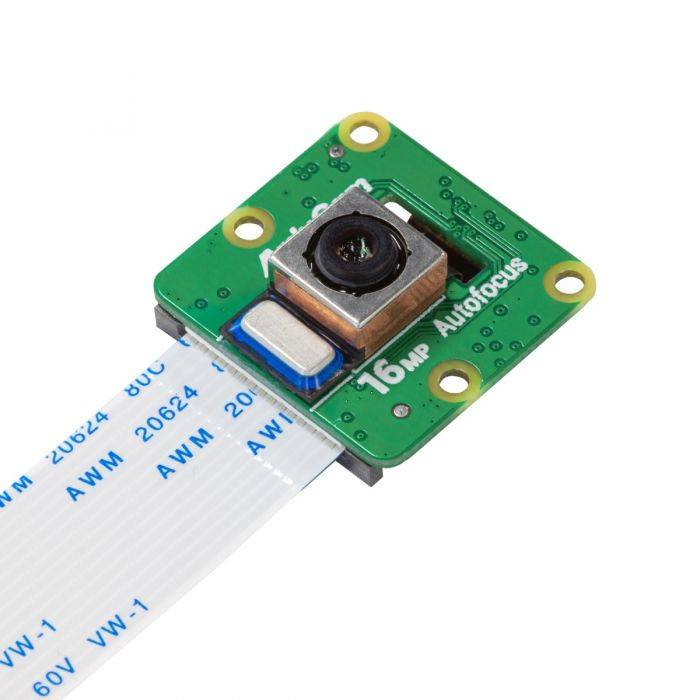 |
B0371 | 15/Bottom | High Resolution | AutoFocus | 650nm IR cut filter | ||||
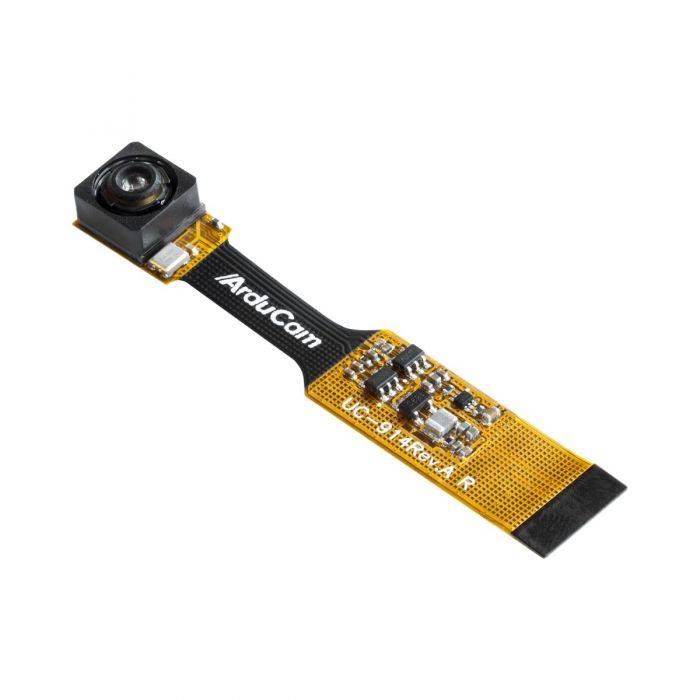 |
B0389 | 15/NA | Miniature Camera | 65°(H) x 48.8°(V) | Fixed Focus | without IR-cut filter | |||
| B0391 | 22/NA | ||||||||
 |
B0367 | AR1820HS | 18MP | 22/Top | High Resolution | M12 Lens | 75°(H) x 56°(V) | Manual Focus | 650nm IR-cut filter |
 |
B0324 | IMX230 | 21MP | 22/Top | High Resolution | Stock Lens | 64°(H) x 48°(V) | Autofocus | 650nm IR-cut filter |
 |
B0399 | 64MP | 64MP | 15/Bottom | High Resolution | Stock Lens | 72°(H) x 54.6°(V) | Autofocus | 650nm IR cut filter |
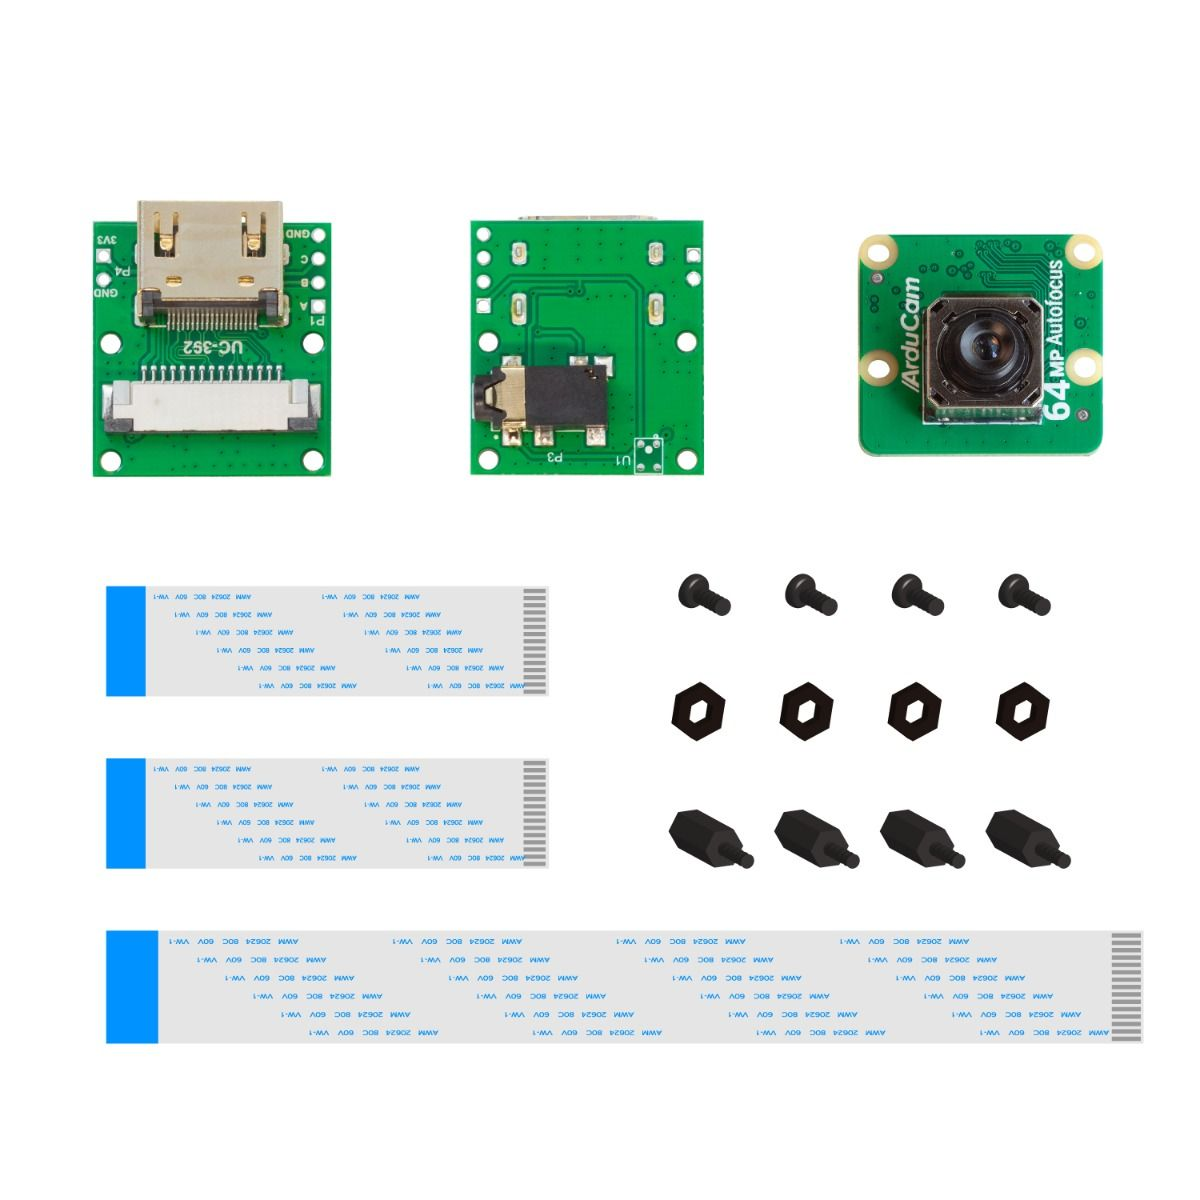 |
B0399B0091 | HDMI Extension Kit | |||||||
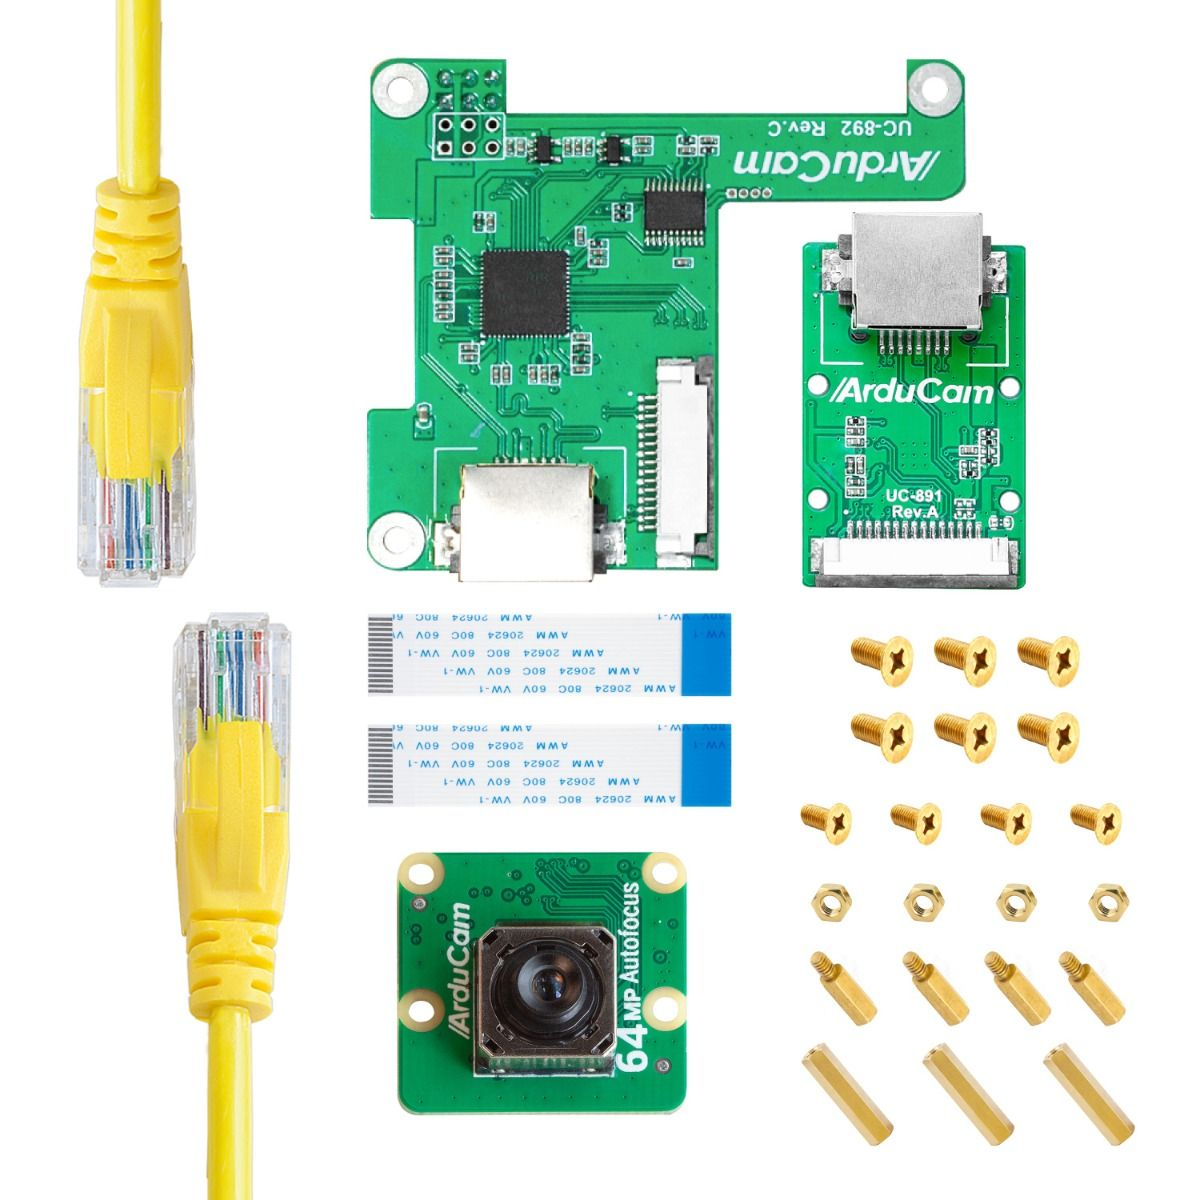 |
B0399U6248 | Ethernet Extension Kit | |||||||
 |
B0399B0283 | Pan-Tilt Kit | |||||||
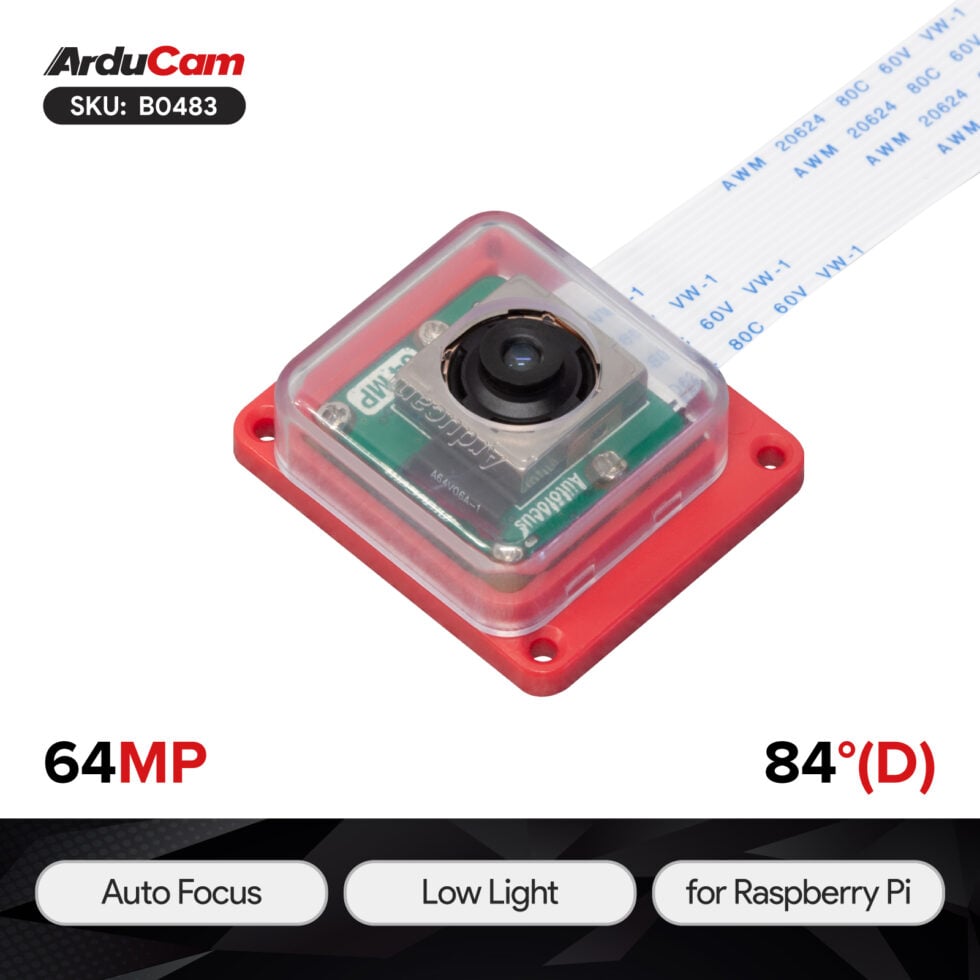 |
B0483 | 64MP | OV64A40 | 15/Bottom | Ultra High Resolution | Stock Lens | 84°(D)×68°(H)×56°(V) | Autofocus | 650nm IR cut filter |
Software
Native Cameras
For Native cameras, please refer to the official Raspberry Pi documentation: Doc
Native Camera Board list:
| Resolution | Camera Module |
|---|---|
| 12MP | imx477 |
| 12MP | imx378 |
| 12MP | 477m |
| 12MP | imx708 |
| 15MP | imx519 |
| 64MP | 64MP Hawkeye |
| 64MP | 64MP OwlSight |
IMX378/imx477/imx519/64MP-Hawkeye Cameras
Please refer to the following doc for more details about quick start guide:
Quick Start Guide for Raspberry Pi Native camera modules
imx708 camera module
Please refer to the following doc for more details about quick start guide:
Quick Start Guide for Arducam 12MP IMX708 Camera Module
64MP OwlSight camera module
Please refer to the following doc for more details about quick start guide:
Quick Start Guide for Arducam 64MP OwlSight OV64A40 Camera Module
Pivariety Cameras
For the AR1820HS/IMX230, you can refer to the following information:
AR1820HS/IMX230 camera list:
| Resolution | Camera Module |
|---|---|
| 18MP | AR1820HS |
| 21MP | IMX230 |
You can refer to the following documentation to install the driver and access the camera: