2MP OV2640 Arducam Camera Module for Microbit
What is Micro:bit?
The BBC has unveiled the BBC Micro:bit, a pocket-sized codeable computer with motion detection, a built-in compass, and Bluetooth technology. You can see the video to learn more, and go to the official website.
This document is to introduce you how to use Arducam Camera and Micro:bit to take pictures.

What is Arducam 2MP OV2640 Camera?
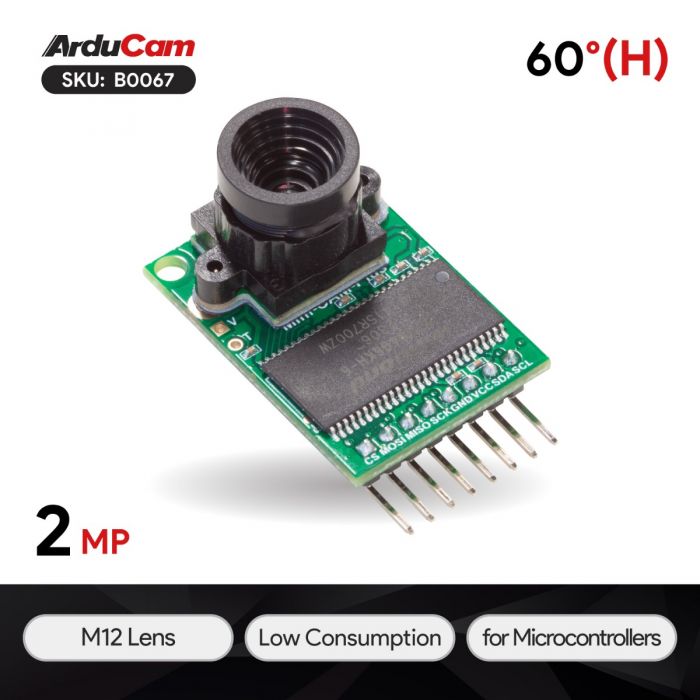
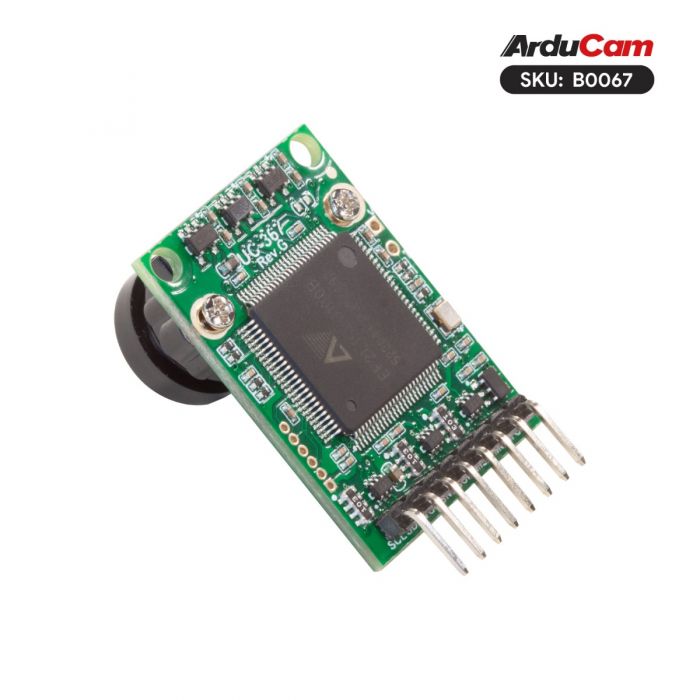
ArduCAM-M-2MP-Plus is an updated version of ArduCAM-M-2MP and is a high definition 2MP SPI camera, which reduces the complexity of the camera control interface. It integrates 2MP CMOS image sensor OV2640 and provides miniature size, as well as the easy-to-use hardware interface and open source code library.
The ArduCAM mini can be used in any platforms like Arduino, Raspberry Pi, Maple, Chip kit, Beaglebone black, as long as they have SPI and I2C interfaces and can be well mated with standard Arduino boards. ArduCAM mini not only offers the capability to add a camera interface that doesn’t have in some low-cost microcontrollers but also provides the capability to add multiple cameras to a single microcontroller.
Get one Arducam OV2640 Camera Now
 |
 |
Ready to work
Hardware
- Micro:bit
- adapter board
- OV2640 Camera
- Dupont Lines
- micro-usb to usb cable.
Software
- Plugin of makecode to load block
- Plugin of chrome to display the picture shoot by camera.
Hardware setup
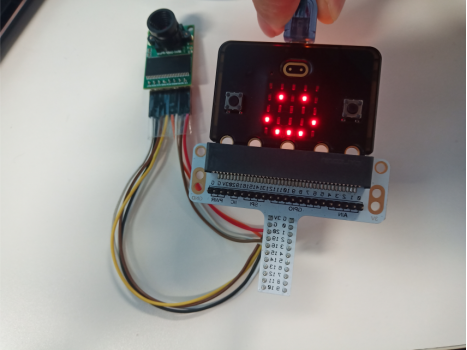
The first step is to insert the Micro:bit into the adapter board as shown in Figure 1. The second step is to use the color DuPont cable to connect the camera module to the adapter board as shown in Figure 2.
The pin definition is shown in Table 1. The last step is to connect the Micro-USB port of the Micro-USB to the USB cable to the Micro:bit as shown in Figure 3, and connect the USB port to your computer.
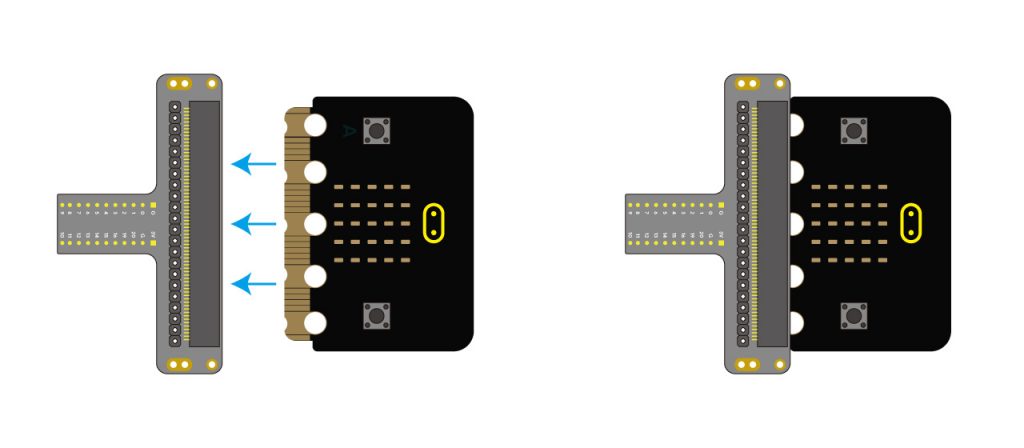
Figure 1
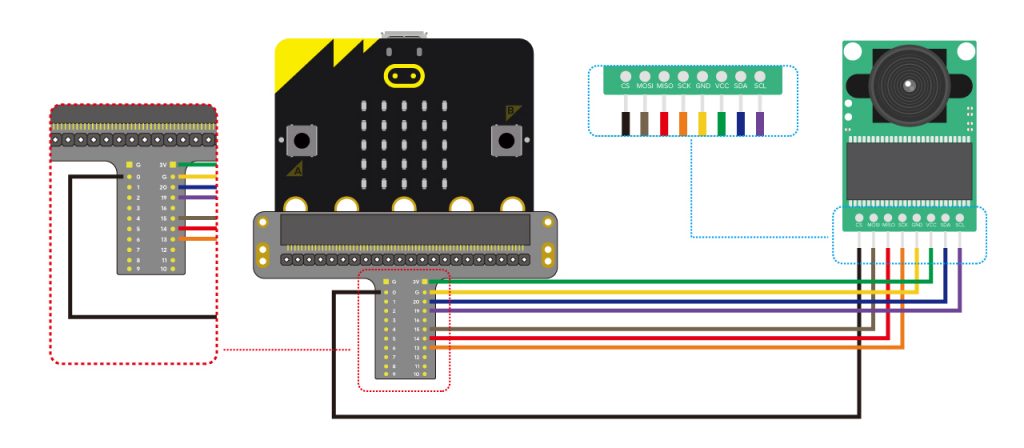
Figure 2
| Arducam Camera | CS | MOSI | MISO | SCK | GND | VCC | SDA | SCL |
|---|---|---|---|---|---|---|---|---|
| Micro:bit | 0 | 15 | 14 | 13 | G | 3V | 20 | 19 |
Table 1
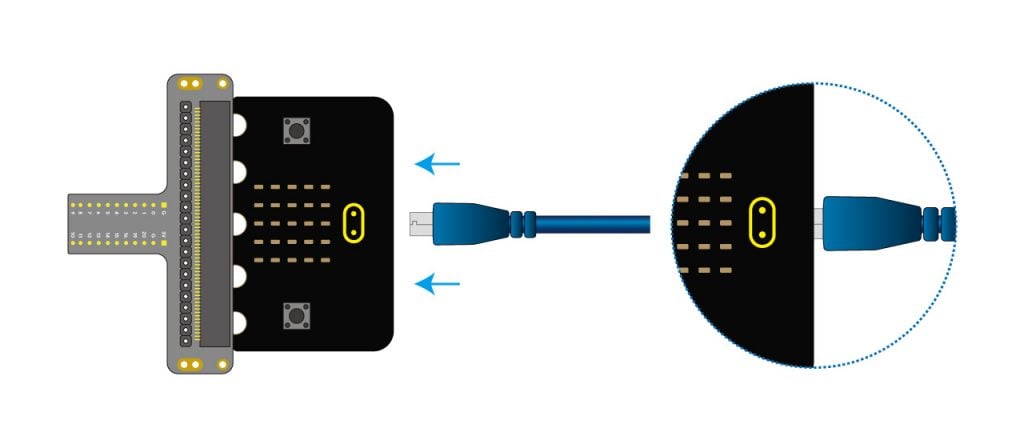
Figure 3
Load camera block and plugin
You can also operate according to the video, or follow the doc.
Open up the page, and click New project, enter the project name (what you like),and open up.
Select Advanced-Extensions, enter the click: https://github.com/Arducam-team/pxt-arducam in the search bar, select the option of Arducam to import, and wait for completion.
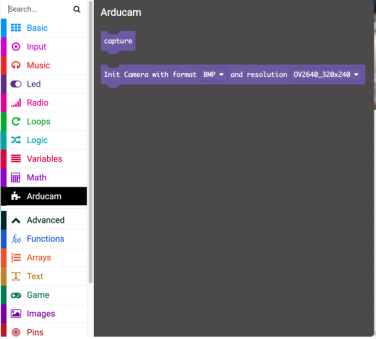
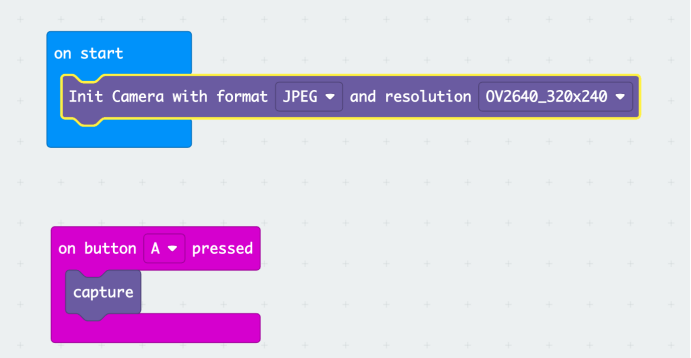
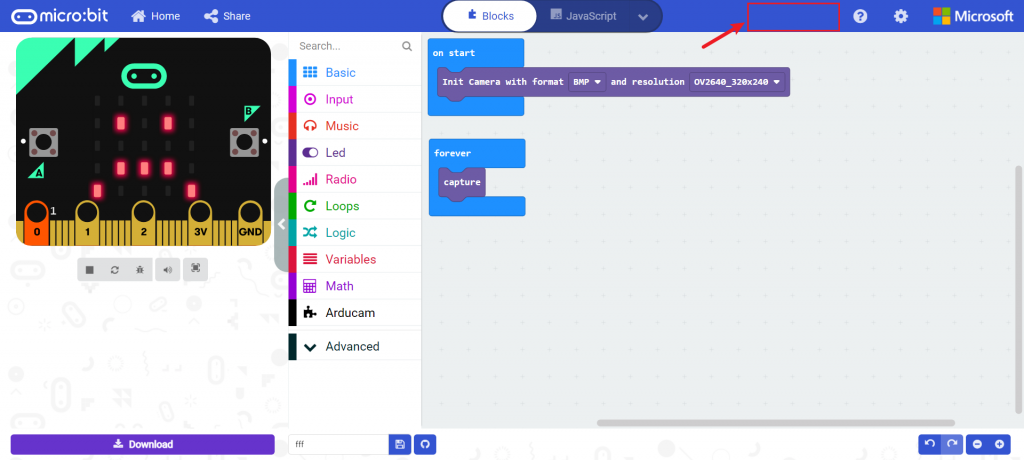
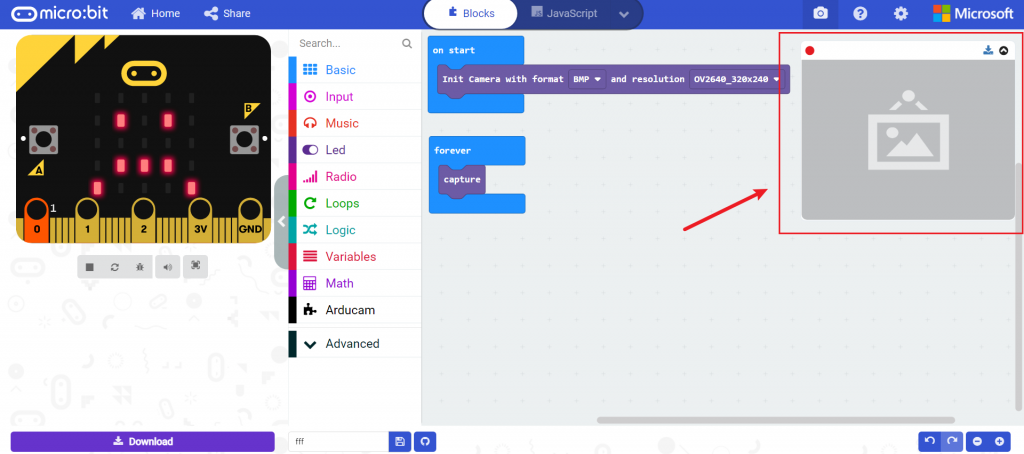
Select the blocks and reposition like the following figure.
Please make sure your computer have been connected Micro:bit, then click Download.
If the following prompt pops up on your computer, it means that your device is not connected properly.
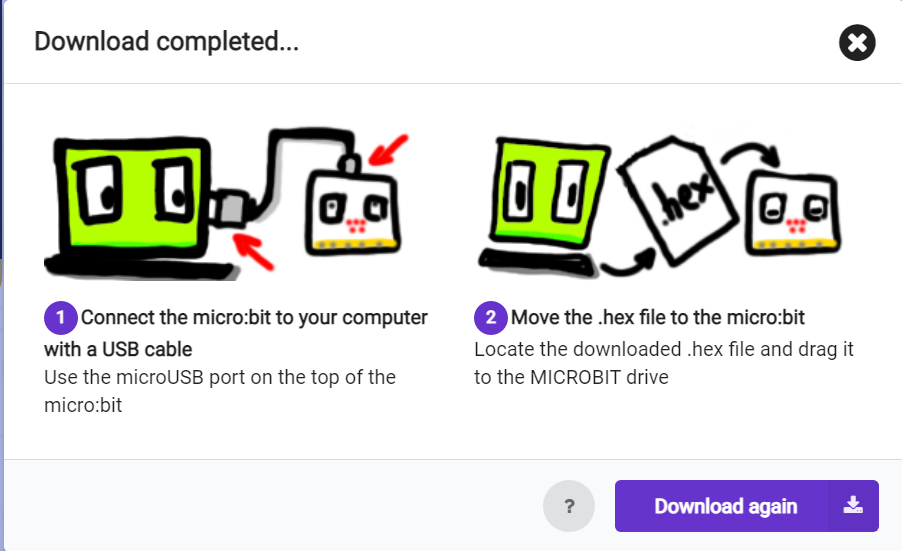
After the download is successful, you will see a smiley face. Congratulations! The camera is initialized successfully.
Install the photo display plugin
Download and install the plugin from chrome web store.
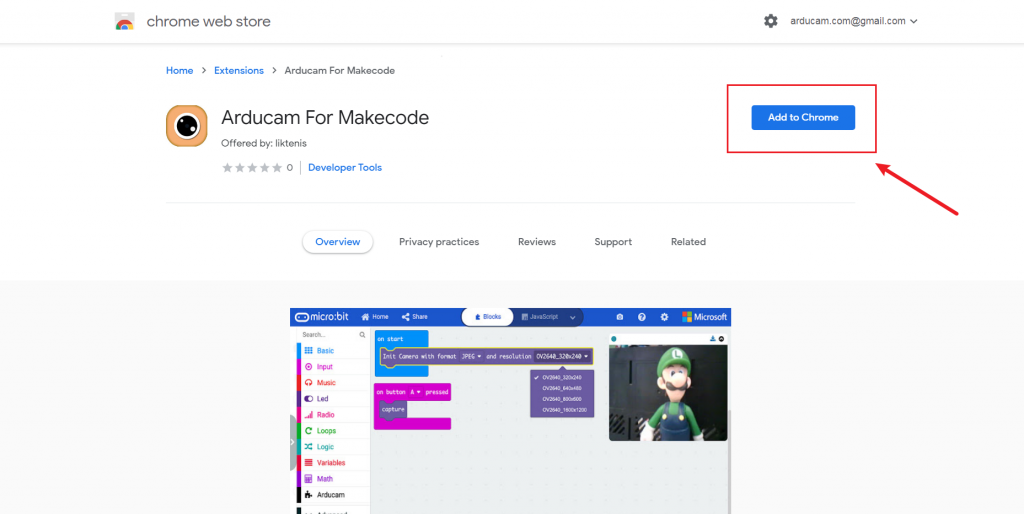
Before installing the plugin.
After installing the plugin successfully.
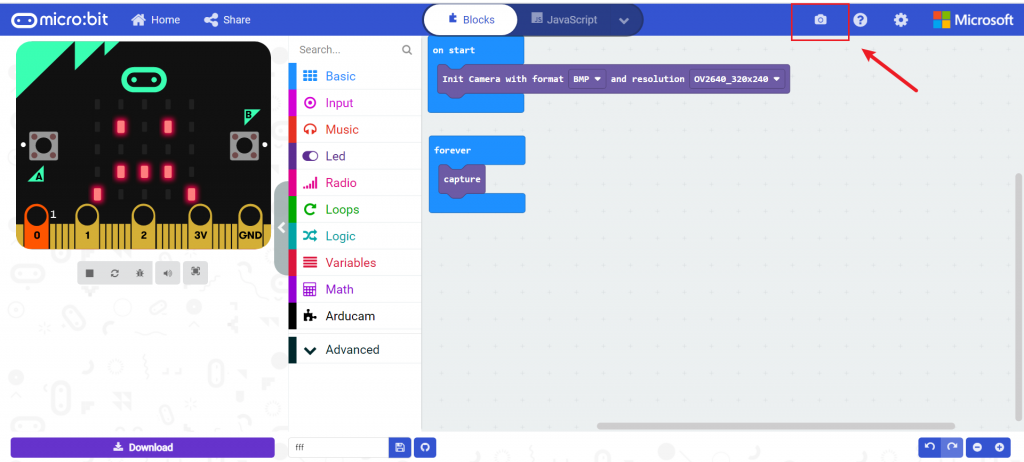
Note: If you can not see the Camera logo, please reflash your webpage.
Click the little Camera logo to open the preview window.
Capture
Please press button A on Micro:bit, at this time, the wait in the upper right corner will flash, and then you can see the photo you took on the computer.