For 12MP IMX477 Motorized Focus Camera
Product
| Product Image | SKU | Pin/Connect Type | Sensor | Resolution | Features | Lens Type | Field of View(HxV) | Focus Type | IR Sensitivity |
|---|---|---|---|---|---|---|---|---|---|
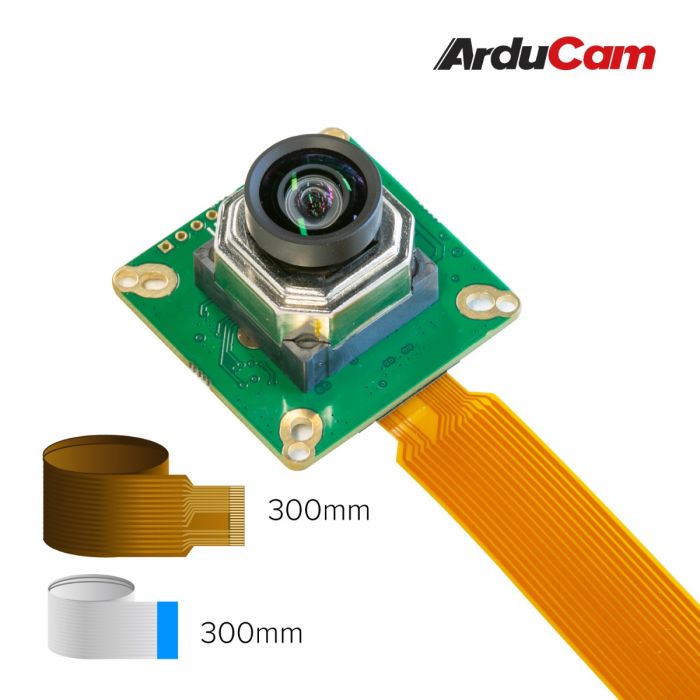 |
B0272 | 22/TOP | IMX477 | 12MP | High Resolution | M12 | 75°(H) x 56.3°(V) | Motorized Focus | 650nm IR-cut filter |
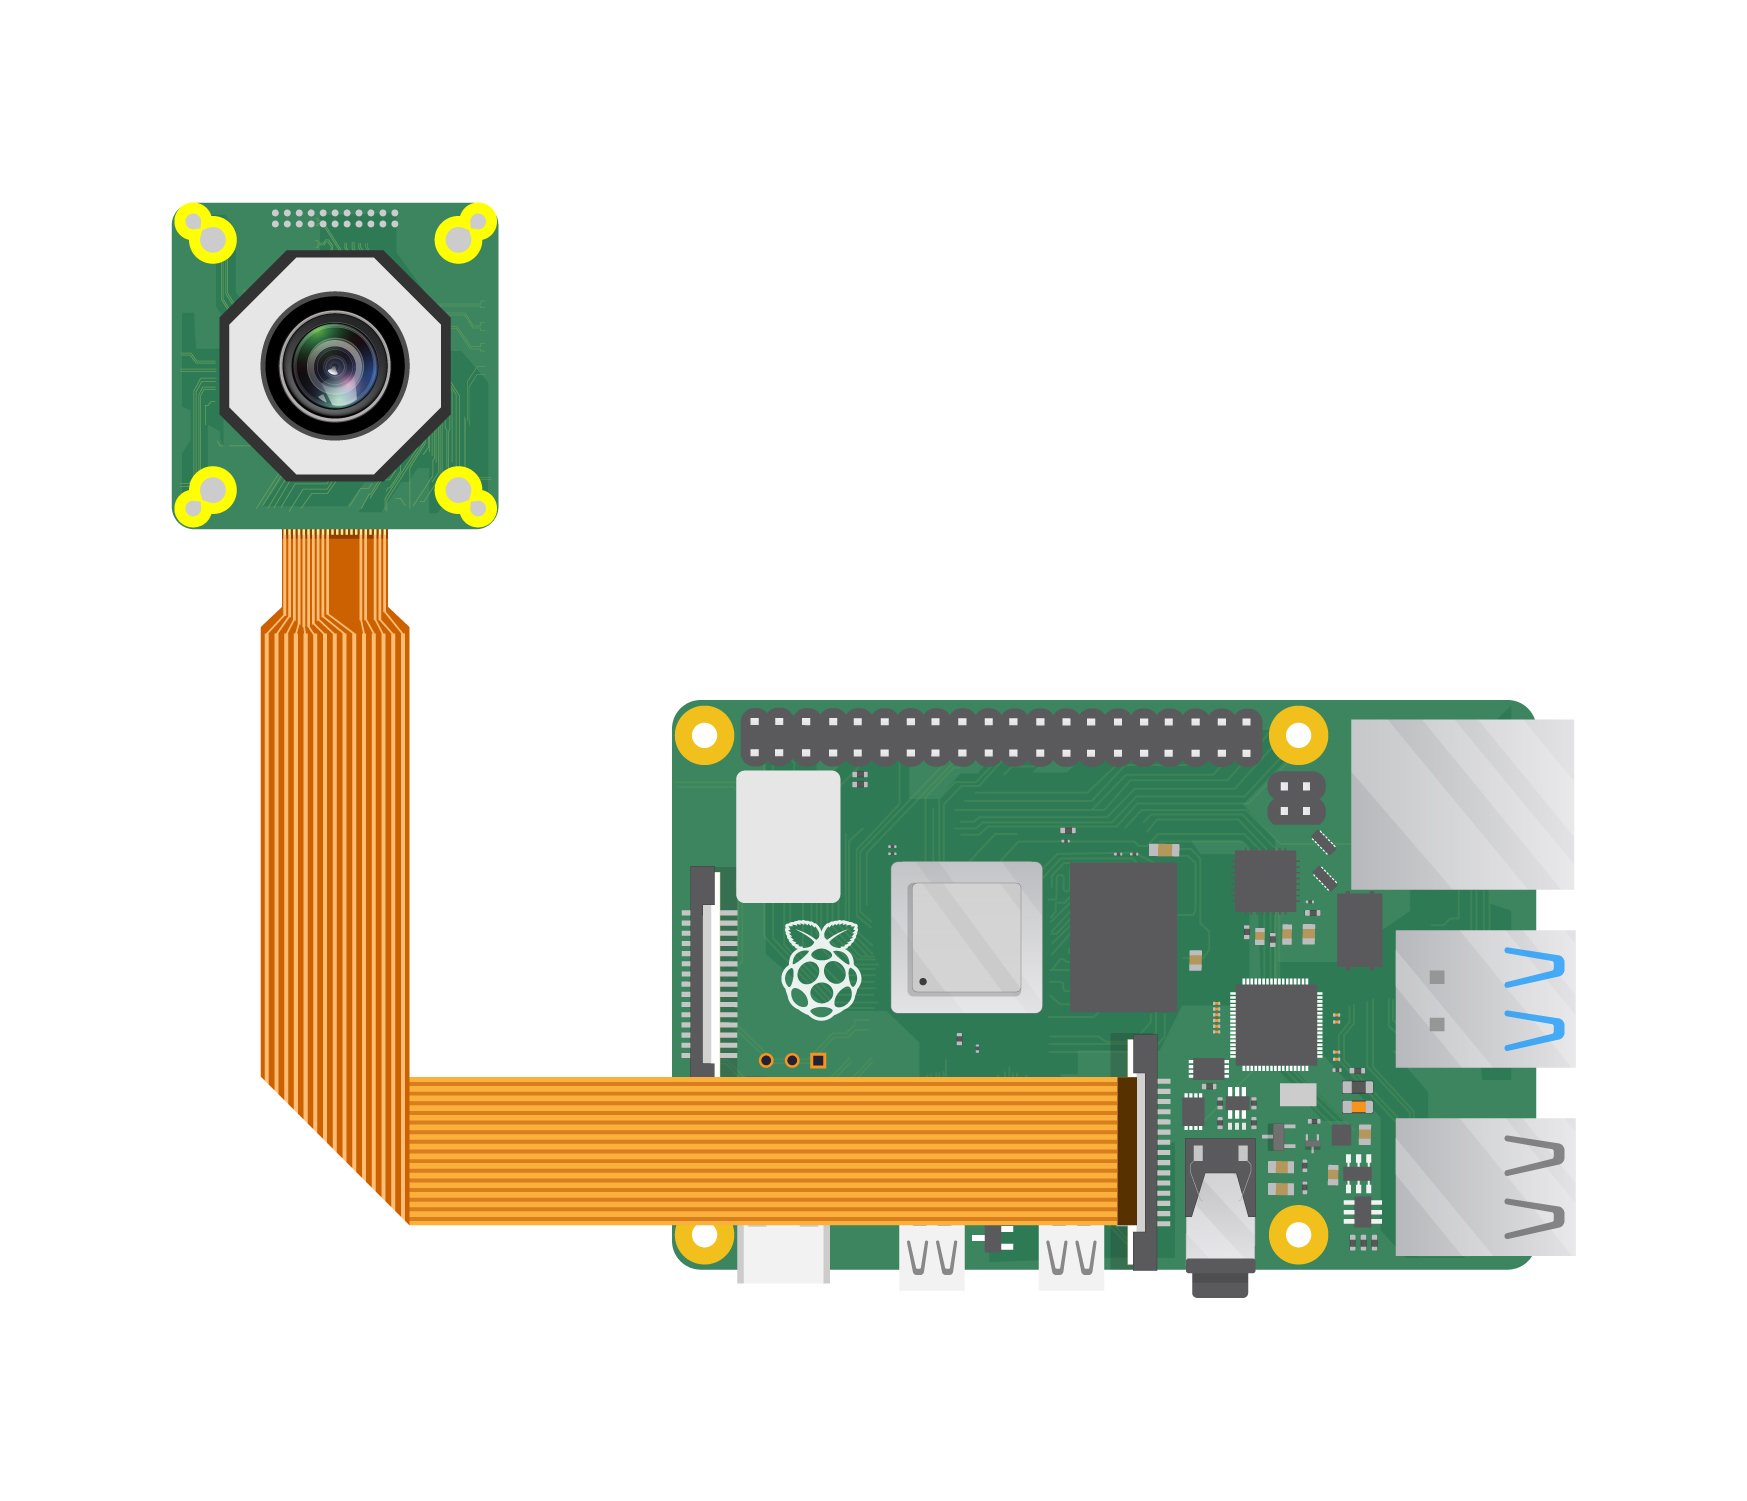
Hardware
Software
Enable the Focus Driver
1.Download the Archive
cd ~
mkdir imx477_dtb_test
cd imx477_dtb_test
wget https://github.com/ArduCAM/Arducam-Pivariety-V4L2-Driver/releases/download/Arducam_pivariety_v4l2_v1.0/imx477_rpi_dtoverlay.tar.gz
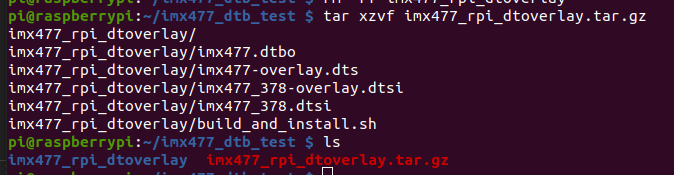
2.Unzip File
tar xzvf imx477_rpi_dtoverlay.tar.gz
3.Compile and Install
cd imx477_rpi_dtoverlay/
./build_and_install.sh
sudo reboot

4.Configure the Camera
- Bookworm OS & Pi 5
For Raspberry Pi Bookworm users running on Pi 5, please execute:
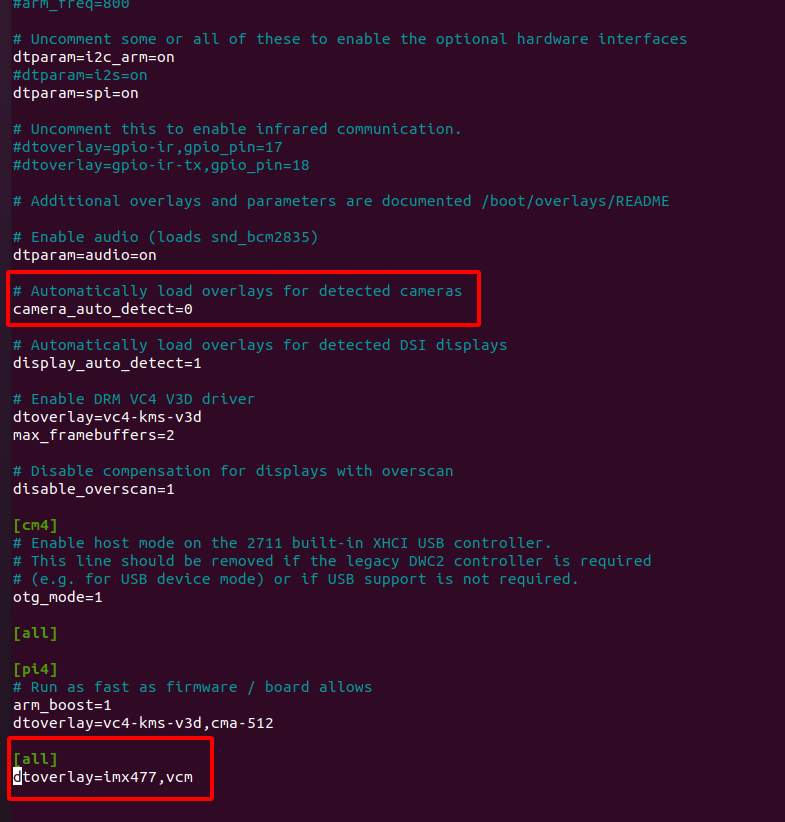
sudo nano /boot/firmware/config.txt
#Find the line: camera_auto_detect=1, update it to:
camera_auto_detect=0
#Find the line: [all], add the following item under it:
dtoverlay=imx477,vcm
#Save and reboot.
If you want to enable the camera kit on the
cam0port of Pi5, please refer to the following modifications:
sudo nano /boot/firmware/config.txt
#Find the line: camera_auto_detect=1, update it to:
camera_auto_detect=0
#Find the line: [all], add the following item under it:
dtoverlay=imx477,vcm,cam0
#Save and reboot.
- Bookworm/Bullseye OS & Pi 4
For Raspberry Pi Bookworm/Bullseye users running on Pi 4, please execute:
Bookworm OS on Pi4
sudo nano /boot/firmware/config.txt
#Find the line: camera_auto_detect=1, update it to:
camera_auto_detect=0
#Find the line: [all], add the following item under it:
dtoverlay=imx477,vcm
#Save and reboot.
Bullseye OS on Pi4
sudo nano /boot/config.txt
#Find the line: camera_auto_detect=1, update it to:
camera_auto_detect=0
#Find the line: [all], add the following item under it:
dtoverlay=imx477,vcm
#Save and reboot.
- Bookworm/Bullseye OS & Pi 0 ~ Pi 3
For Raspberry Pi Bookworm/Bullseye users running on Pi 0 ~ 3, please execute:
Bookworm OS on Pi0-Pi3
sudo nano /boot/firmware/config.txt
#Find the line: camera_auto_detect=1, update it to:
camera_auto_detect=0
#Find the line: [all], add the following item under it:
dtoverlay=imx477,vcm
#Save and reboot.
Bullseye OS on Pi0-Pi3
sudo nano /boot/config.txt
#Find the line: camera_auto_detect=1, update it to:
camera_auto_detect=0
#Find the line: [all], add the following item under it:
dtoverlay=imx477,vcm
#Save and reboot.
Open a terminal
Run sudo raspi-config
Navigate to Advanced Options
Enable Glamor graphic acceleration
Reboot your Pi
If you encounter the display issues, please also execute the following steps:
Open a terminal
Run sudo raspi-config
Navigate to Advanced Options
Navigate to GL Driver
Select GL (Full KMS)
Reboot your Pi
5.Reboot
sudo reboot
Install libcamera from Arducam
- Step 1. Download the bash scripts
wget -O install_pivariety_pkgs.sh https://github.com/ArduCAM/Arducam-Pivariety-V4L2-Driver/releases/download/install_script/install_pivariety_pkgs.sh
chmod +x install_pivariety_pkgs.sh
- Step 2. Install
libcamera
./install_pivariety_pkgs.sh -p libcamera
- Step 3. Install libcamera-apps
./install_pivariety_pkgs.sh -p libcamera_apps
Focus Control for Pi0~4
libcamera-still -t 0 --tuning-file /usr/share/libcamera/ipa/rpi/vc4/imx477_af.json
- Continuous Autofocus
libcamera-still -t 0 --autofocus-mode continuous --tuning-file /usr/share/libcamera/ipa/rpi/vc4/imx477_af.json
- Single Autofocus
libcamera-still -t 0 --autofocus-mode auto --tuning-file /usr/share/libcamera/ipa/rpi/vc4/imx477_af.json
- Manual Focus
libcamera-still -t 0 --autofocus-mode manual --tuning-file /usr/share/libcamera/ipa/rpi/vc4/imx477_af.json
# Use keyboard to control focus
# "f" trigger one-shot autofocus
# "a" add the lens position, "d" decrease the lens position, the minimum unit of step adjustment is 1
libcamera-still -t 0 --autofocus-mode manual -k --tuning-file /usr/share/libcamera/ipa/rpi/vc4/imx477_af.json
- Adjust Lens Position
libcamera-still -t 0 --autofocus-mode manual --lens-position 5 --tuning-file /usr/share/libcamera/ipa/rpi/vc4/imx477_af.json
- Autofocus Before Capture images
libcamera-still -t 0 --autofocus-on-capture --tuning-file /usr/share/libcamera/ipa/rpi/vc4/imx477_af.json
- Set Focus Range
# Normal
libcamera-still -t 0 --autofocus-range normal --tuning-file /usr/share/libcamera/ipa/rpi/vc4/imx477_af.json
# Close Focus
libcamera-still -t 0 --autofocus-range macro --tuning-file /usr/share/libcamera/ipa/rpi/vc4/imx477_af.json
Focus Control for Pi5
libcamera-still -t 0 --tuning-file /usr/share/libcamera/ipa/rpi/pisp/imx477_af.json
- Continuous Autofocus
libcamera-still -t 0 --autofocus-mode continuous --tuning-file /usr/share/libcamera/ipa/rpi/pisp/imx477_af.json
- Single Autofocus
libcamera-still -t 0 --autofocus-mode auto --tuning-file /usr/share/libcamera/ipa/rpi/pisp/imx477_af.json
- Manual Focus
libcamera-still -t 0 --autofocus-mode manual --tuning-file /usr/share/libcamera/ipa/rpi/pisp/imx477_af.json
# Use keyboard to control focus
# "f" trigger one-shot autofocus
# "a" add the lens position, "d" decrease the lens position, the minimum unit of step adjustment is 1
libcamera-still -t 0 --autofocus-mode manual -k --tuning-file /usr/share/libcamera/ipa/rpi/pisp/imx477_af.json
- Adjust Lens Position
libcamera-still -t 0 --autofocus-mode manual --lens-position 5 --tuning-file /usr/share/libcamera/ipa/rpi/pisp/imx477_af.json
- Autofocus Before Capture images
libcamera-still -t 0 --autofocus-on-capture --tuning-file /usr/share/libcamera/ipa/rpi/pisp/imx477_af.json
- Set Focus Range
# Normal
libcamera-still -t 0 --autofocus-range normal --tuning-file /usr/share/libcamera/ipa/rpi/pisp/imx477_af.json
# Close Focus
libcamera-still -t 0 --autofocus-range macro --tuning-file /usr/share/libcamera/ipa/rpi/pisp/imx477_af.json