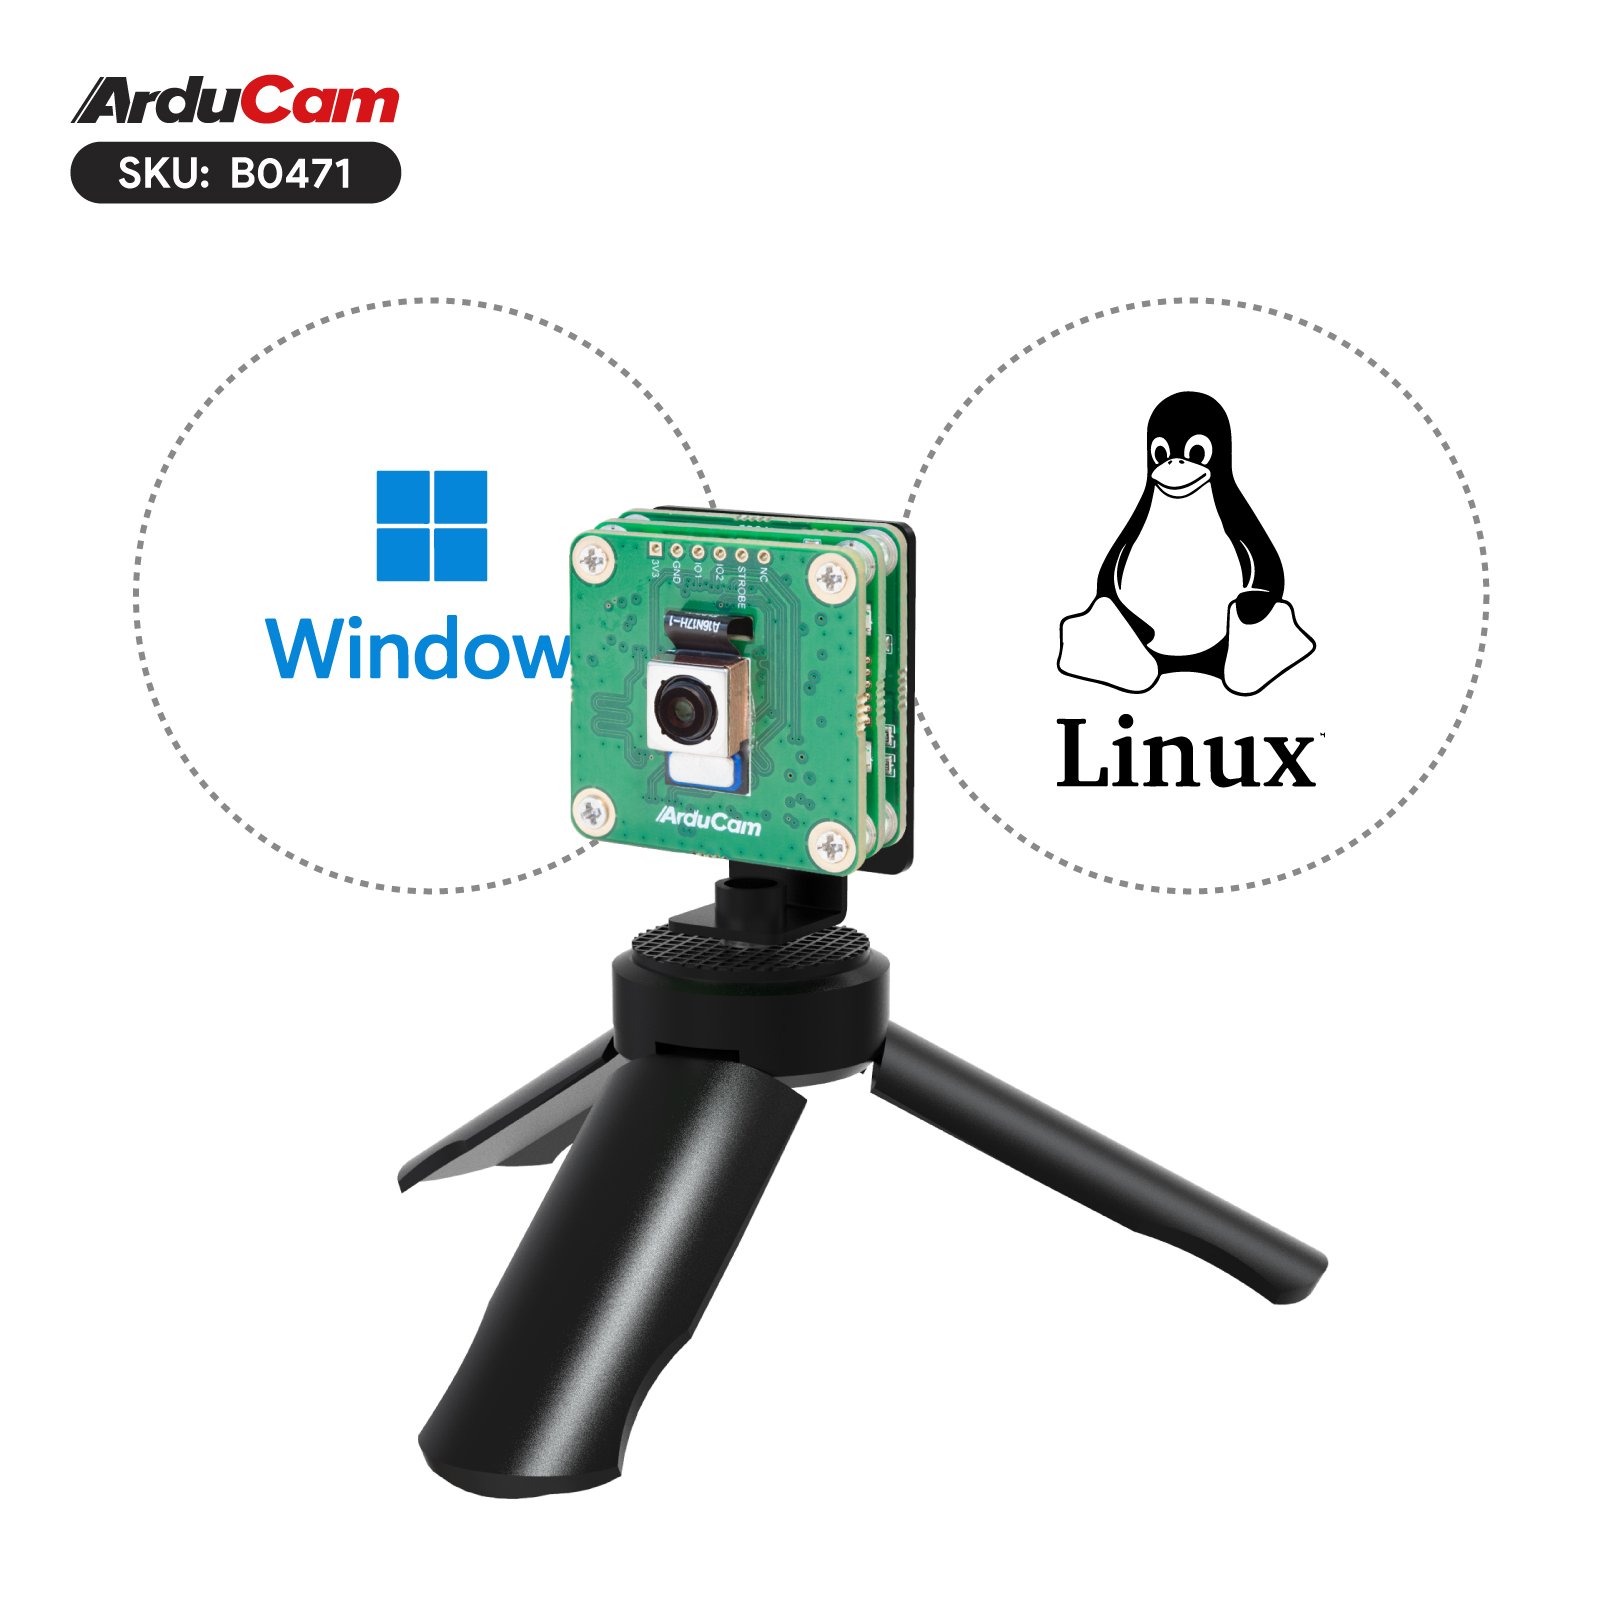
Start USB3 UVC Camera on Windows
Note
If you are using windows operating system, we recommend using PotPlayer and Python Opencv Demo to access UVC3.0 camera.
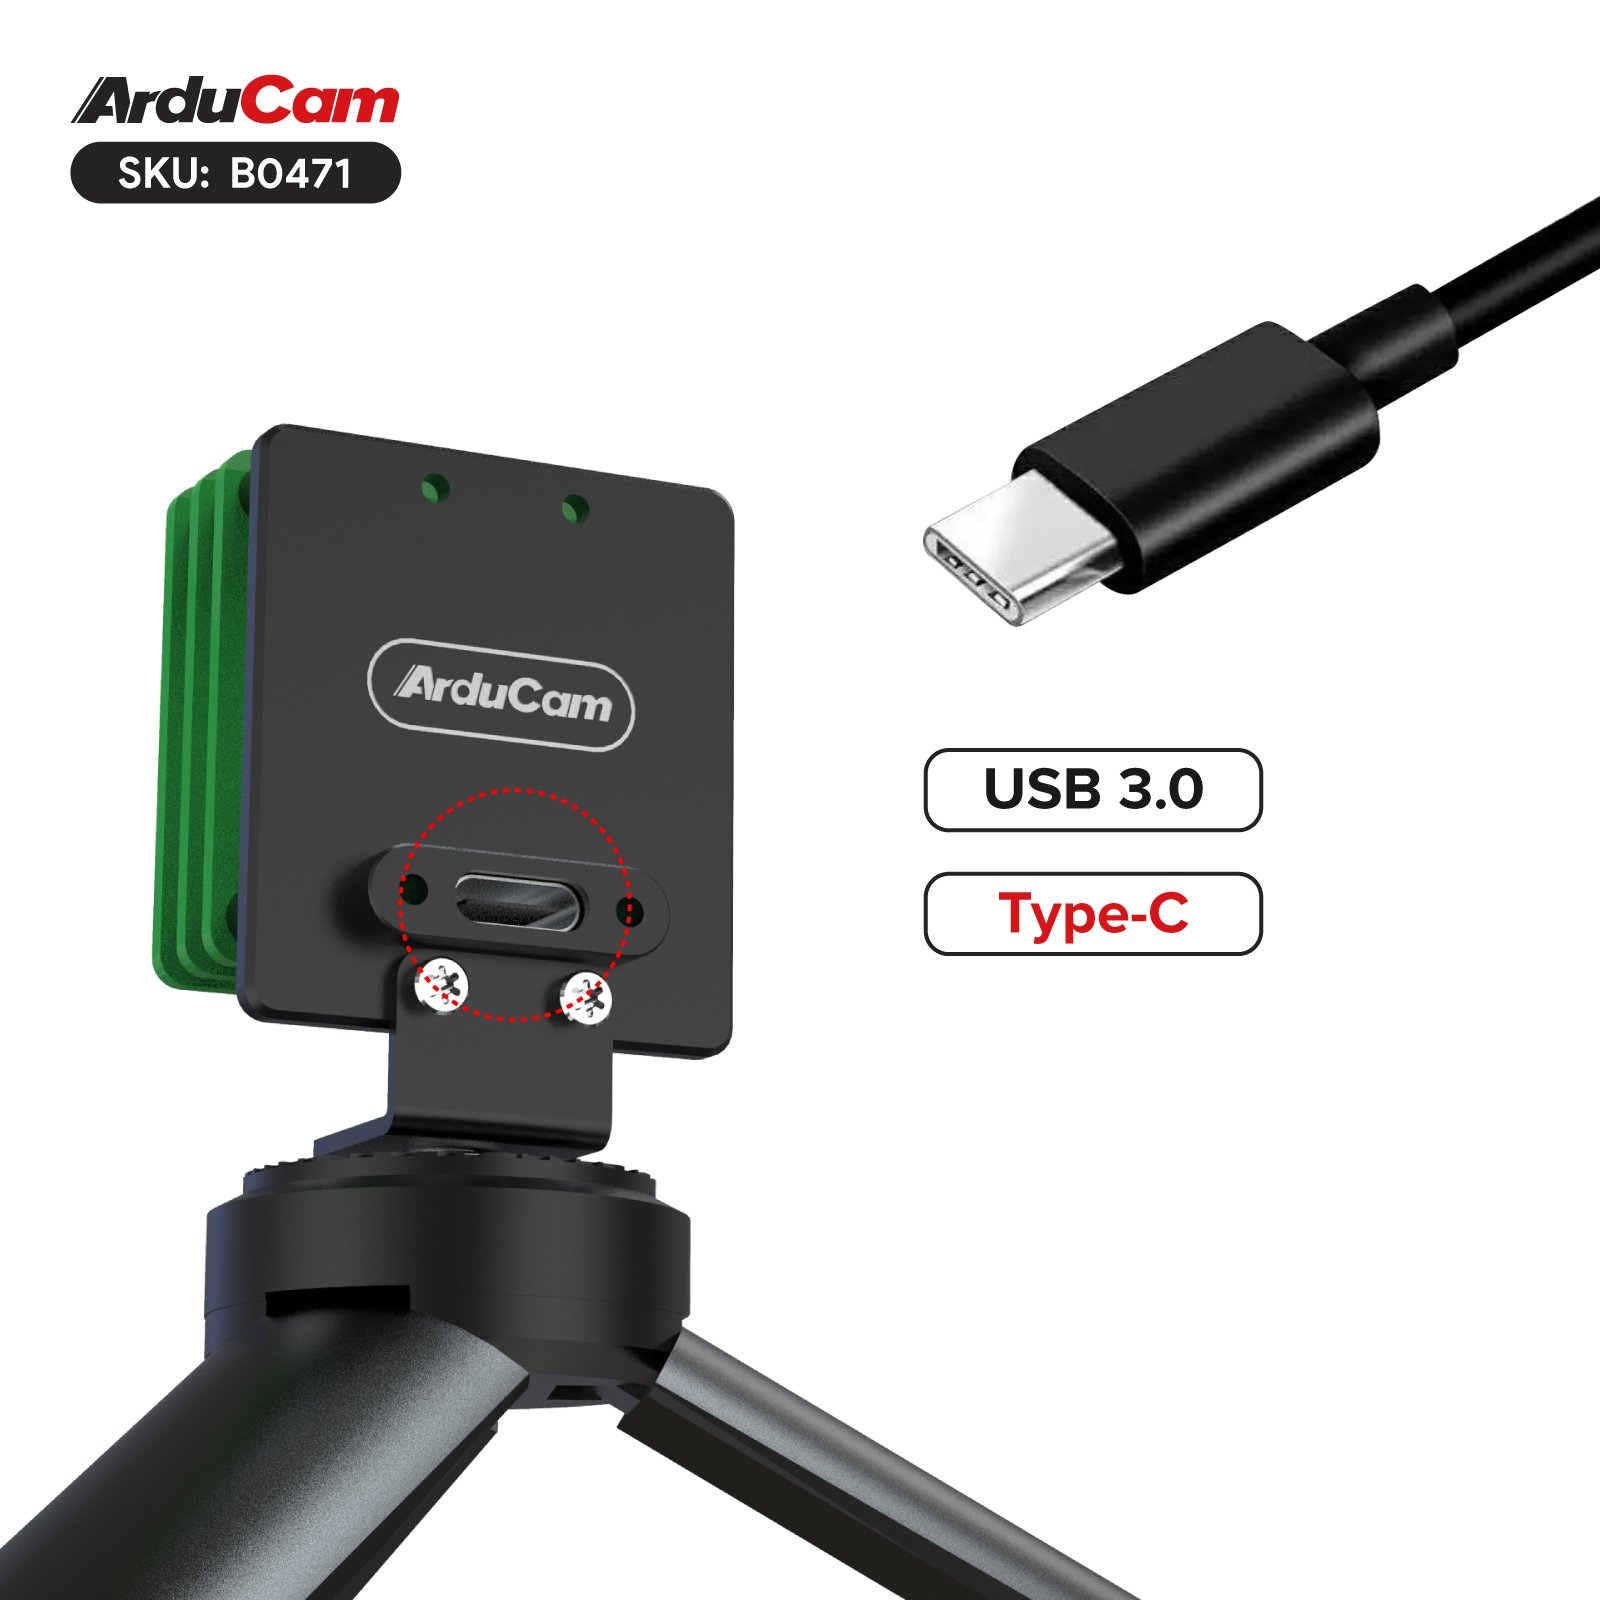
Hardware Connection
- Package List (Example: B0471)
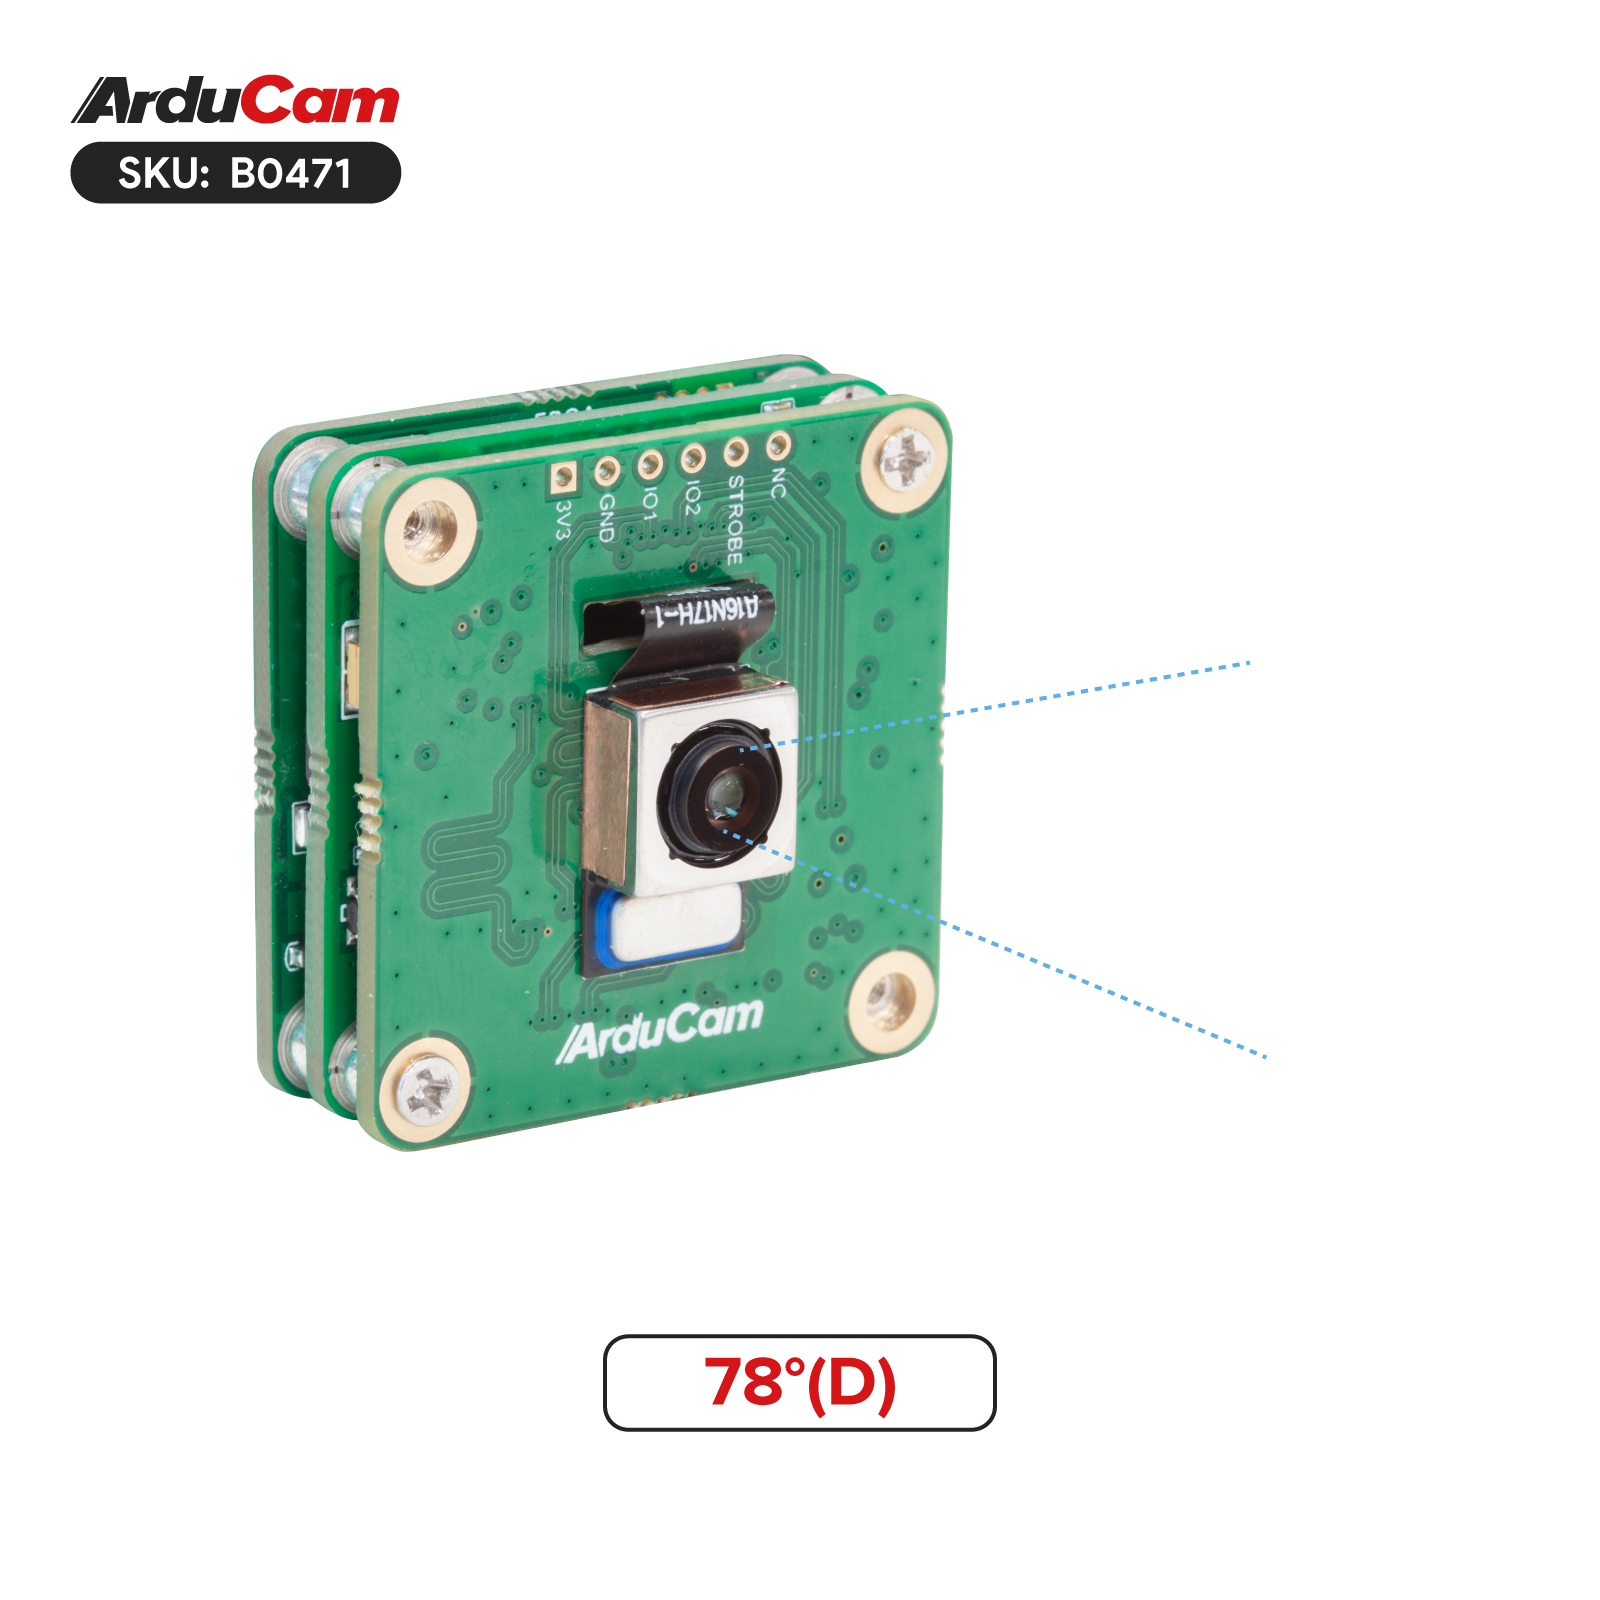 |
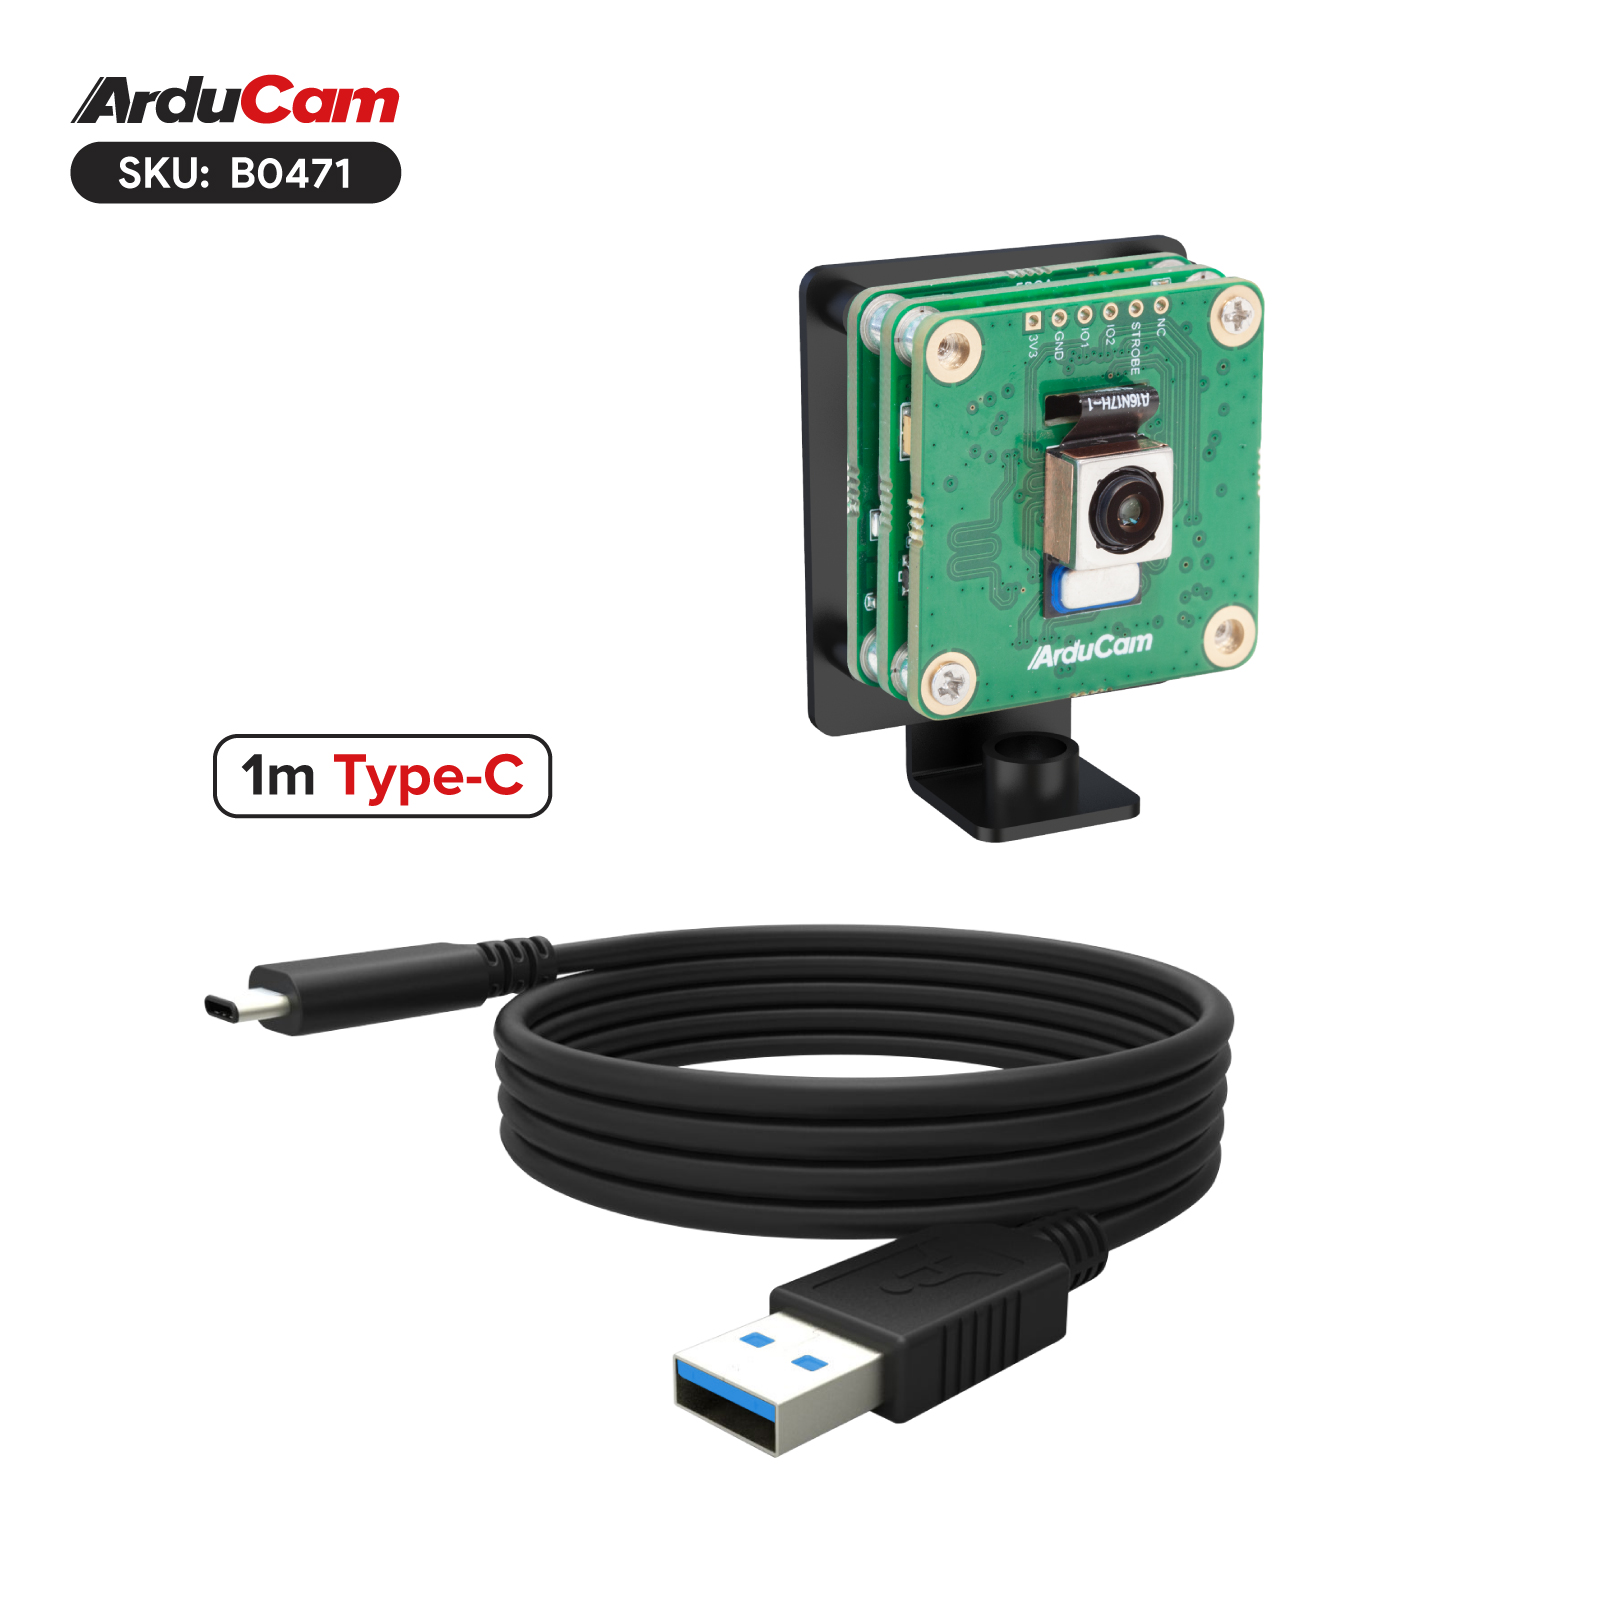 |
- Connection
 |
 |
Software Guide
PotPlayer
- Supported Systems
Windows 8、Windows 8.1、Windows 10 and higher version
- Download PotPlayer
You can download the PotPlayer software from the link below and install it on your computer
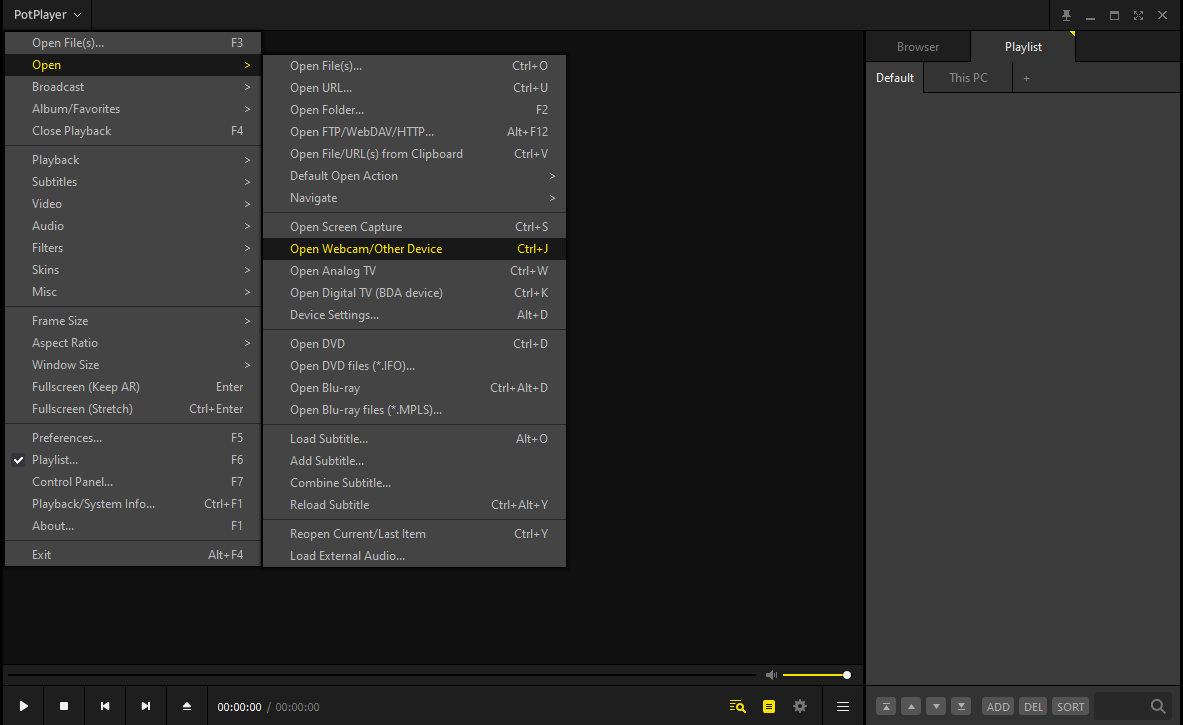
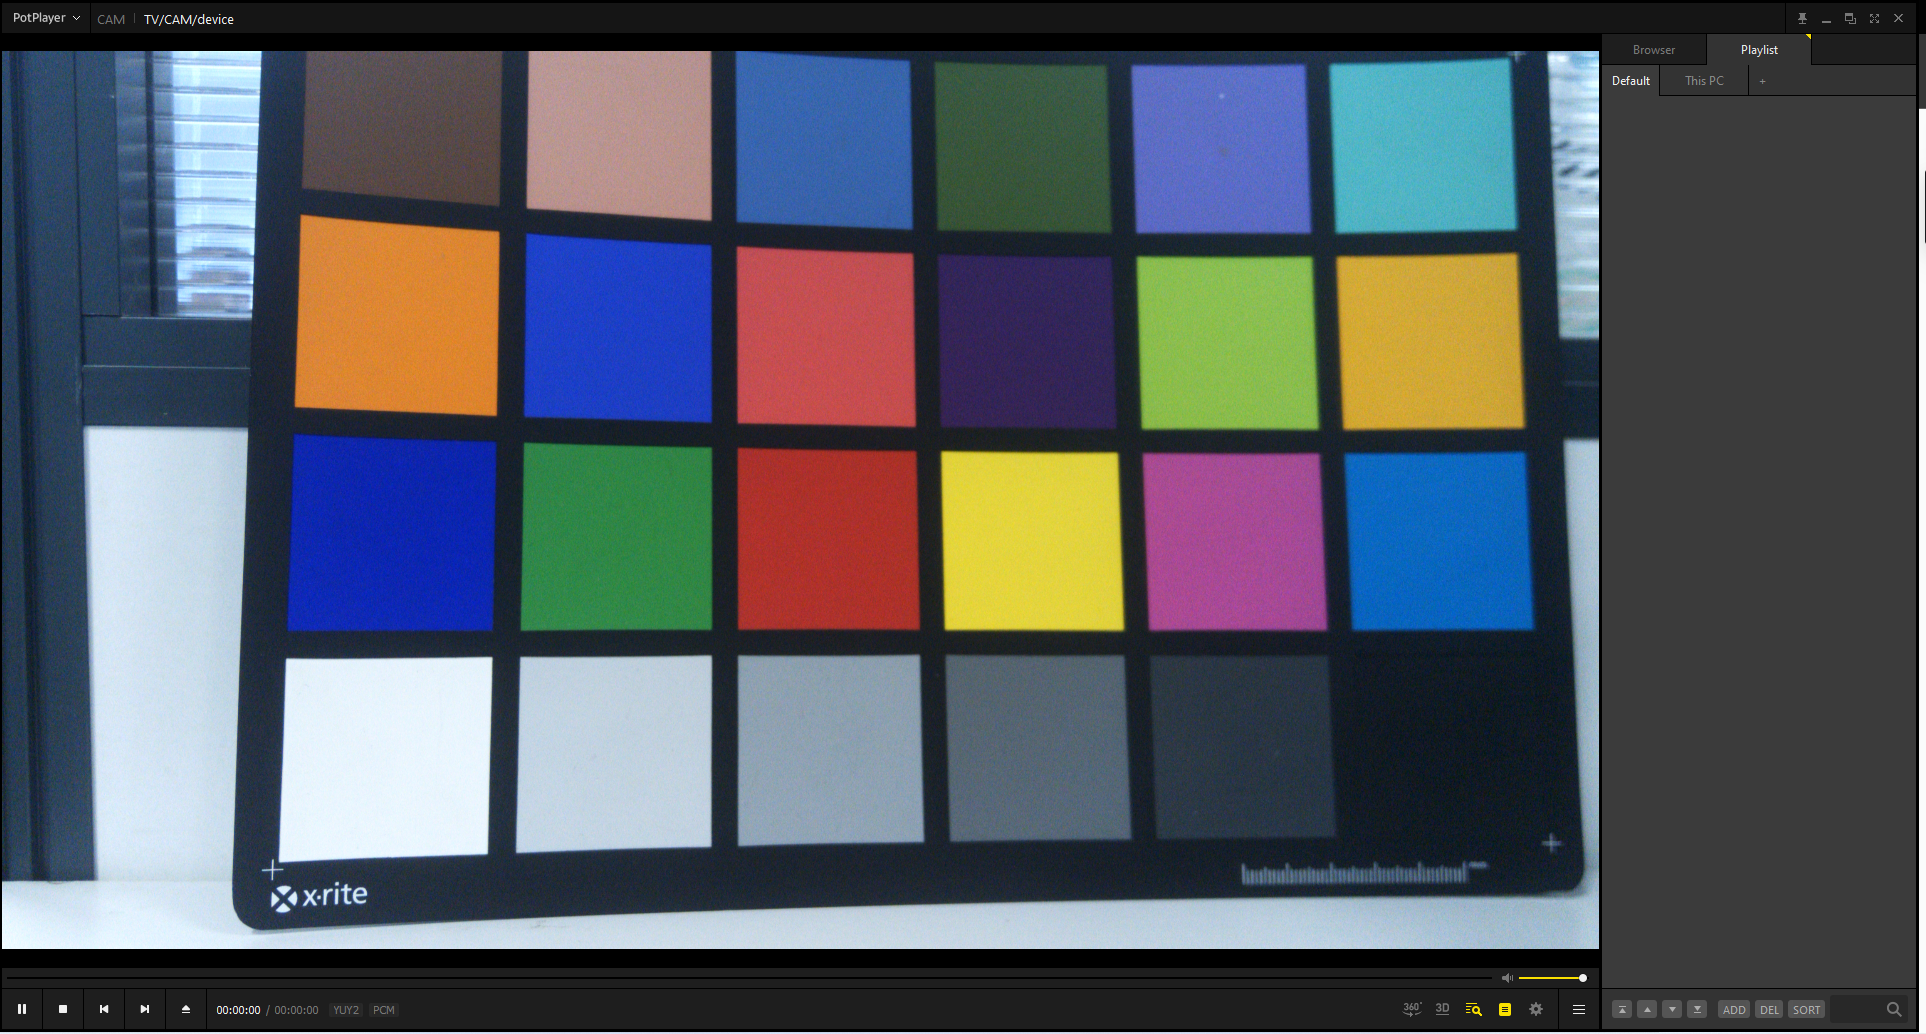
- How to turn on the camera
After opening the software, click
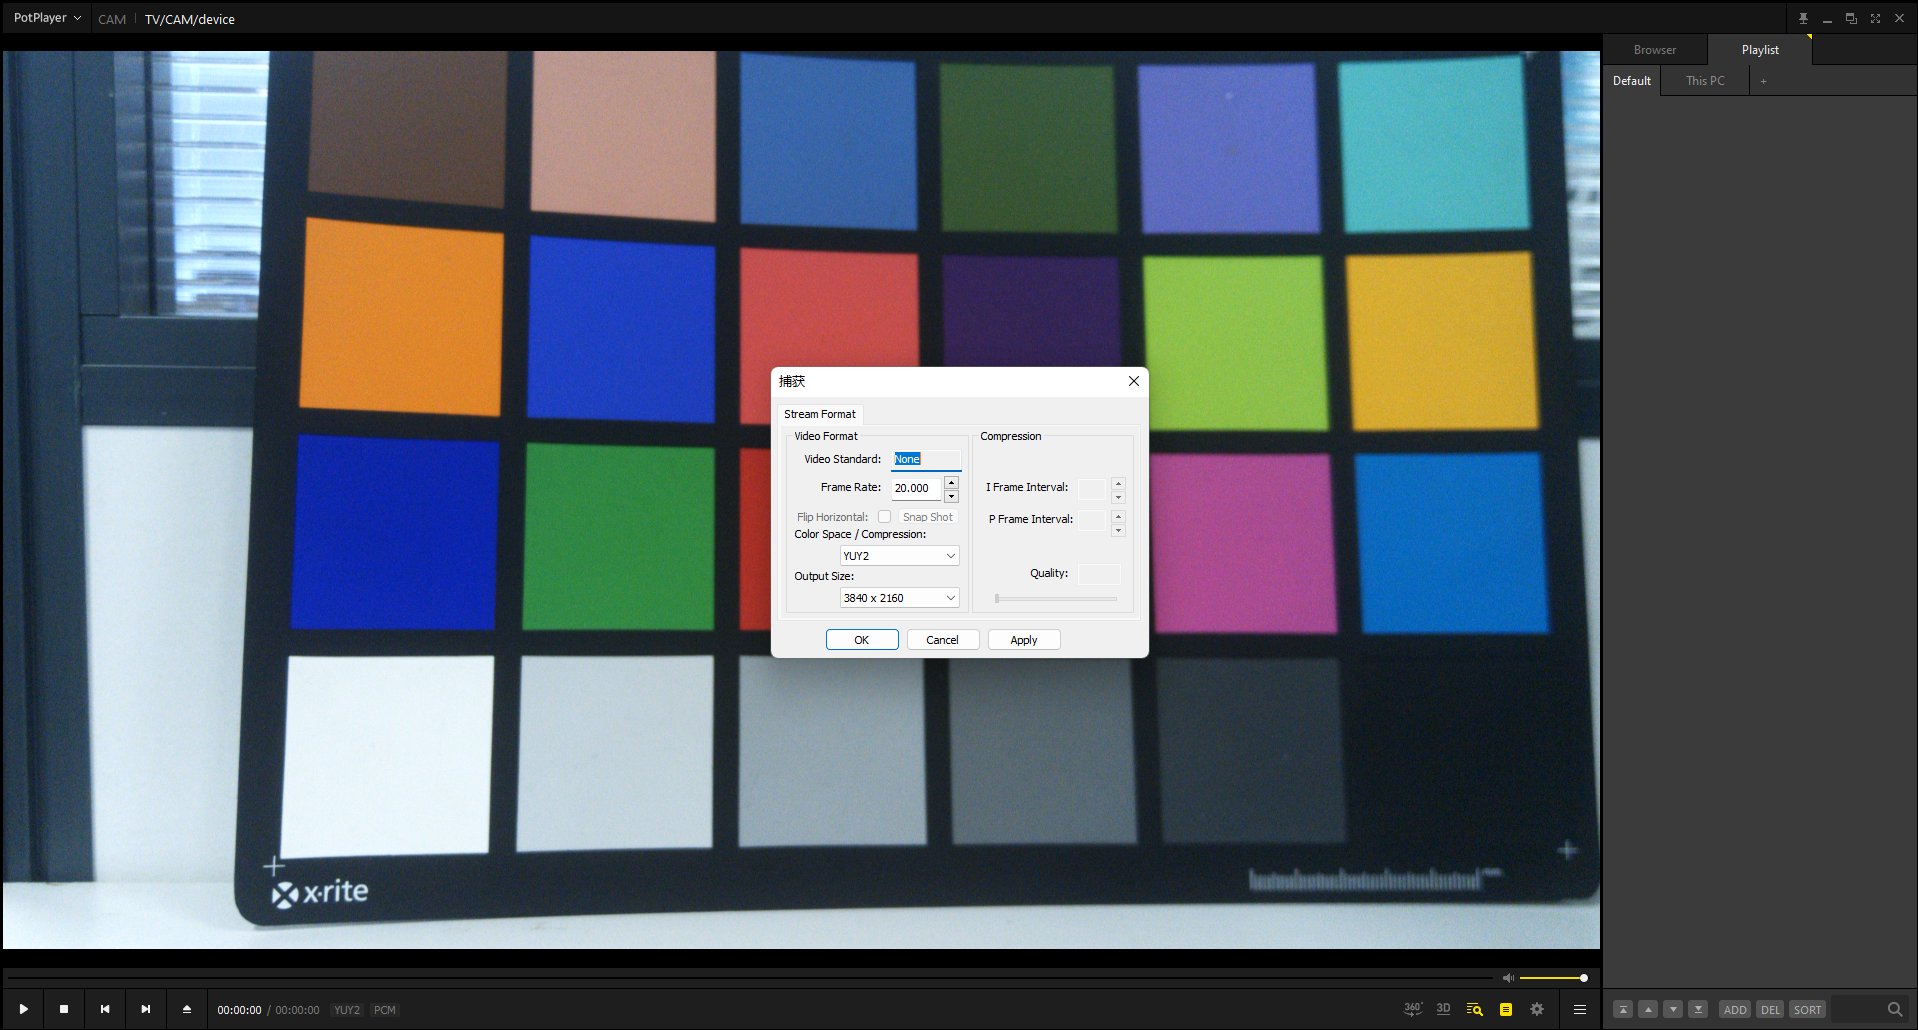
- How to choose the Resolution and Frame rate

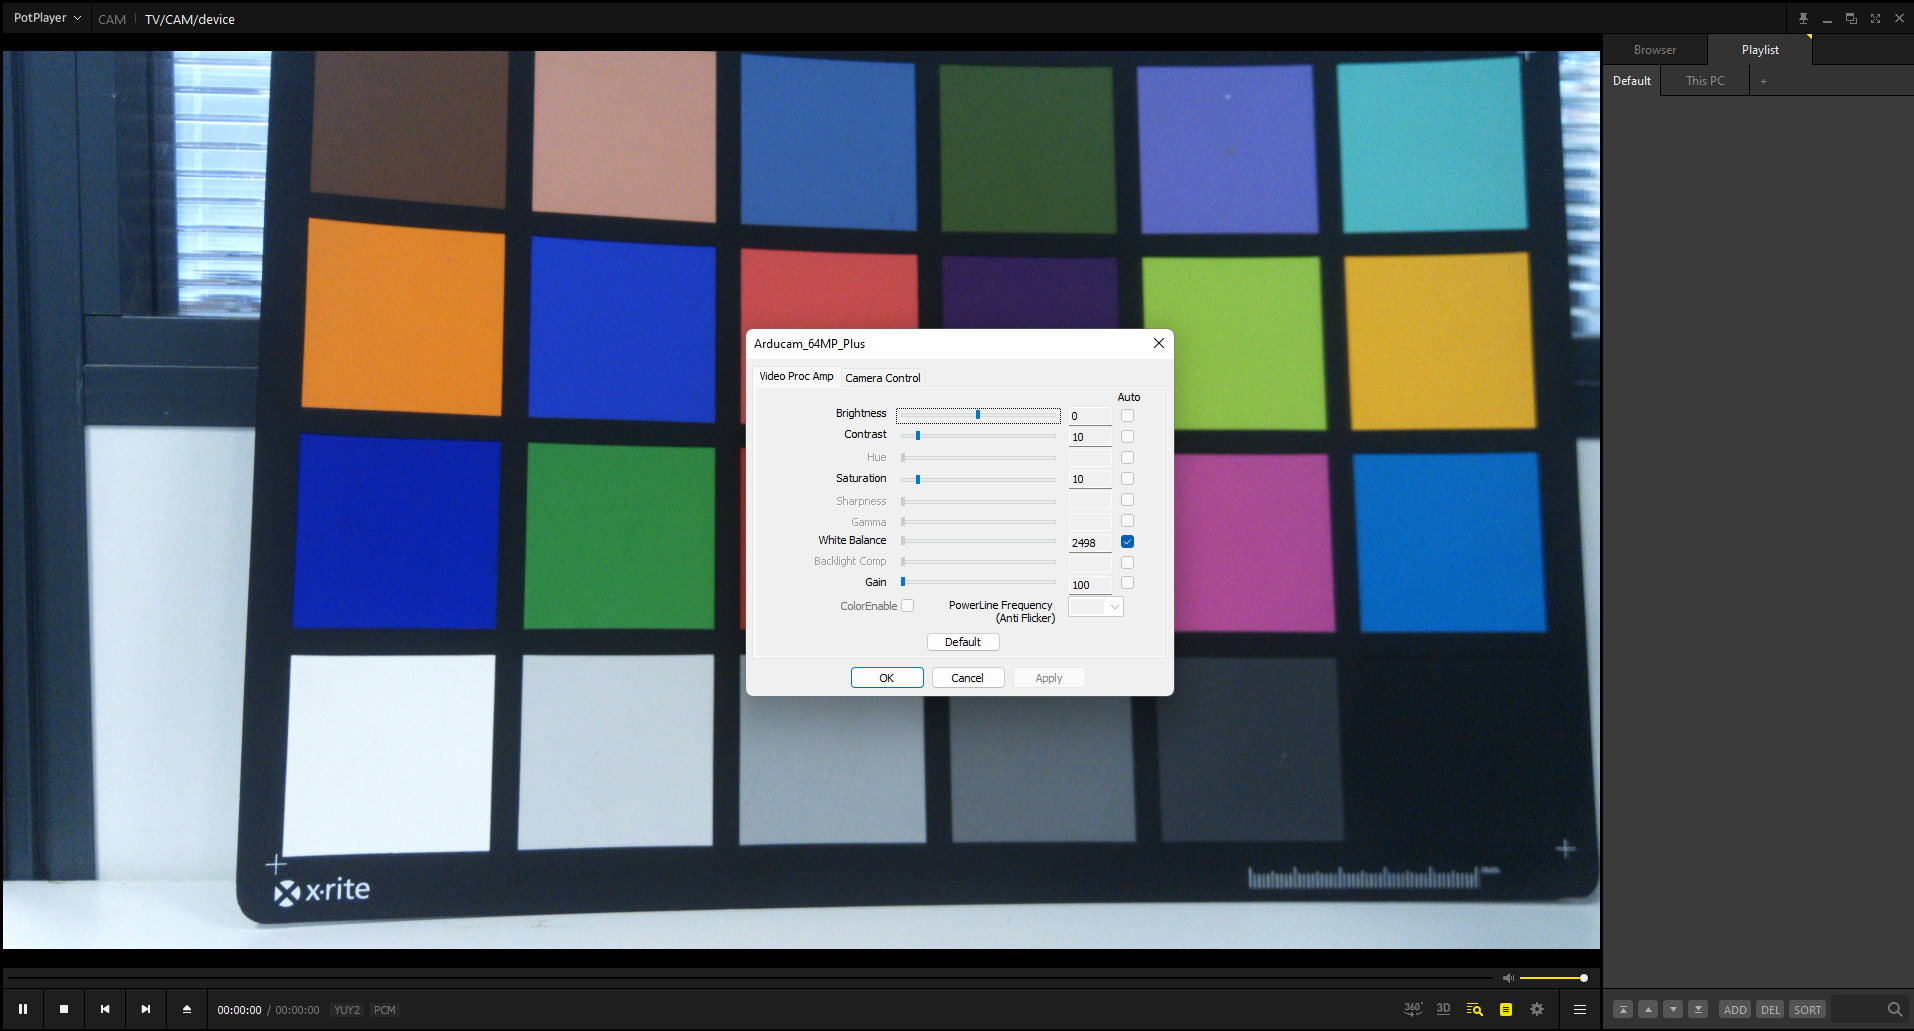
- How to control other parameters

Python OpenCV Demo1
- Supported Systems
Windows and Linux
- Demo Code
- Install dependencies
python -m pip install -r requirements.txt
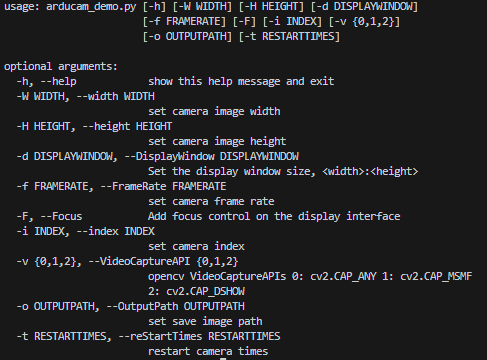
- Check Help
python arducam_demo.py -h
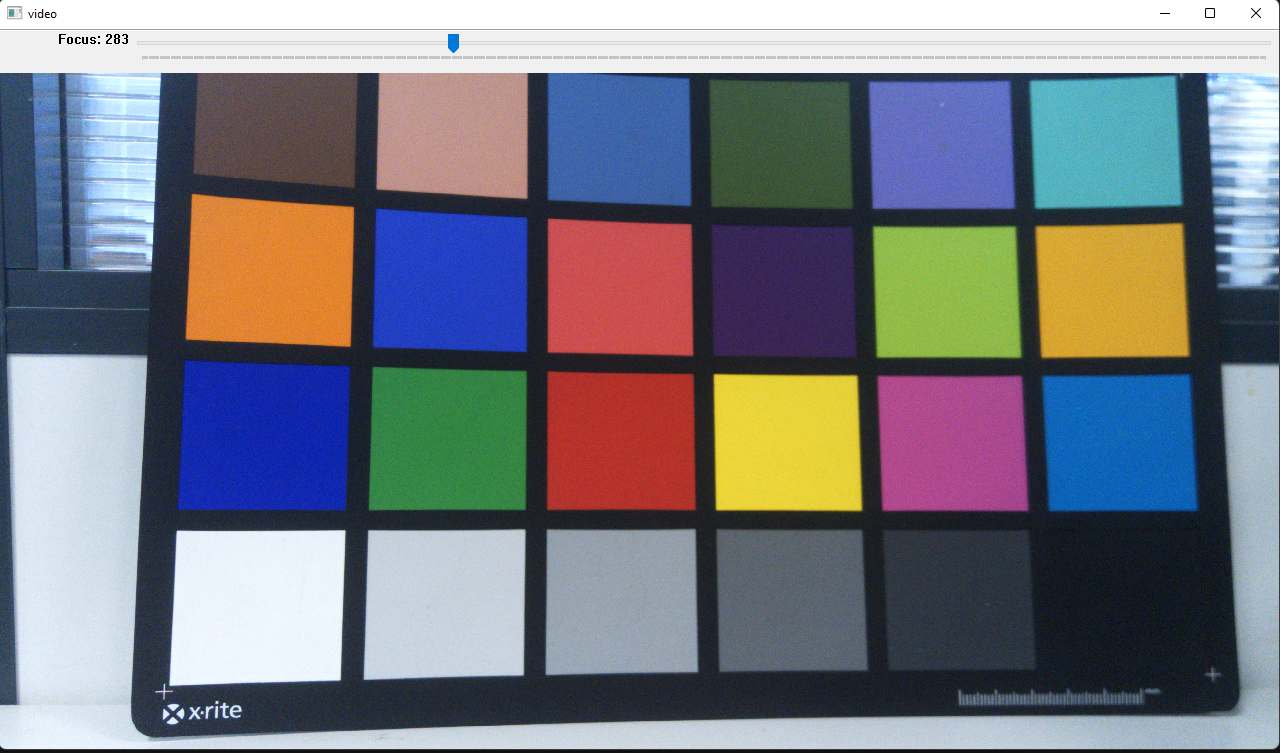
- How to turn on the camera
python .\arducam_demo.py -F -W 3840 -H 2160 -d 1280:720
input "q" on the keyboard to exit the camera
- Save Images
Add the -o parameter to the running command, and enter s on the keyboard to save the picture to the specified path
python .\arducam_demo.py -F -W 3840 -H 2160 -d 1280:720 -o test.jpg
Python OpenCV Demo2
This is a simple demo to show how you disable the AE with OpenCV.
import cv2

# Choose video1. Please choose the video node according your usecase.
cap = cv2.VideoCapture(1)
cap.set(cv2.CAP_PROP_FRAME_WIDTH, 3840)
cap.set(cv2.CAP_PROP_FRAME_HEIGHT, 2160)

# read one frame to start camera.
cap.read()

# AUTO: 1, Manual: 0
cap.set(cv2.CAP_PROP_AUTO_EXPOSURE, 0)
# If you turn off auto exposure, you need to set the gain once
cap.set(cv2.CAP_PROP_GAIN, 100)

cv2.namedWindow("video", cv2.WINDOW_NORMAL)

while(True):
    # Capture frame-by-frame
    ret, frame = cap.read()
    # Display the resulting frame
    cv2.imshow('video', frame)
    if cv2.waitKey(1) & 0xFF == ord('q'):
        break

# When everything done, release the capture
cap.release()
cv2.destroyAllWindows()