Windows Driver Installation
Why do you need to install drivers for the Arducam USB camera shield?
Technically, all USB devices need a driver to work on a host. To avoid loading too many drivers separately, some devices have been designed to support certain standards, so they become one of a standardized USB device class. The USB class includes several sub-classes with class-identifying names, and the drivers for these classes have already been included in the operating system. For a USB drive, it’s classified as “Mass Storage”; for a webcam, it’s “Video.”
If a camera supports the “Video” class standards, it’s supposed to work driver-free over different platforms. Arducam USB camera shield is not a USB Video Class (UVC) device. It uses a private camera driver, and you have to use our proprietary SDK and API which gives you the flexibility to control all the sensor features from the register level. Therefore, you need to install drivers for it to work. However, if you do want a standardized driver-free USB camera, check Arducam USB UVC camera modules.
Device Driver Installation
For Windows XP/7/8/10/11
On Windows XP/7/8/10/11 systems, you only need to follow these three steps to install the driver.
- New Version of Driver Installation
2.Unzip the package.
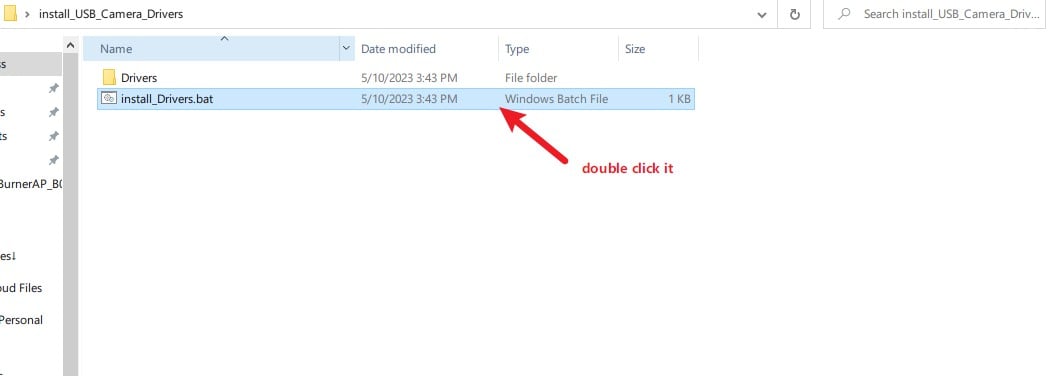
3.Double-click the install_Drivers.bat file in the execution package.
Tip
If you fail to install the new version of windows driver by installation scripts, please refer to the previous version shown below.
- Previous Version of Driver Installation
Please download the device driver from GitHub.

The Windows device driver is located in Drivers folders like WinXP, Win7, or Win10. In each driver folder, there are x64 and x86 folders for 64bit and 32bit systems respectively.
Attention:
When installing the driver on Windows, you might need to disable the Windows driver signature by following the video below:
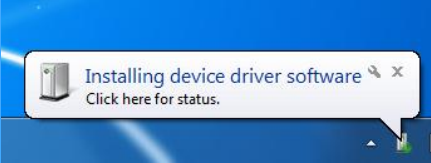
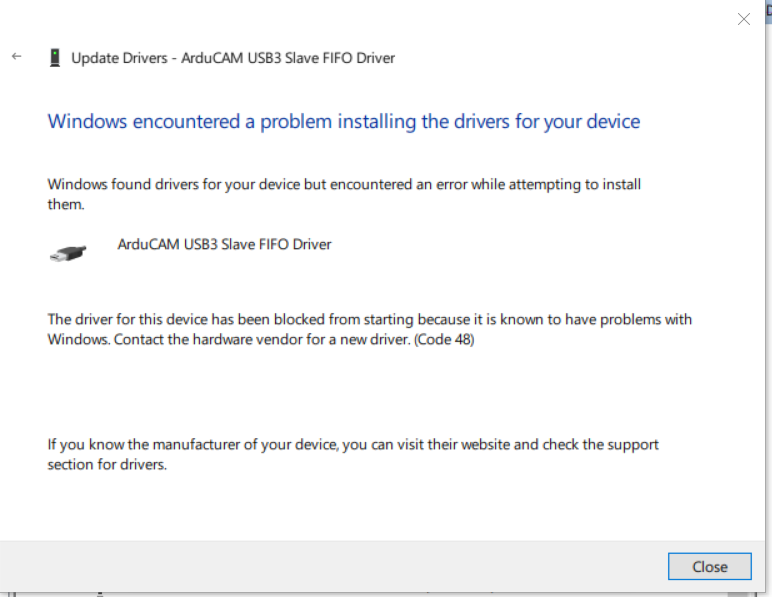
Plug the USB cable into the camera and the host PC USB port, and you should be able to see a notification from the lower right of the taskbar. The auto-installation of the driver will fail, and we have to install the USB camera driver manually.
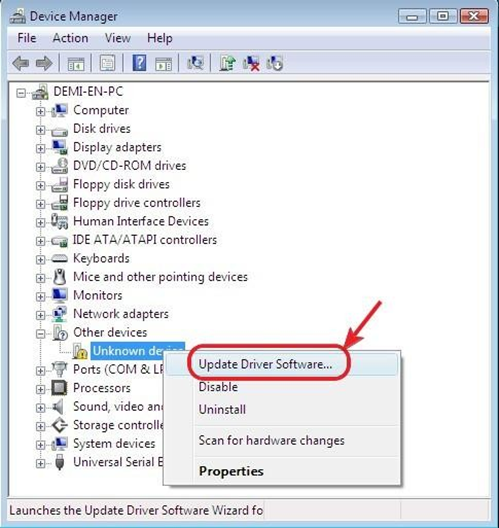
Go to Start -> Settings -> Control-Panel -> Device Manager, right-click the unknown device, and select “Update Driver Software”.
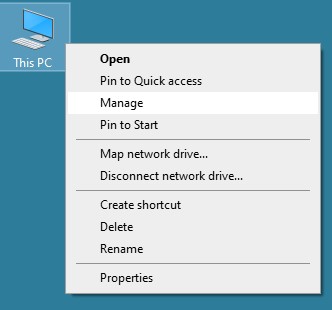
You can also right-click This PC and then click Manage to find the Device Manager under System Tools on Windows 10.
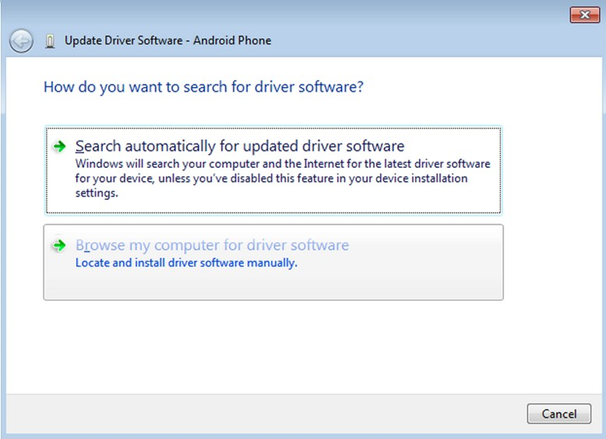
Select the “Browse my computer for driver software”,
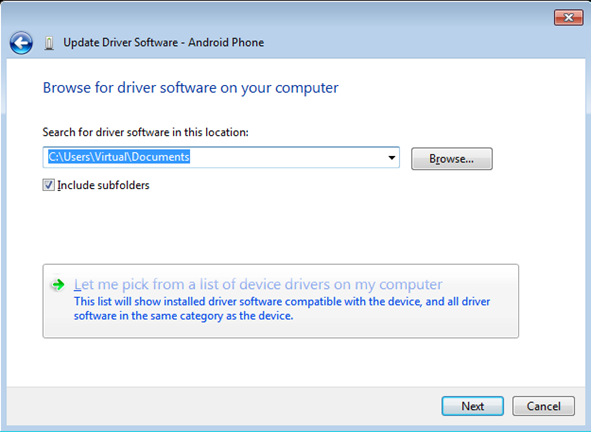
Select “Let me pick from a list of device drivers on my computer”.
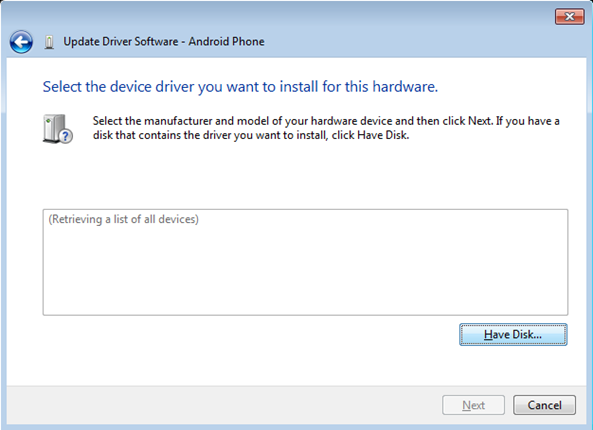
Select “Show All Devices”.
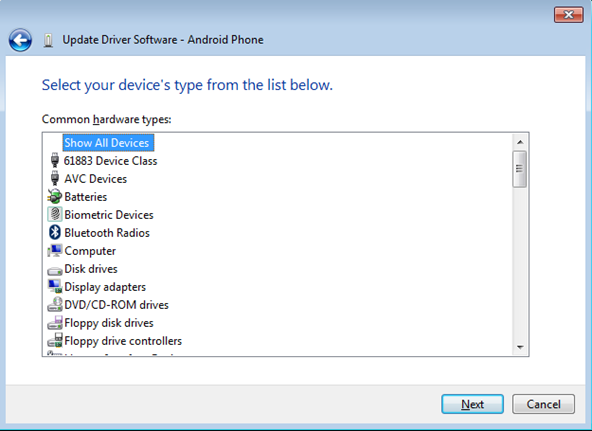
Press the “Have Disk” button.
Enter the path to the ArduCAM USB2 driver, where you save the downloaded file from GitHub.
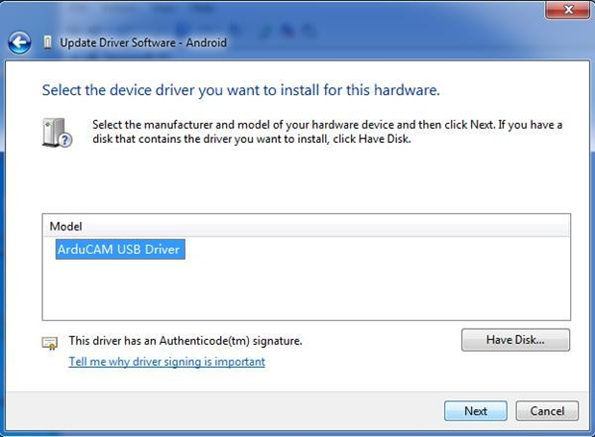
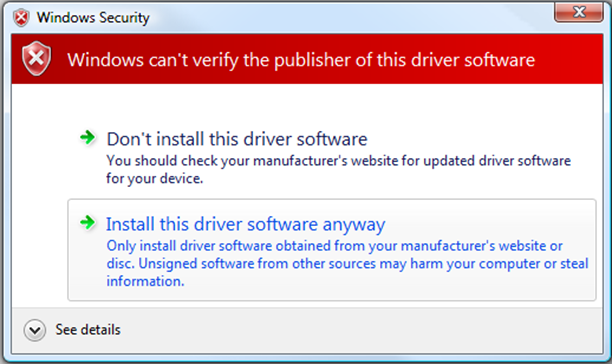
Confirm the installation of the driver by pressing “Yes”. Confirm the installation again by pressing “Install”.
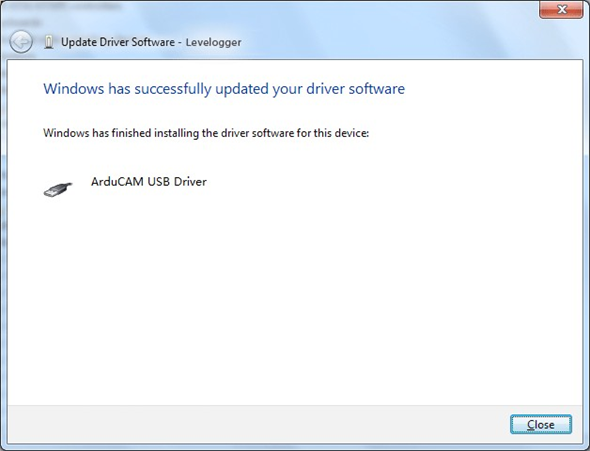
You will successfully install the driver like this.
After Driver Installation
Read more about how to use the software SDK and API in this chapter.
Troubleshooting
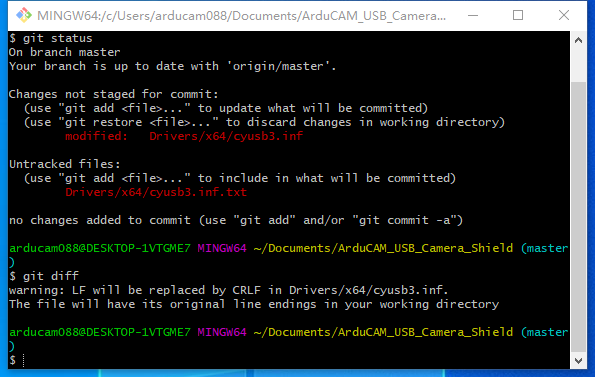
git clone and Failed to install the driver
git clone https://github.com/ArduCAM/ArduCAM_USB_Camera_Shield
Different systems will have inconsistent newline characters: /n, /r/n
The size of cyusb3.inf is different.
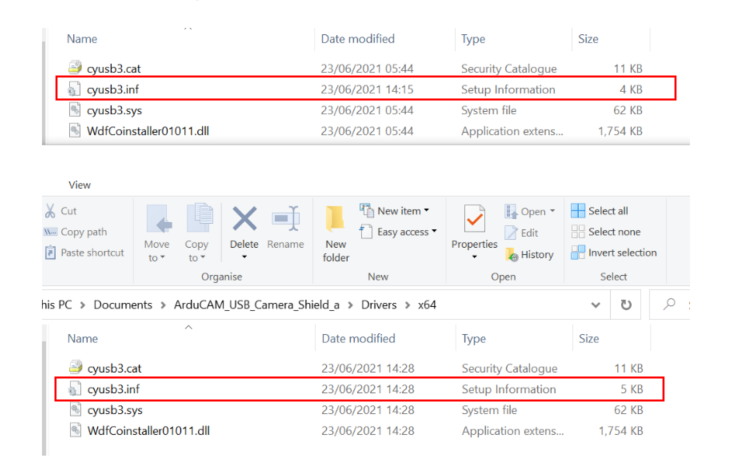
Use the command(git status) we can see the file status is different, and use the command(git diff) we can see the newline characters have been modified.