Getting Started: Arducam ToF Camera & CSI-to-HDMI Adapter Set – for Jetson Nano/Xavier NX
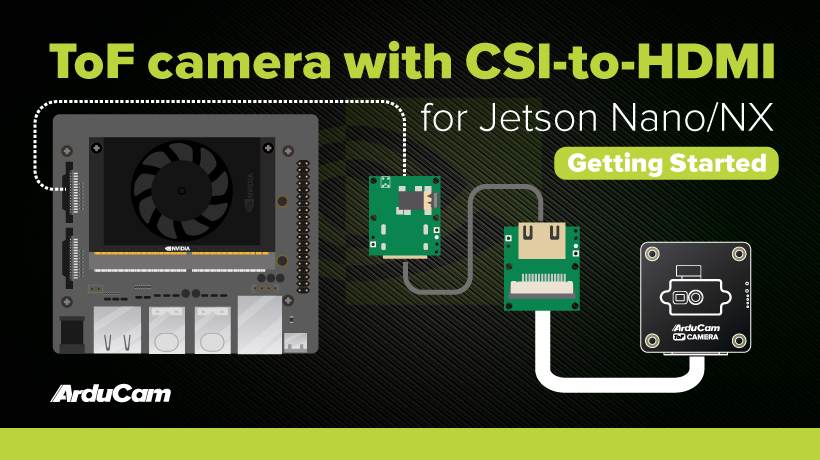
This is a guide specially prepared for the package consisting of an Arducam ToF Camera and CSI-to-HDMI Adapter Set.
About the CSI-to-HDMI adapter set
A CSI-to-HDMI adapter set breaks the length limitations of the MIPI CSI-2 interface and put your ToF camera up to 3~5 meters away from your Jetson. No extra software or configuration is needed.
Note
To use the cable extension kit, you need to first verify if the ToF camera you choose works properly.
Check items against the packing list
Items included in the package
- 1 x Arducam ToF Camera
- 1 x CSI-to-HDMI Adapter Set (containing the following parts)
- 2 x Adapter Board
- 2 x Ribbon Flex Cable
- Screws & Nuts (4xM24 Screw, 4xM2 Hex Nut, 4xM27 Hex Spacer)
Note
Please ignore screws, nuts and spacers for the adapter board while connecting. These are NOT suitable for ToF camera size.
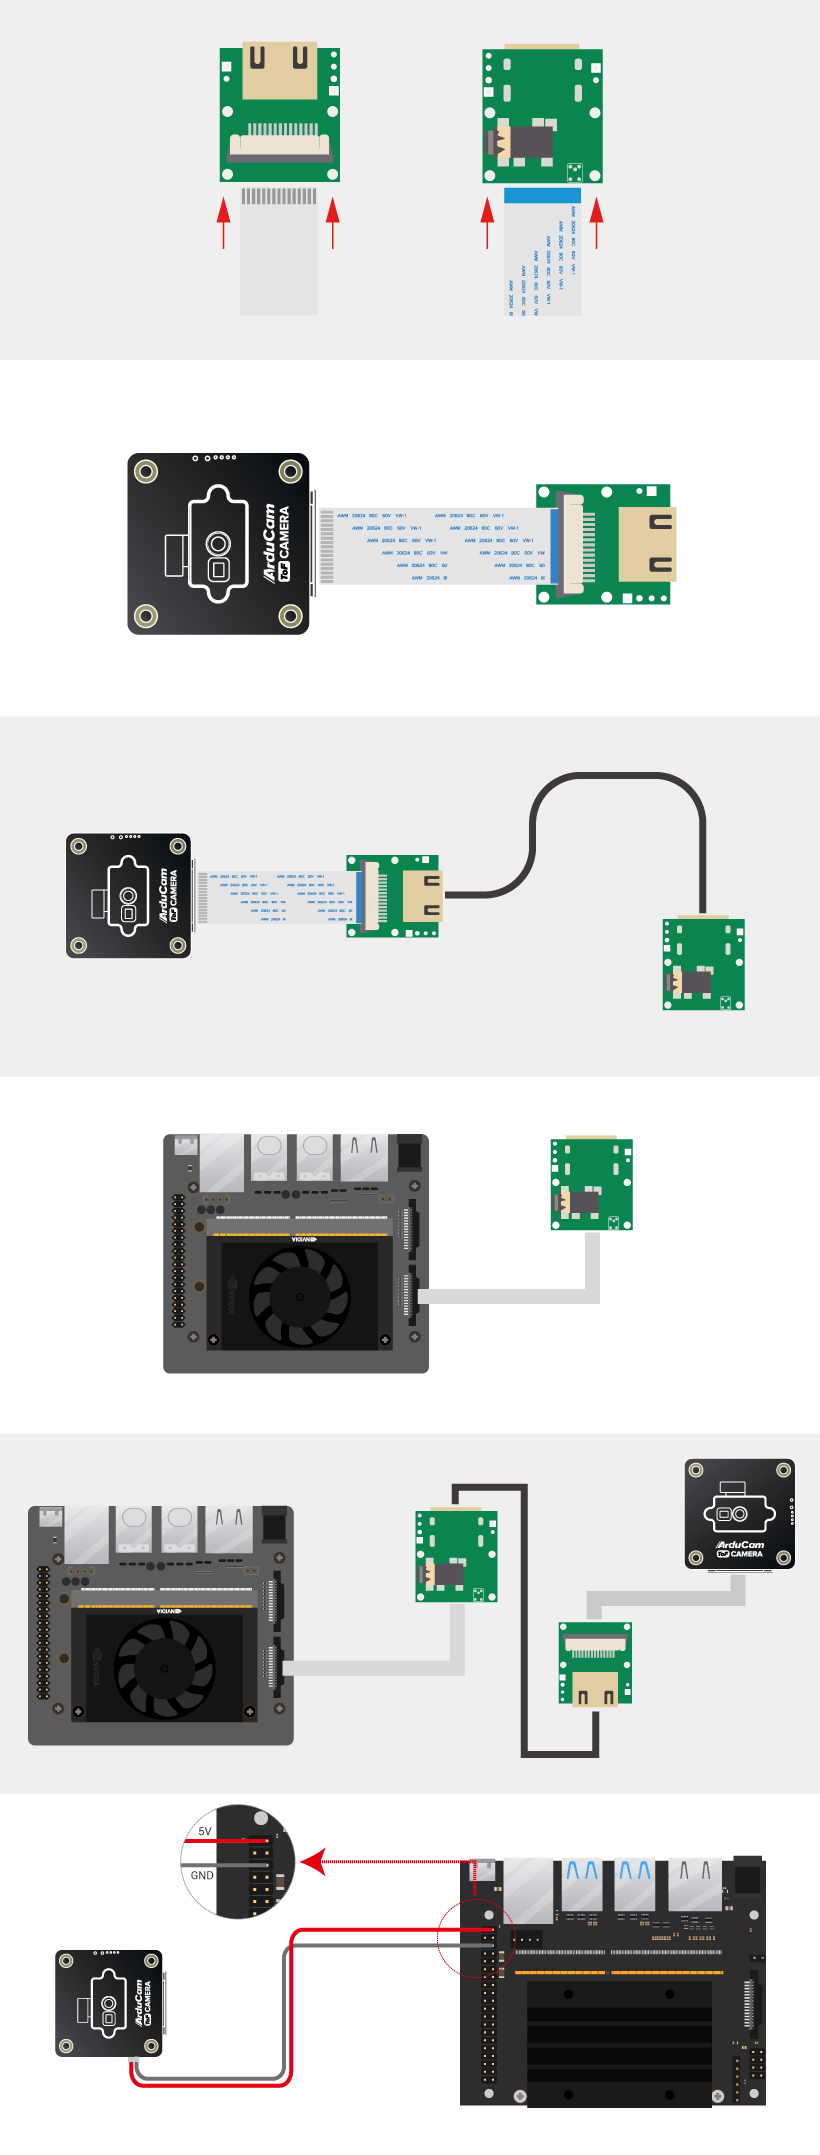
Connecting your HDML cable to the camera and your *Jetson Nano/Xavier NX*
Note
Turn off your Jetson Nano/Xavier NX and disconnect the power supply before connecting.
Using the Camera
Power your Jetson Nano/Xavier NX on.
Follow each of the steps by running their respective command shown below.
Step 1. Pull the repository.
git clone https://github.com/ArduCAM/Arducam_tof_camera.git
Step 2. Change the directory to Arducam_tof_camera/jetson
cd Arducam_tof_camera
Step 3: Installation (Driver, Dependencies, SDK, OpenCV)
./Install_dependencies_jetson.sh
When you see the reboot prompt, enter y.
Step 4. compile & run
./compile.sh
Once it’s successfully compiled, live camera previews will automatically pop up.