Getting started: Arducam ToF Camera for Jetson
A quick guide for getting started with Arducam ToF Camera on Jetson Nano/Xavier NX.
Introduction
A Time of Flight camera module featuring a MIPI-CSI 2 connection and offering up to 4-meter measuring range with sub-2cm precision, designed and optimized exclusively for Raspberry Pi & Nvidia Jetson boards.
Specifications
| Specification | Arducam ToF Camera |
|---|---|
| Price | $29.99 – Kickstarter $50 – MSRP |
| Number of Effective Pixels | 240×180 |
| Image Size | 1/6″ |
| Max. Frame Rate (Sensor) | 120fps |
| Max. Depth Frame Rate (Raspberry Pi) | 30fps, 4-phase |
| Raspberry Pi OS | Bullseye (32-bit/64-bit) 01/28/22 or later releases |
| TDP | 3.5W Power supply for Pi should be at least 5V/4A |
| Supported Platforms | Pi 2/3/CM3/4B Zero W/Zero 2 W/CM4 |
| Modulation Frequency | 75MHz/37.5MHz |
| Viewing Angle | 70° Diagonal |
| Measurement Distance | Far Mode: 4m Near Mode: 2m |
| Light Source | 940nm VCSEL illuminator |
| Board Size | 38mm x 38mm |
| Interface | MIPI (2-Lane) |
| Output Formats | 4-phases RAW Frame, Depth Frame, Grayscale Amplitude Frame |
Product
| Product Image | SKU | Pin/Connect Type | Color Type | Features | Light Source | Field of View(HxV) | Focus Type | IR Sensitivity |
|---|---|---|---|---|---|---|---|---|
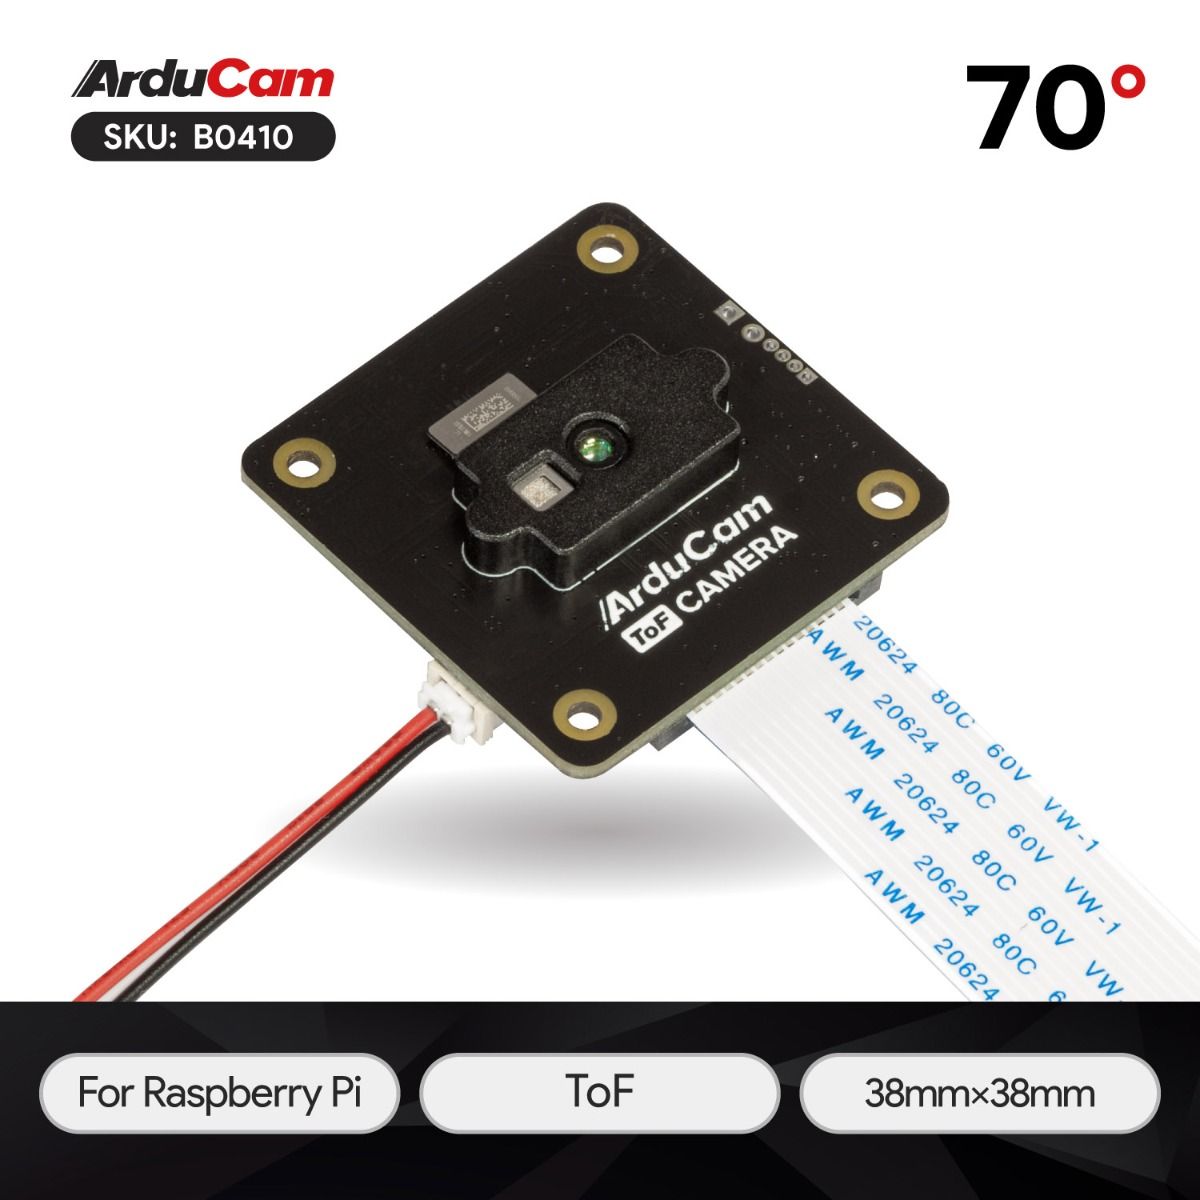 |
B0410 | 15/Top | Color | Real-time point cloud and depth map | 940nm VCSEL illuminator | 62.8°(H) x 37.9°(V) | Fixed Focus | without IR-cut filter |
How ToF Works
ToF stands for “Time of Flight”.
A ToF Camera emits modulated lights (CW method) and uses the time it takes for the said lights to be reflected back to measure the distance/depth info of any given object/scene, and you can obtain depth data (X, Y & Z coordinate position) in every pixel.
Light travel is calculated with d=C/2f, where C is the speed of light and f is the modulation frequency.
Note
Make sure you are running a newer version of Jetpack (4.6.1 or later). A fresh install is highly recommended.
Connecting the camera to Jetson Nano/Xavier NX

For a more detailed graphic guide on how to connect, please check here.
Using the camera on Jetson Nano/Xavier NX
Follow each of the steps by running their respective command shown below.
Step 1. Pull the repository.
git clone https://github.com/ArduCAM/Arducam_tof_camera.git
Step 2. Change the directory to Arducam_tof_camera
cd Arducam_tof_camera
Step 3. *Installation (Driver, Dependencies, SDK, OpenCV)*
./Install_dependencies_jetson.sh
When you see the reboot prompt, enter y.
Step 4. compile & run
./compile.sh
Once it’s successfully compiled, live previews of the camera will automatically pop up.
Instructions for Safe Use
To properly use the Arudcam ToF Camera, kindly note:
- Before connecting, you should always power the Jetson Nano/Xavier NX off and remove the power supply first.
- Make sure the cable on the camera board is locked in place.
- Make sure the cable is correctly inserted in the Jetson Nano/Xavier NX board’s MIPI CSI-2 connector.
- Avoid high temperatures.
- Avoid water, moisture, or conductive surfaces while in operation.
- Avoid folding, or straining the flex cable.
- Avoid cross-threading with tripods.
- Gently push/pull the connector to avoid damaging the printed circuit board.
- Avoid moving or handling the printed circuit board excessively while it’s in operation.
- Handle by the edges to avoid damage from electrostatic discharge.
- Where the camera board is stored should be cool and as dry as possible.
- Sudden temperature/humidity changes can cause dampness in the lens and affect the image/video quality.