Quick start
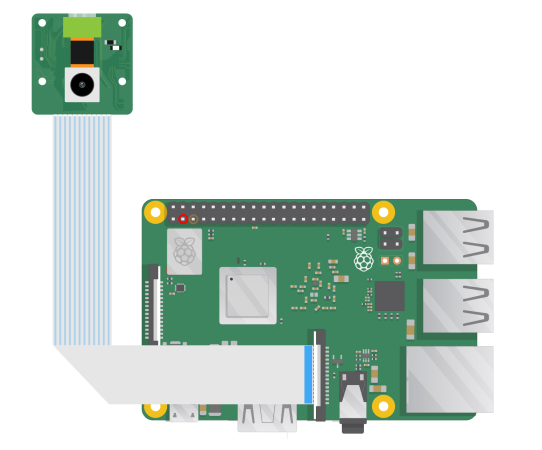
Hardware
Software
Focus control
-
For autofocus ov5647 camera module
1.Please run the command 'sudo nano /boot/config.txt' and add the content below under [all] in the config file to configure the camera and motor driver.
dtoverlay=ov5647,vcm
Then reboot your Pi to take effect.
2.Use libcamera to preview the camera:
libcamera-still -t 0 --tuning-file /usr/share/libcamera/ipa/rpi/vc4/ov5647_af.json
-
For autofocus imx219 camera module
1.Please run the command 'sudo nano /boot/config.txt' and add the content below under [all] in the config file to configure the camera and motor driver.
dtoverlay=imx219,vcm
Then reboot your Pi to take effect.
2.Use libcamera to preview the camera:
libcamera-still -t 0 --tuning-file /usr/share/libcamera/ipa/rpi/vc4/imx219_af.json
-
For autofocus imx477 camera module
1.Download the Archive
cd ~
mkdir imx477_dtb_test
cd imx477_dtb_test
wget https://github.com/ArduCAM/Arducam-Pivariety-V4L2-Driver/releases/download/Arducam_pivariety_v4l2_v1.0/imx477_rpi_dtoverlay.tar.gz
2.Unzip File
tar xzvf imx477_rpi_dtoverlay.tar.gz
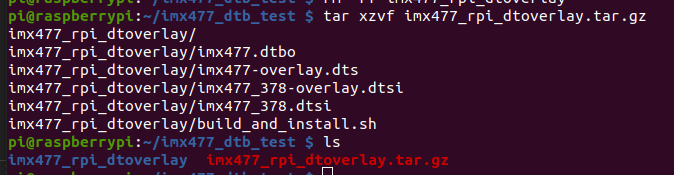
3.Compile and Install
cd imx477_rpi_dtoverlay/
./build_and_install.sh
sudo reboot

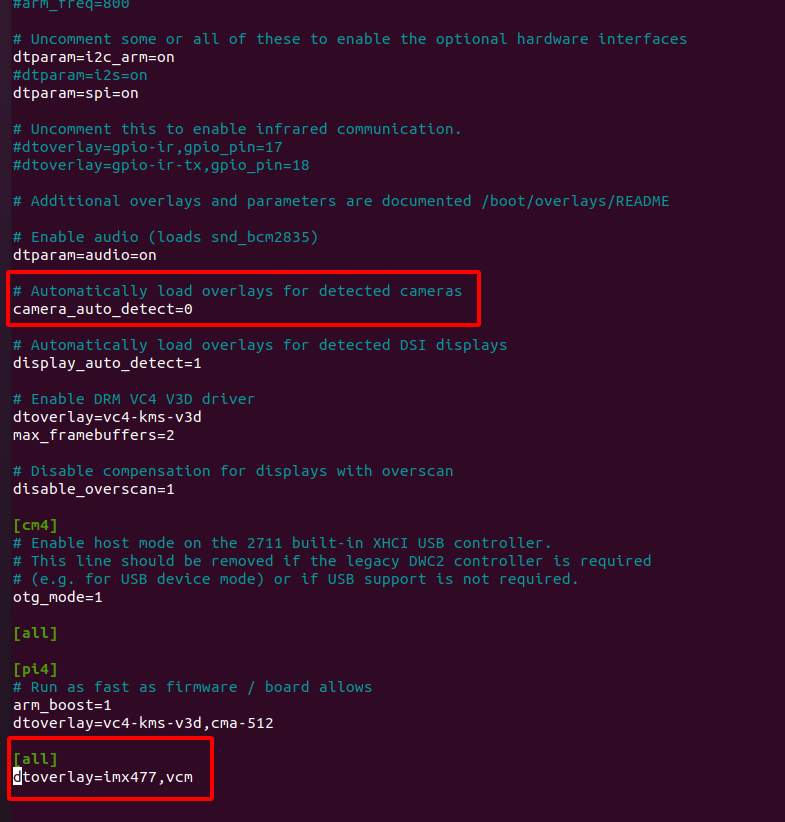
4.Configure the Camera
sudo nano /boot/config.txt

# Turn off the camera auto-detection
camera_auto_detect=0

# Add following content below [all]
dtoverlay=imx477,vcm
5.Reboot
sudo reboot
6.Start the Camera
Step 1. Download the bash scripts
wget -O install_pivariety_pkgs.sh https://github.com/ArduCAM/Arducam-Pivariety-V4L2-Driver/releases/download/install_script/install_pivariety_pkgs.sh
chmod +x install_pivariety_pkgs.sh
Step 2. Install libcamera
./install_pivariety_pkgs.sh -p libcamera
Step 3. Install libcamera-apps
./install_pivariety_pkgs.sh -p libcamera_apps
Step 4. Access the Camera
libcamera-still -t 0 --tuning-file /usr/share/libcamera/ipa/rpi/vc4/imx477_af.json
Python demo
Arducam has released two demos: Autofocus.py, and FocuserExample.py
1.Preparation
You need to perform the following steps first:
Step 1. Install dependencies
sudo apt-get upgrade
sudo apt install -y python3-kms++ python3-libcamera python3-pip
sudo apt install -y python3-pyqt5 python3-prctl libatlas-base-dev ffmpeg
sudo pip3 install numpy --upgrade
sudo pip3 install picamera2 opencv-python
Step 2. Install the driver and libcamera
Find your corresponding camera in the following two links, and then execute the following command
Note
If you do not find your camera please contact us.(support@arducam.com)
Step 3. Download library
git clone https://github.com/ArduCAM/RaspberryPi.git
Step 4. Enable i2c
cd /home/pi/RaspberryPi/Motorized_Focus_Camera
sudo chmod +x enable_i2c_vc.sh
./enable_i2c_vc.sh
Press Y to reboot
2.Usage
AutofocusTest.py
- This demo supports auto focusing in preview mode, You can see the focus visually
- Click the ‘F’ button to achieve autofocus, click the ‘Q’ button to exit and save the /picture
cd /home/pi/RaspberryPi/Motorized_Focus_Camera/python/
python3 AutofocusTest.py -i 10
FocuserExample.py
- FocuserExample.py Example of manual focus
cd /home/pi/RaspberryPi/Motorized_Focus_Camera/python/
python FocuserExample.py -i 10

C demo
cd cd /home/pi/RaspberryPi/Motorized_Focus_Camera/C/
make install
make
./manualFocus