SPI Camera for Raspberry Pi Pico
1.Introduction
As an alternative to Arduino, Raspberry Pi Pico lacks processing power, memory, and a CSI interface, which makes it impossible for Pico to work with the official or any MIPI CSI-2 camera modules. Thankfully, Pico has a wide range of flexible I/O options includes SPI, which enables the Arducam SPI camera to work with Pico.
Now, the Arducam team has solved the compatibility of our SPI camera with Raspberry Pi Pico. Getting started here!
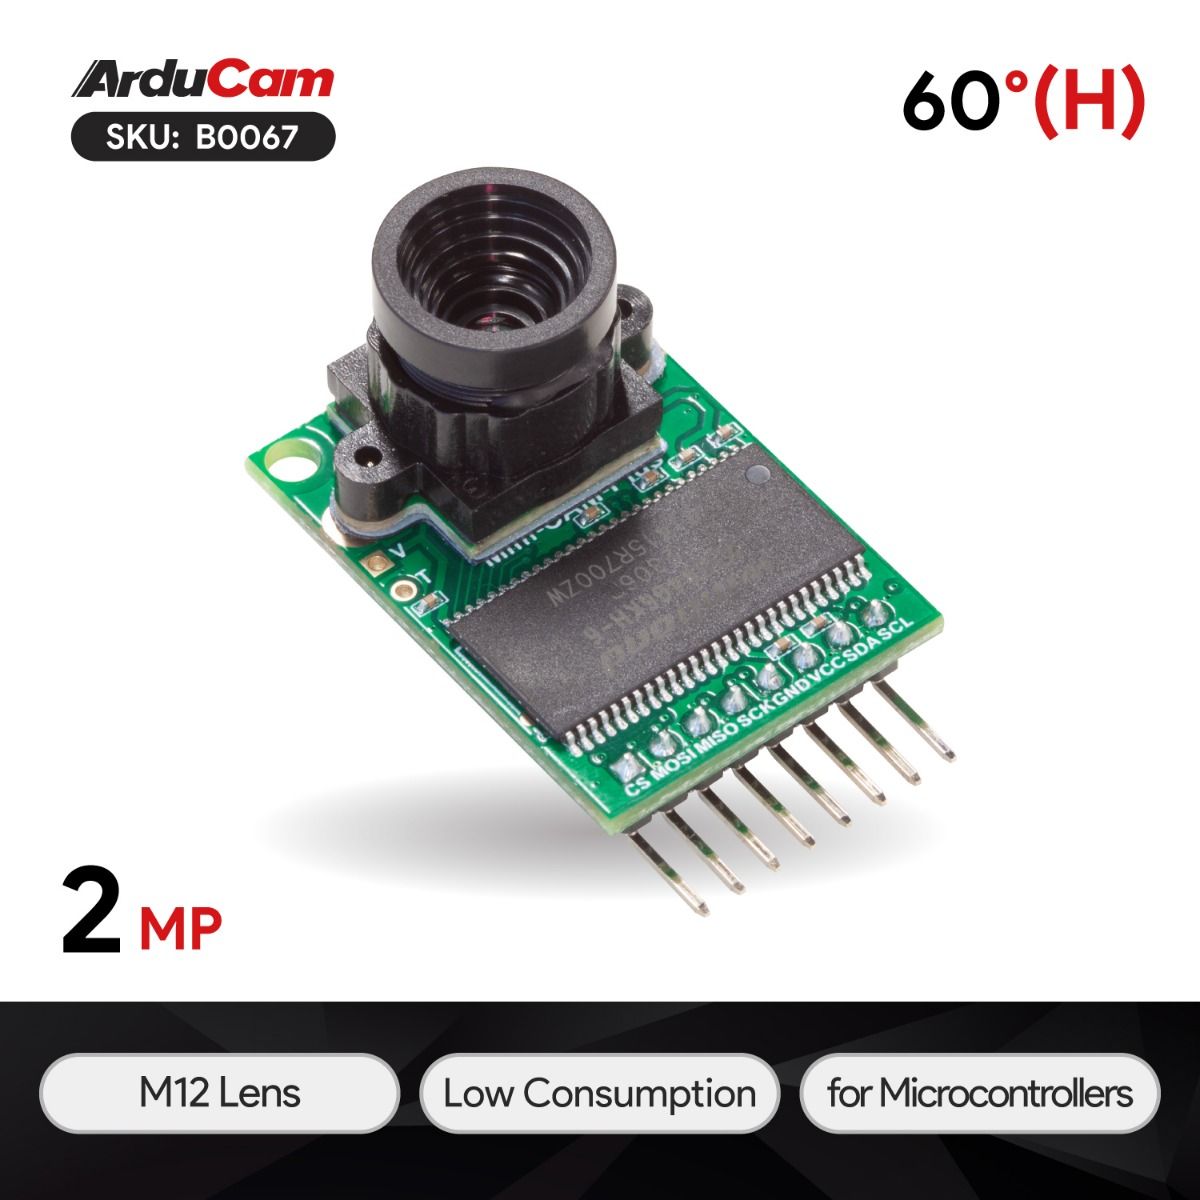 |
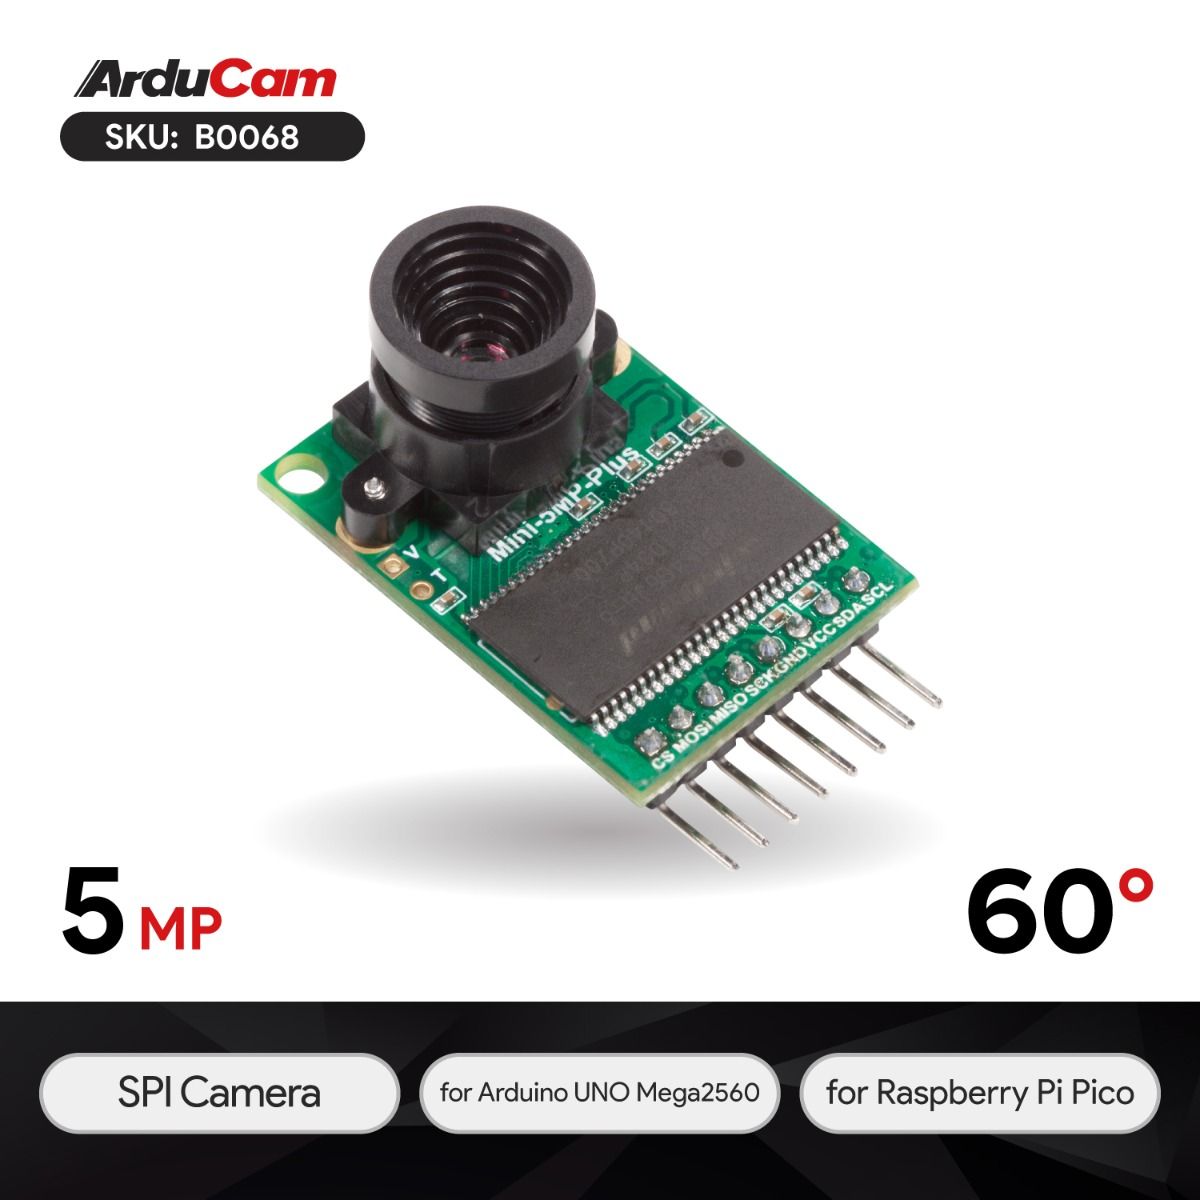 |
| 2MP OV2640 SPI Camera Module | 5MP OV5640 SPI Camera Module |
|---|---|
| Buy Now | Buy Now |
2.Application
- loT cameras
- Robot cameras
- Wildlife cameras
- Other battery-powered products
- Can be used in MCU, Raspberry Pi, ARM, DSP, FPGA platforms
3.Features
- 2MP image sensor OV2640 (B0067) / 5MP image sensor OV5642 (B0068)
- M12 mount or CS-mount lens holder with changeable lens options
- IR sensitive with proper lens combination
- 12C interface for the sensor configuration
- SPI interface for camera commands and data stream
- All IO ports are 5V/3.3V tolerant
- Support JPEG compression mode, single and multiple shoot mode, one-time capture multiple read operation, burst read operation, low power mode and etc.
- Well mated with standard Raspberry Pi Pico boards
- Provide open-source code library for Arduino, STM32, Chip kit, Raspberry Pi, BeagleBone Black
- The small form of factor
4.Pin Definition
| Pin No. | Pin Name | Type | Description | |
|---|---|---|---|---|
| 1 | CS | Input | SPI slave chip select input | |
| 2 | MOSI | Input | SPI master output slave input | |
| 3 | MISO | Output | SPI master input slave output | |
| 4 | SCLK | Input | SPI serial clock | |
| 5 | GND | Ground | Power ground | |
| 6 | +5V | POWER | 5V Power supply | |
| 7 | SDA | Bi-directional | Two-Wire Serial Interface Data I/O | |
| 8 | SCL | Input | Two-Wire Serial Interface Clock |
5.Key Specification
| B0067 | B0068 | ||
|---|---|---|---|
| Image Sensor | OV2640 | OV5642 | |
| Active array size | 1600×1200 | 2592×1944 | |
| Shutter | rolling shutter | rolling shutter | |
| Lens | 1/4 inch | 1/4 inch | |
| SPI speed | 8MHz | 8MHz | |
| Frame buffer | 8MB | 8MB | |
| Temperature | -10°C~+55°C | -10°C~+55°C | |
| Power consumption | Normal: 5V/70mA Low power Mode: 5V/20mA | Normal: 5V/390mA Low power mode: 5V/20mA |
6.Typical Wiring
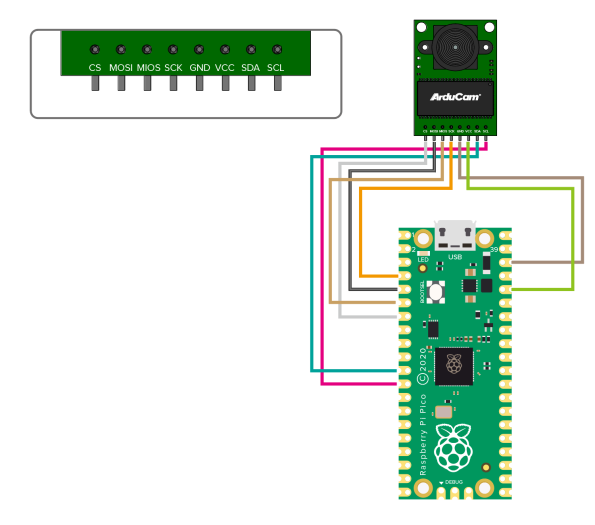
Connect SPI Camera to Pico
| Camera | CS | MOSI | MISO | SCK | GND | VCC | SDA | SCL |
|---|---|---|---|---|---|---|---|---|
| Pico | GP5 | GP3 | GP4 | GP2 | GND | 3V3 | GP8 | GP9 |
7.Quick Start
7.1 Download the example package
git clone https://github.com/ArduCAM/PICO_SPI_CAM.git
7.2 How to access SPI Camera using C
Cameras supported:
- OV2640 2MP_Plus JPEG format
- OV5642 5MP_Plus JPEG format
Demos provided:
7.2.1 Compile the driver library
Note: Refer to the official manual for the development environment:
Choose the demo to be compiled. (default is Arducam_MINI_2MP_Plus_Videostreaing)
cd  PICO_SPI_CAM/C
mkdir build
cd build
cmake ..
make
7.2.2 Run the .uf2 file
Copy the PICO_SPI_CAM/C/build/Examples/Arducam_MINI_2MP_Plus_Videostreaing/Arducam_mini_2mp_plus_videostreaming.uf2 file to Pico to run the test.
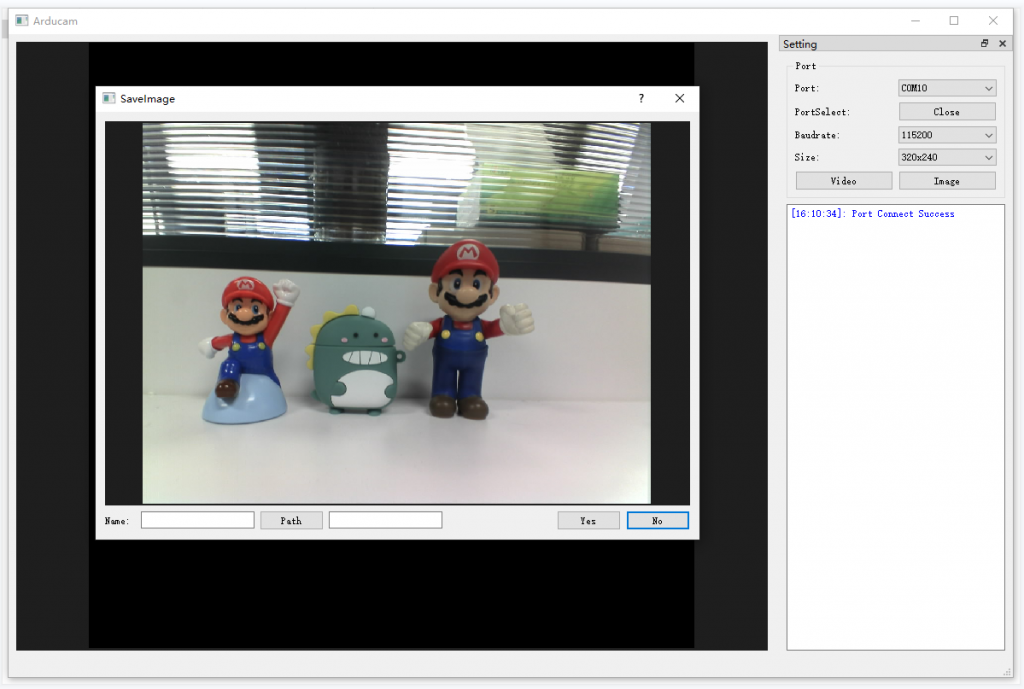
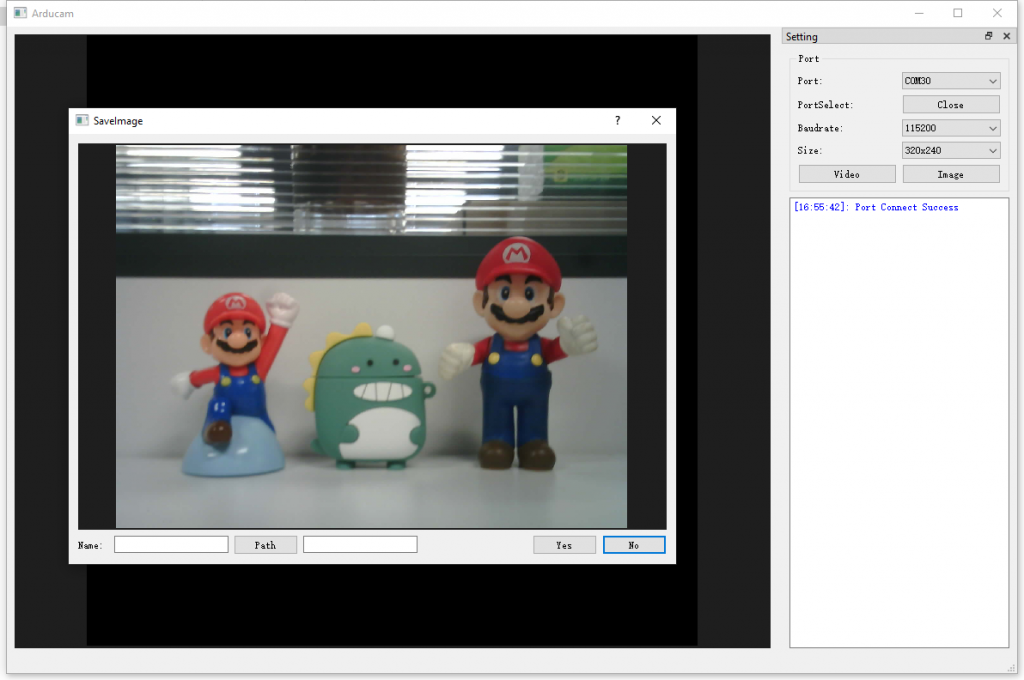
Open HostApp.exe under PICO_SPI_CAM/HostApp file path, configure the port number, and click Image to view the image.
7.3 How to access Camera using Python
7.3.1 Download and install Thonny
https://thonny.org/
7.3.2 Configure the environment
Refer to the official manual for the development environment.
7.2.3 Run Thonny
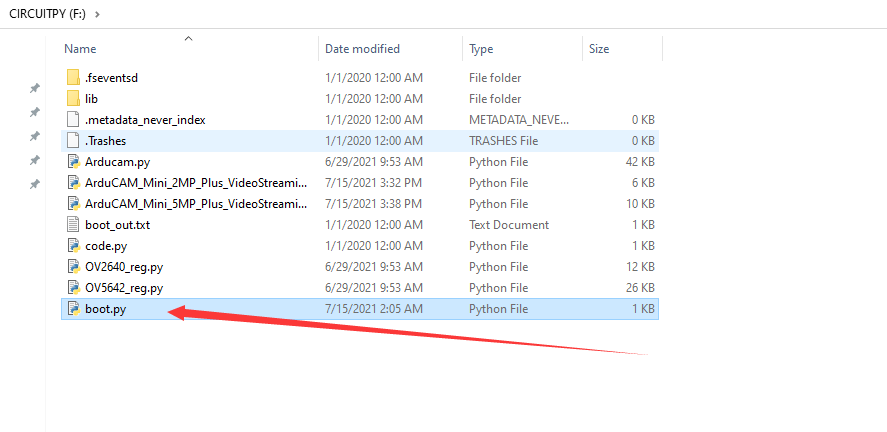
Copy all the files except boot.py under PI-CO_SPI_CAM/Python/ file path to Pico
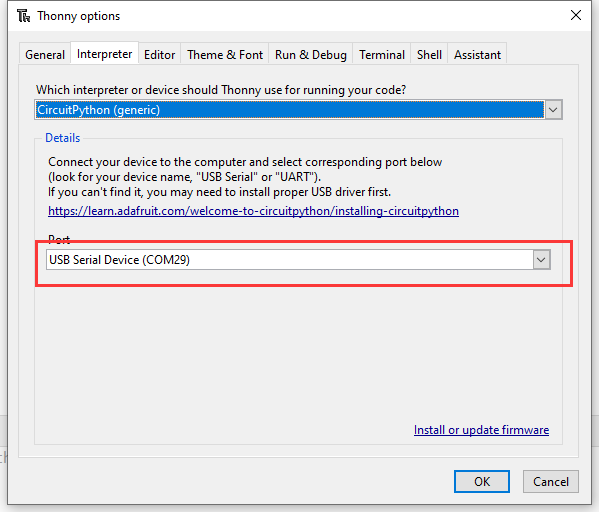
Thonny->Run->Select interpreter->Circuit Python(generic)->OK
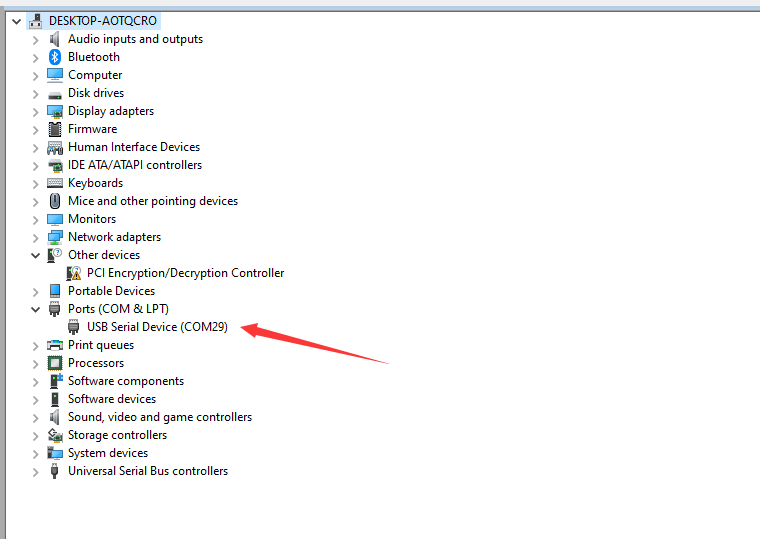
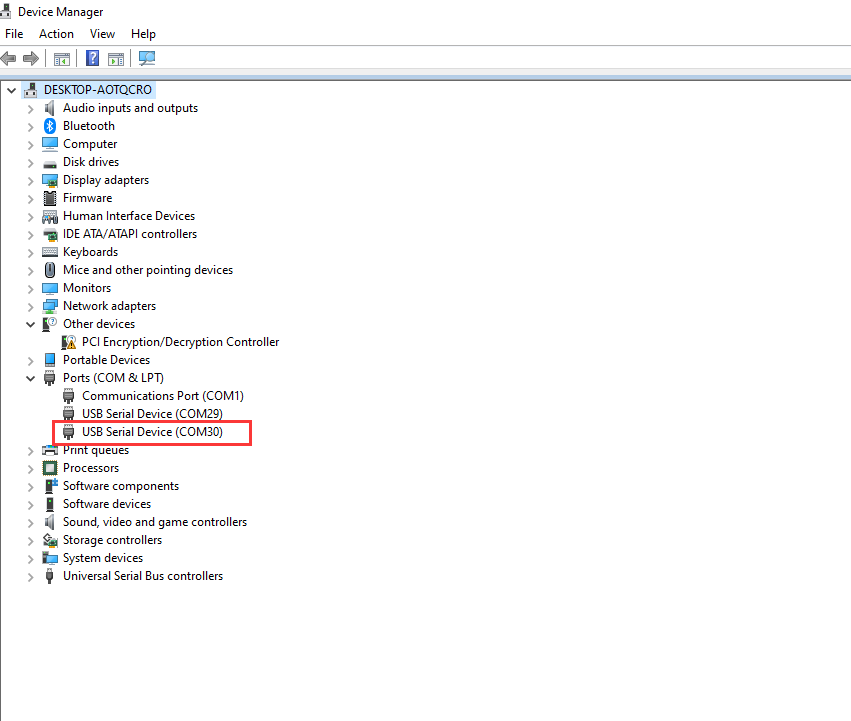
Device manage->Ports(COM & LPT)
Configure port number of Circuit Python(generic)
Copy all the boot.py file under PICO_SPI_CAM/Python/ file path to Pico.
Reboot Pico and then check the new port number under Ports(COM & LPT), it’s used to USB communication.
Thonny->Open file->Circuit Python device->Arducam_Mini_2MP_Plus_VideoStreaming.py
Thonny->Run
"[48] ,Camera Type is OV2640,SPI interface OK" means camera initialization is complete.
*Note:* [48] is the I2c device address of the OV2640 camera.
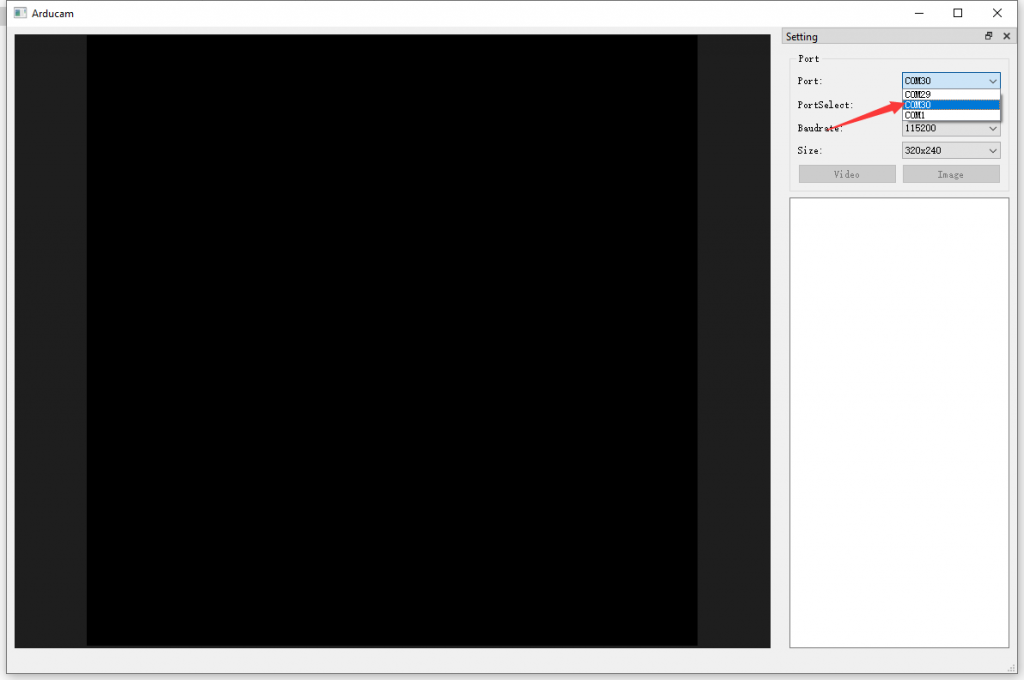
Open HostApp.exe under PICO_SPI_CAM/HostApp file path, select the port number used for USB communication, and click Image to view the image.
8.What’s Next
If you want to know more about our SPI cameras, refer to the SPI Camera Software Application Note.
